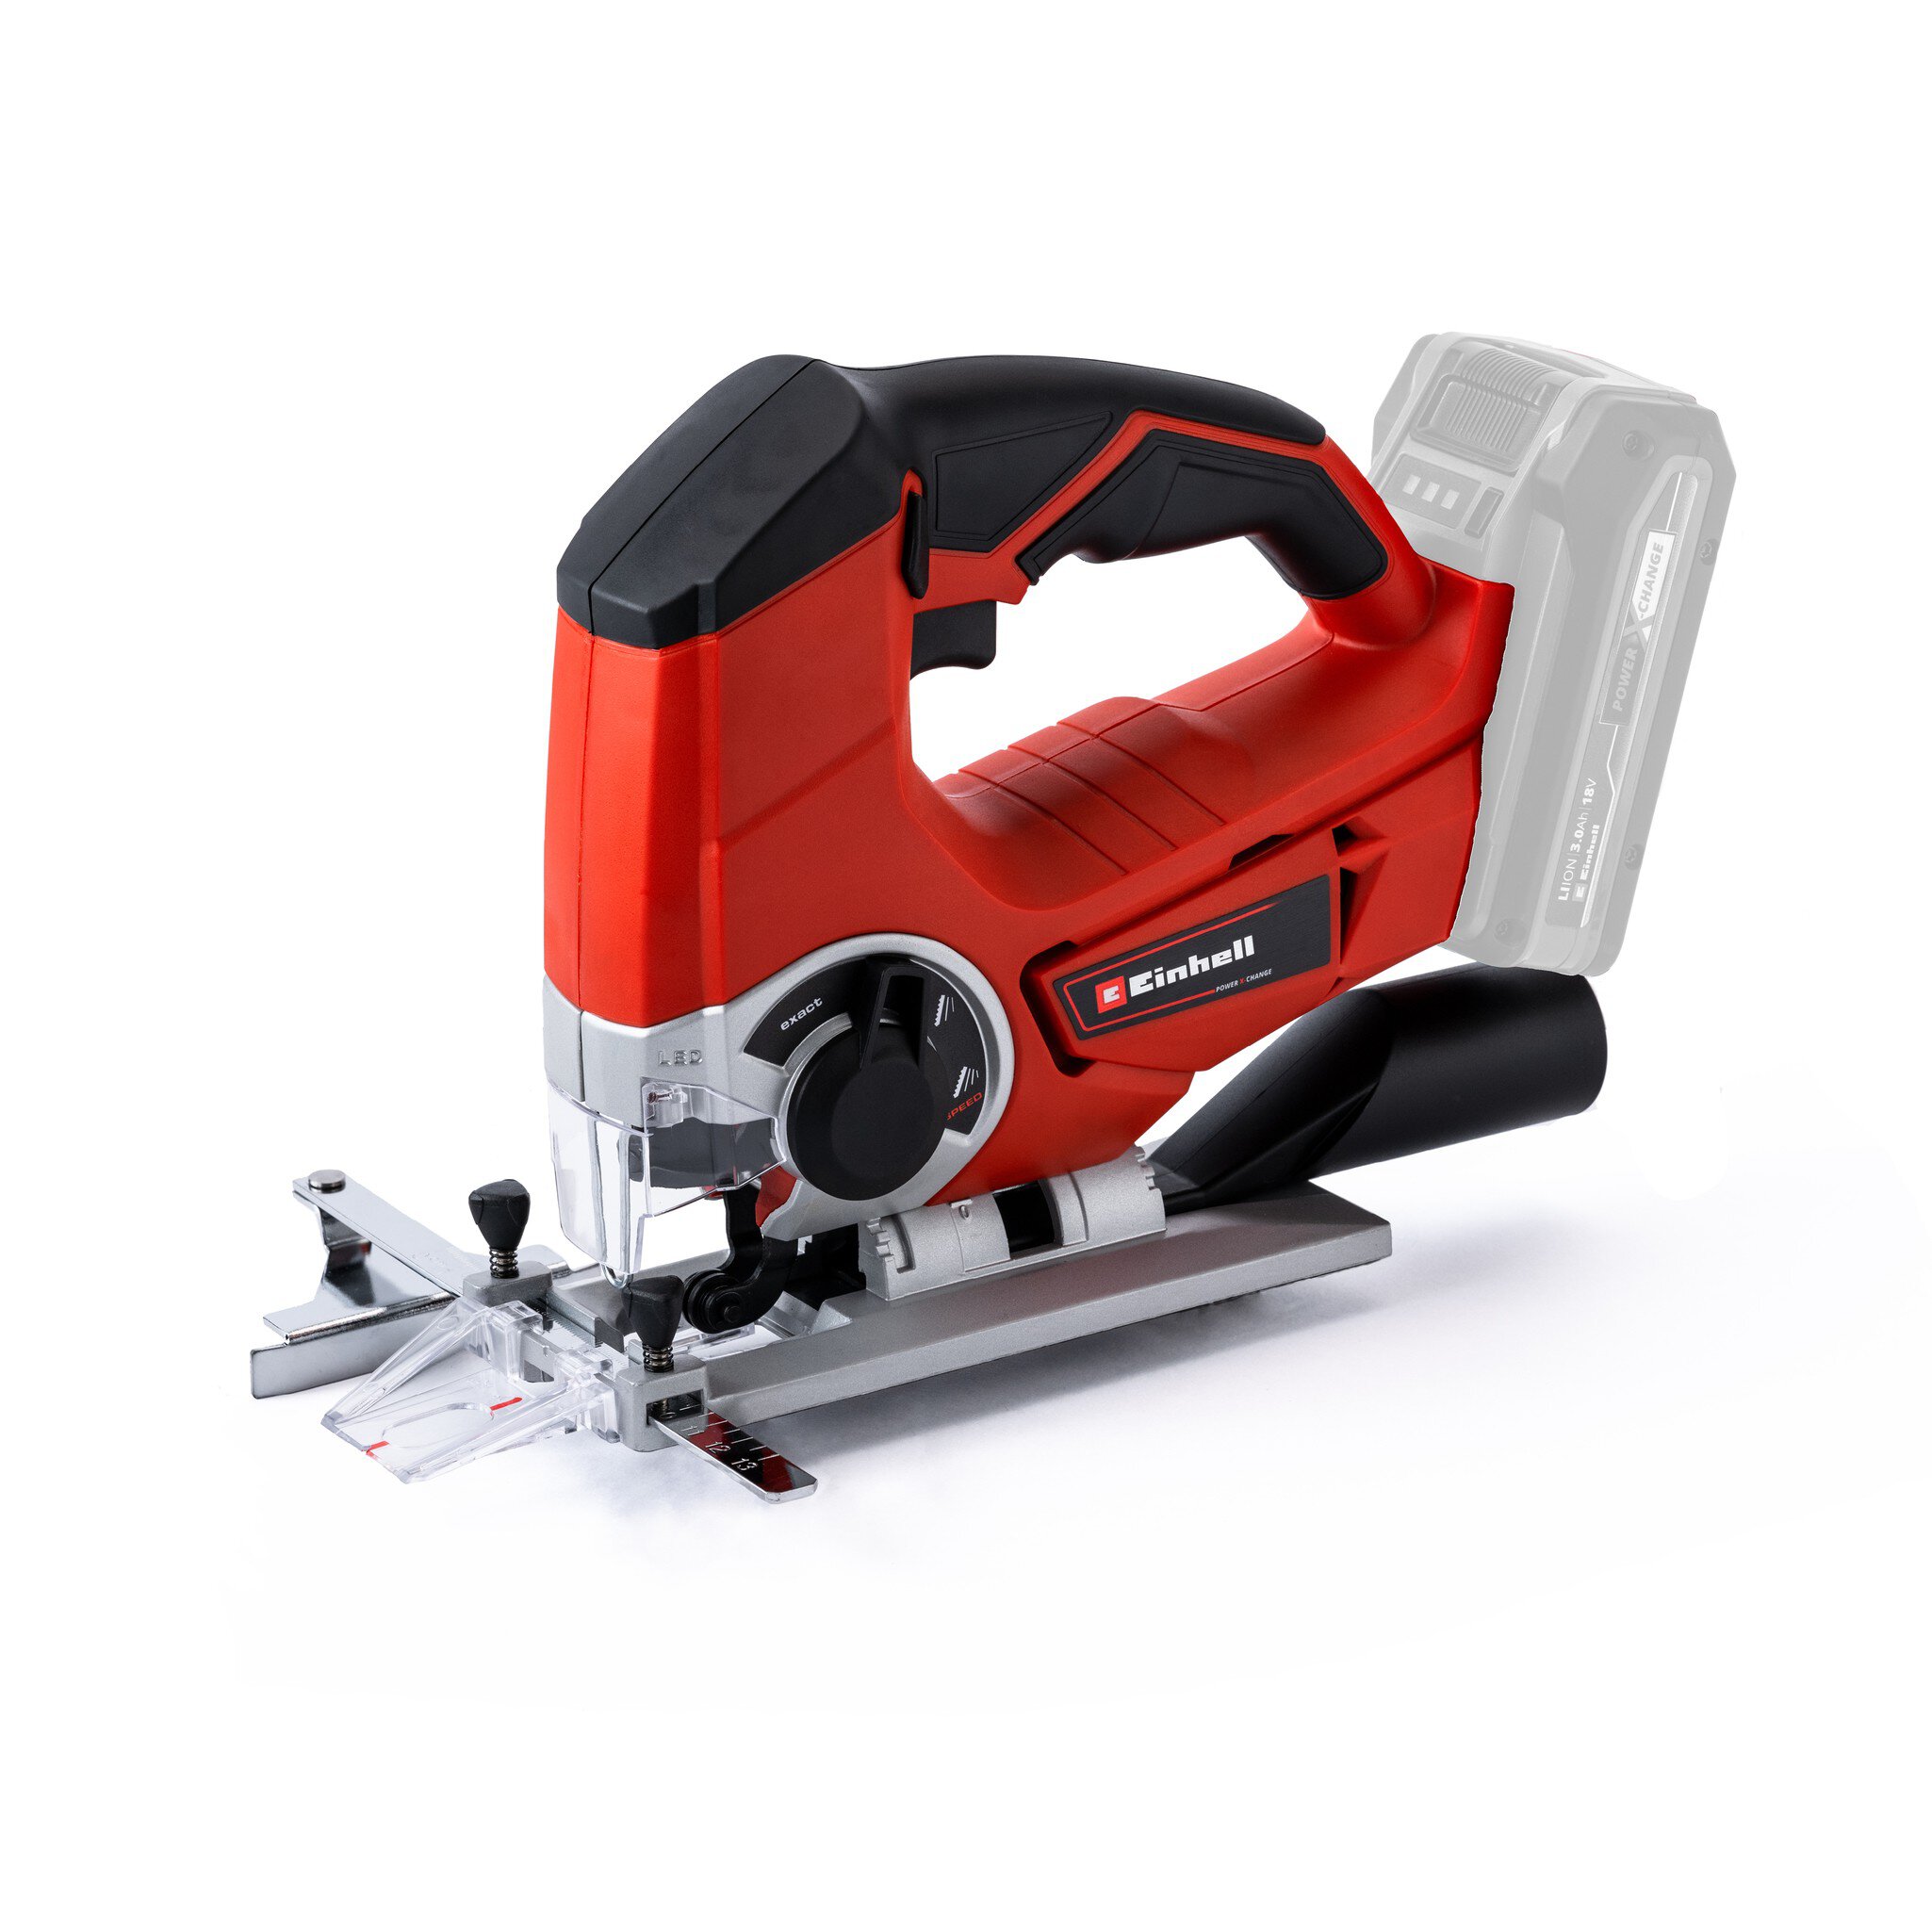
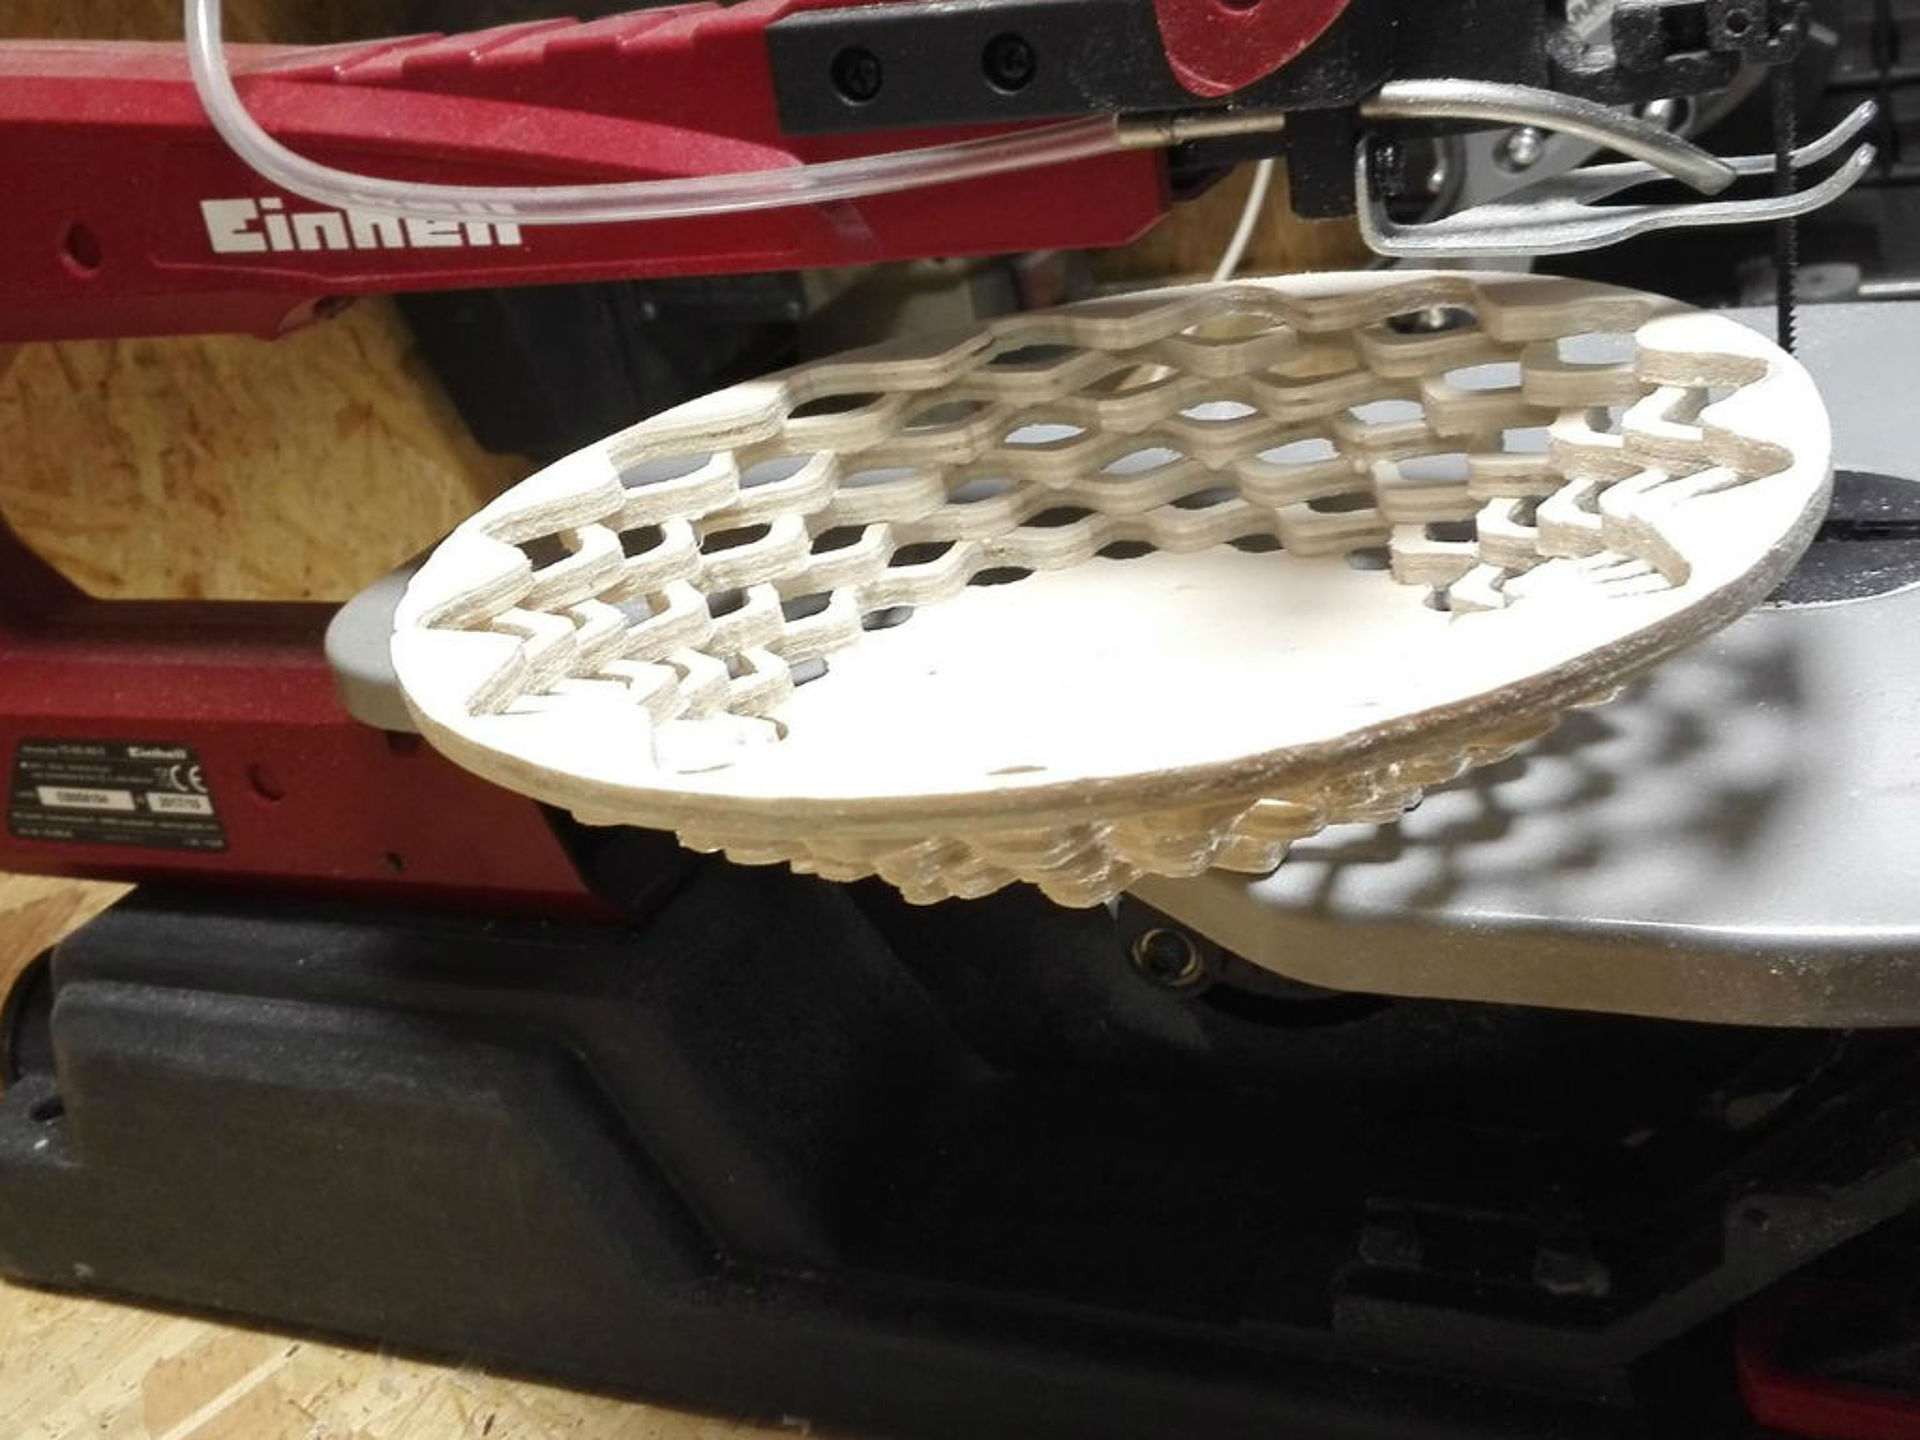
Decorative bowl with the scroll saw
You can never have enough bowls in a household. Whether it's for fruits, candies, keys or other small items - in this customized ornamental bowl, which you can easily build yourself with your scroll saw, these things now find a decorative repository.
And here´s how it works:
| Material | Tools |
|---|---|
| A plywood board about 25 x 25 cm, depending on the size of the template | Band saw / circular saw / jigsaw |
| A template in paper form | Scroll saw |
| Wax / paint / stain | Orbital sander / rotating sander / belt sander |
| Abrasive paper |
Step 1: The template
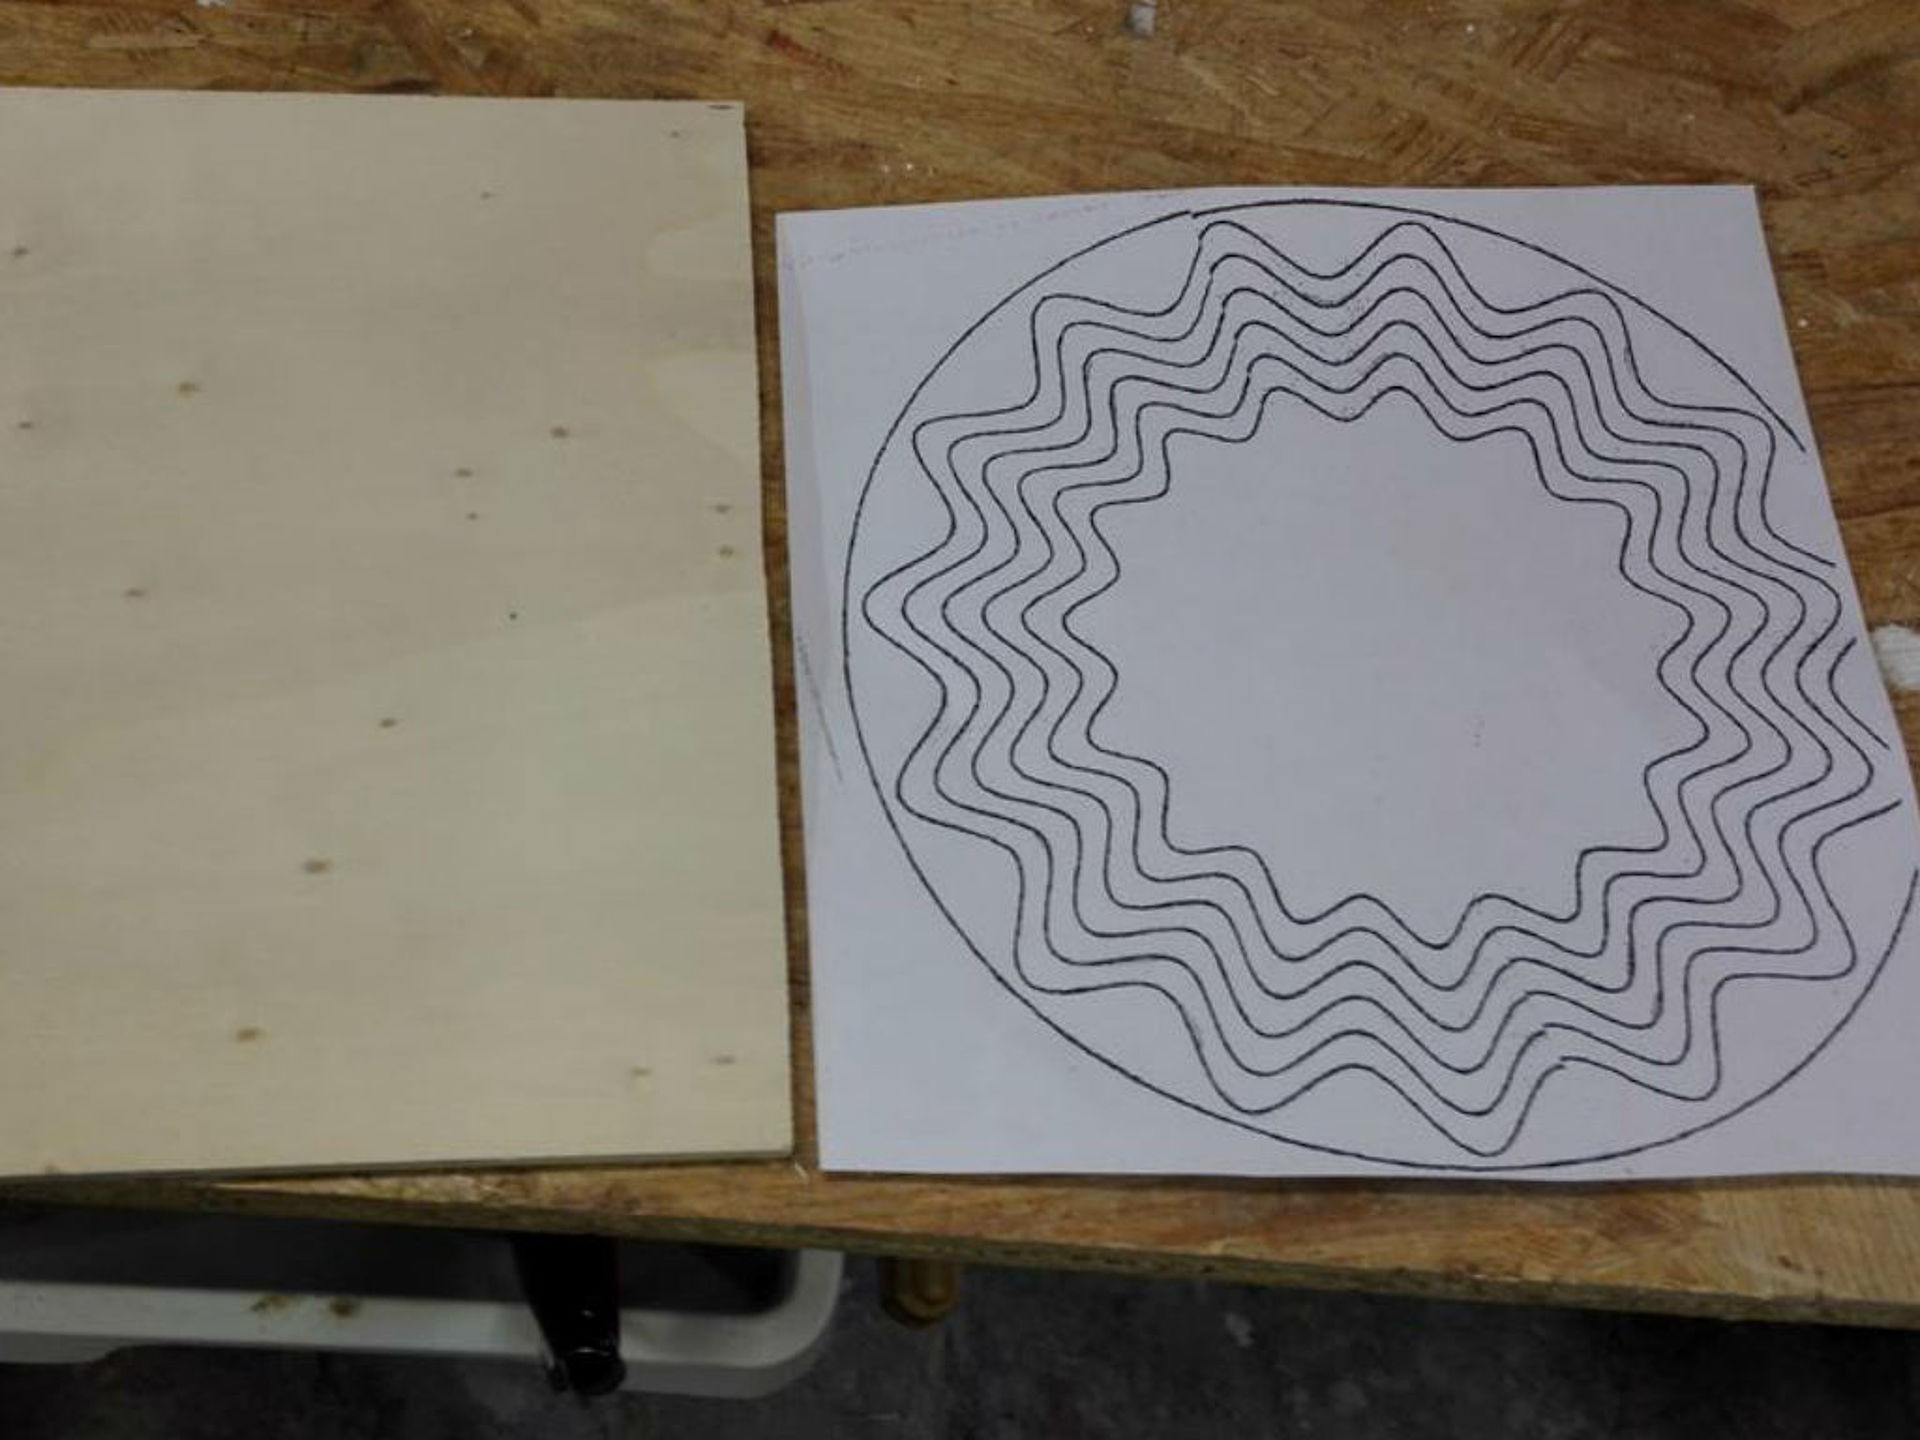
First we look for a suitable template. If you haven´t worked with the scroll saw yet, I would recommend choosing a rather simple template for the first bowl.
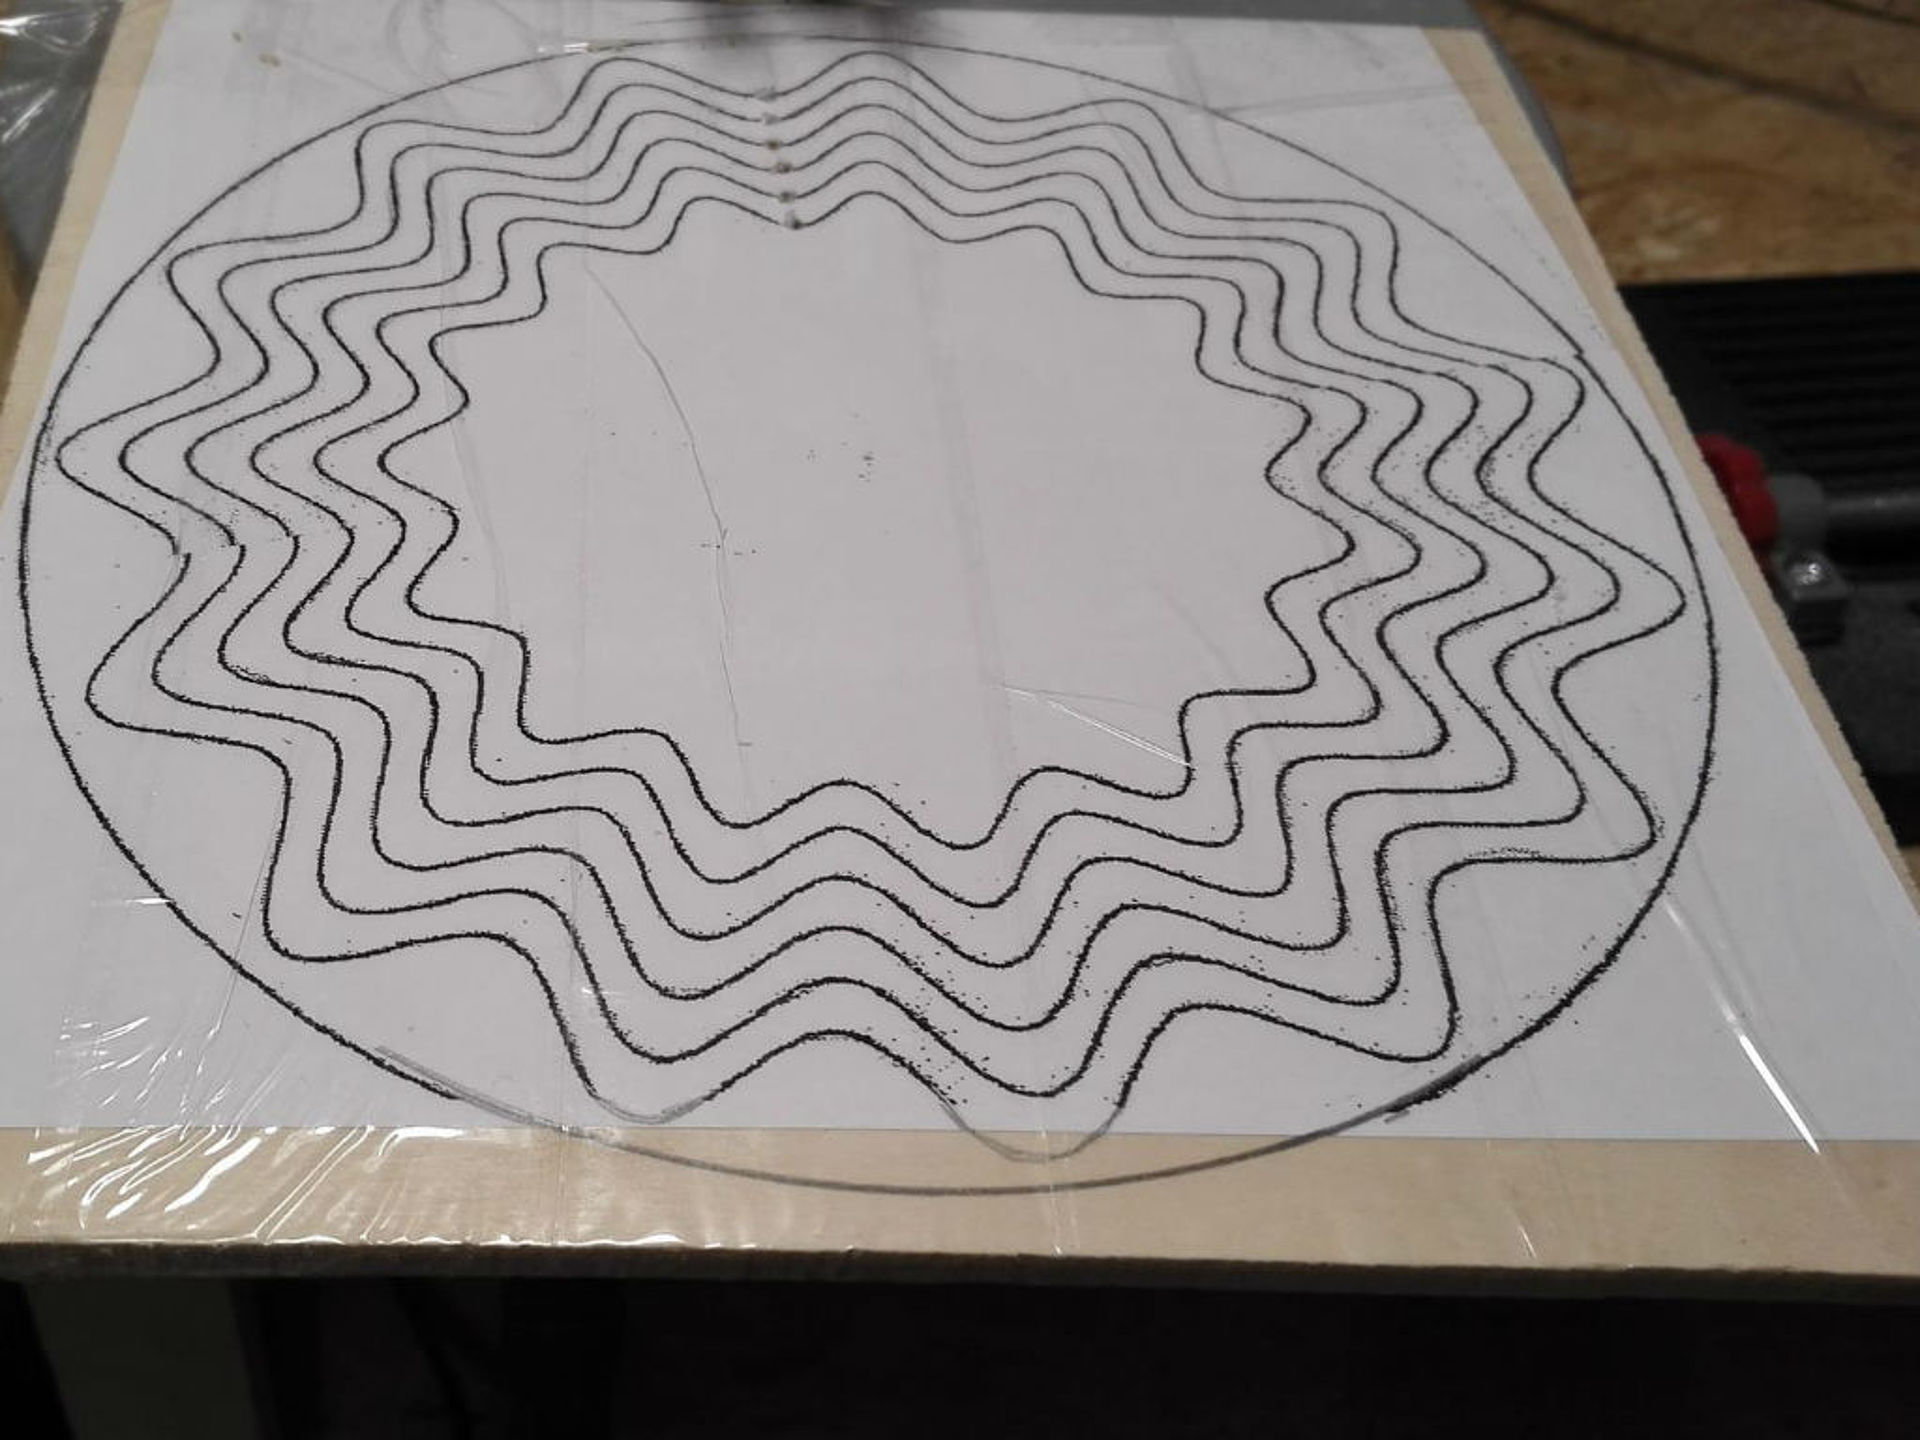
Now we glue the template with a removable spray adhesive. Furthermore, we glue a transparent package parcel tape on the template and board for further fixation. This also helps that the workpiece slides better over the saw table and the downholder of the scroll saw.
Step 2: The pre-drilling
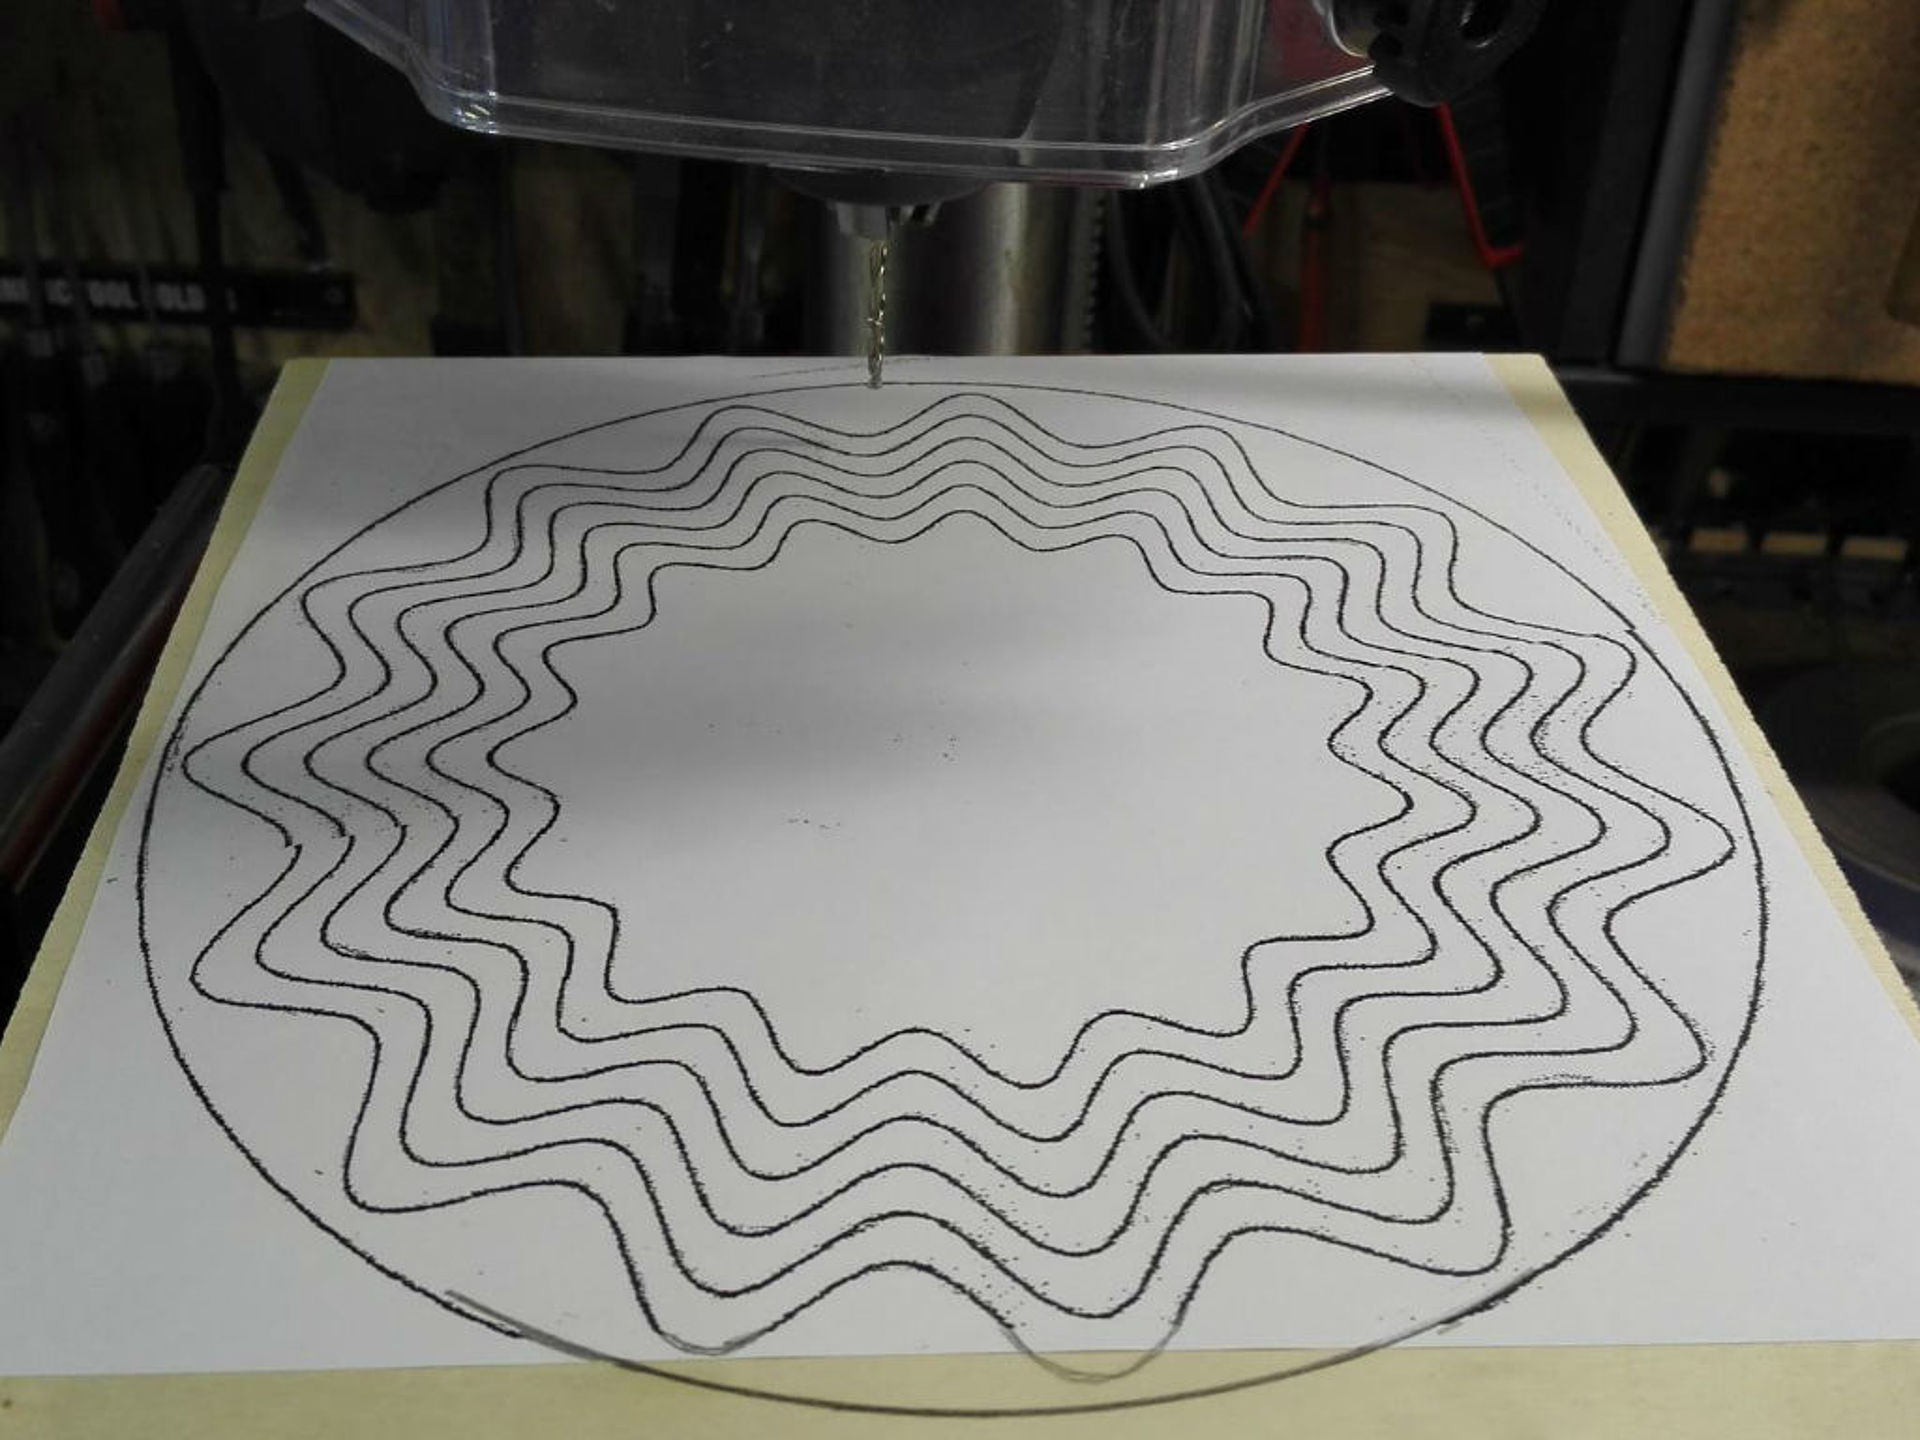
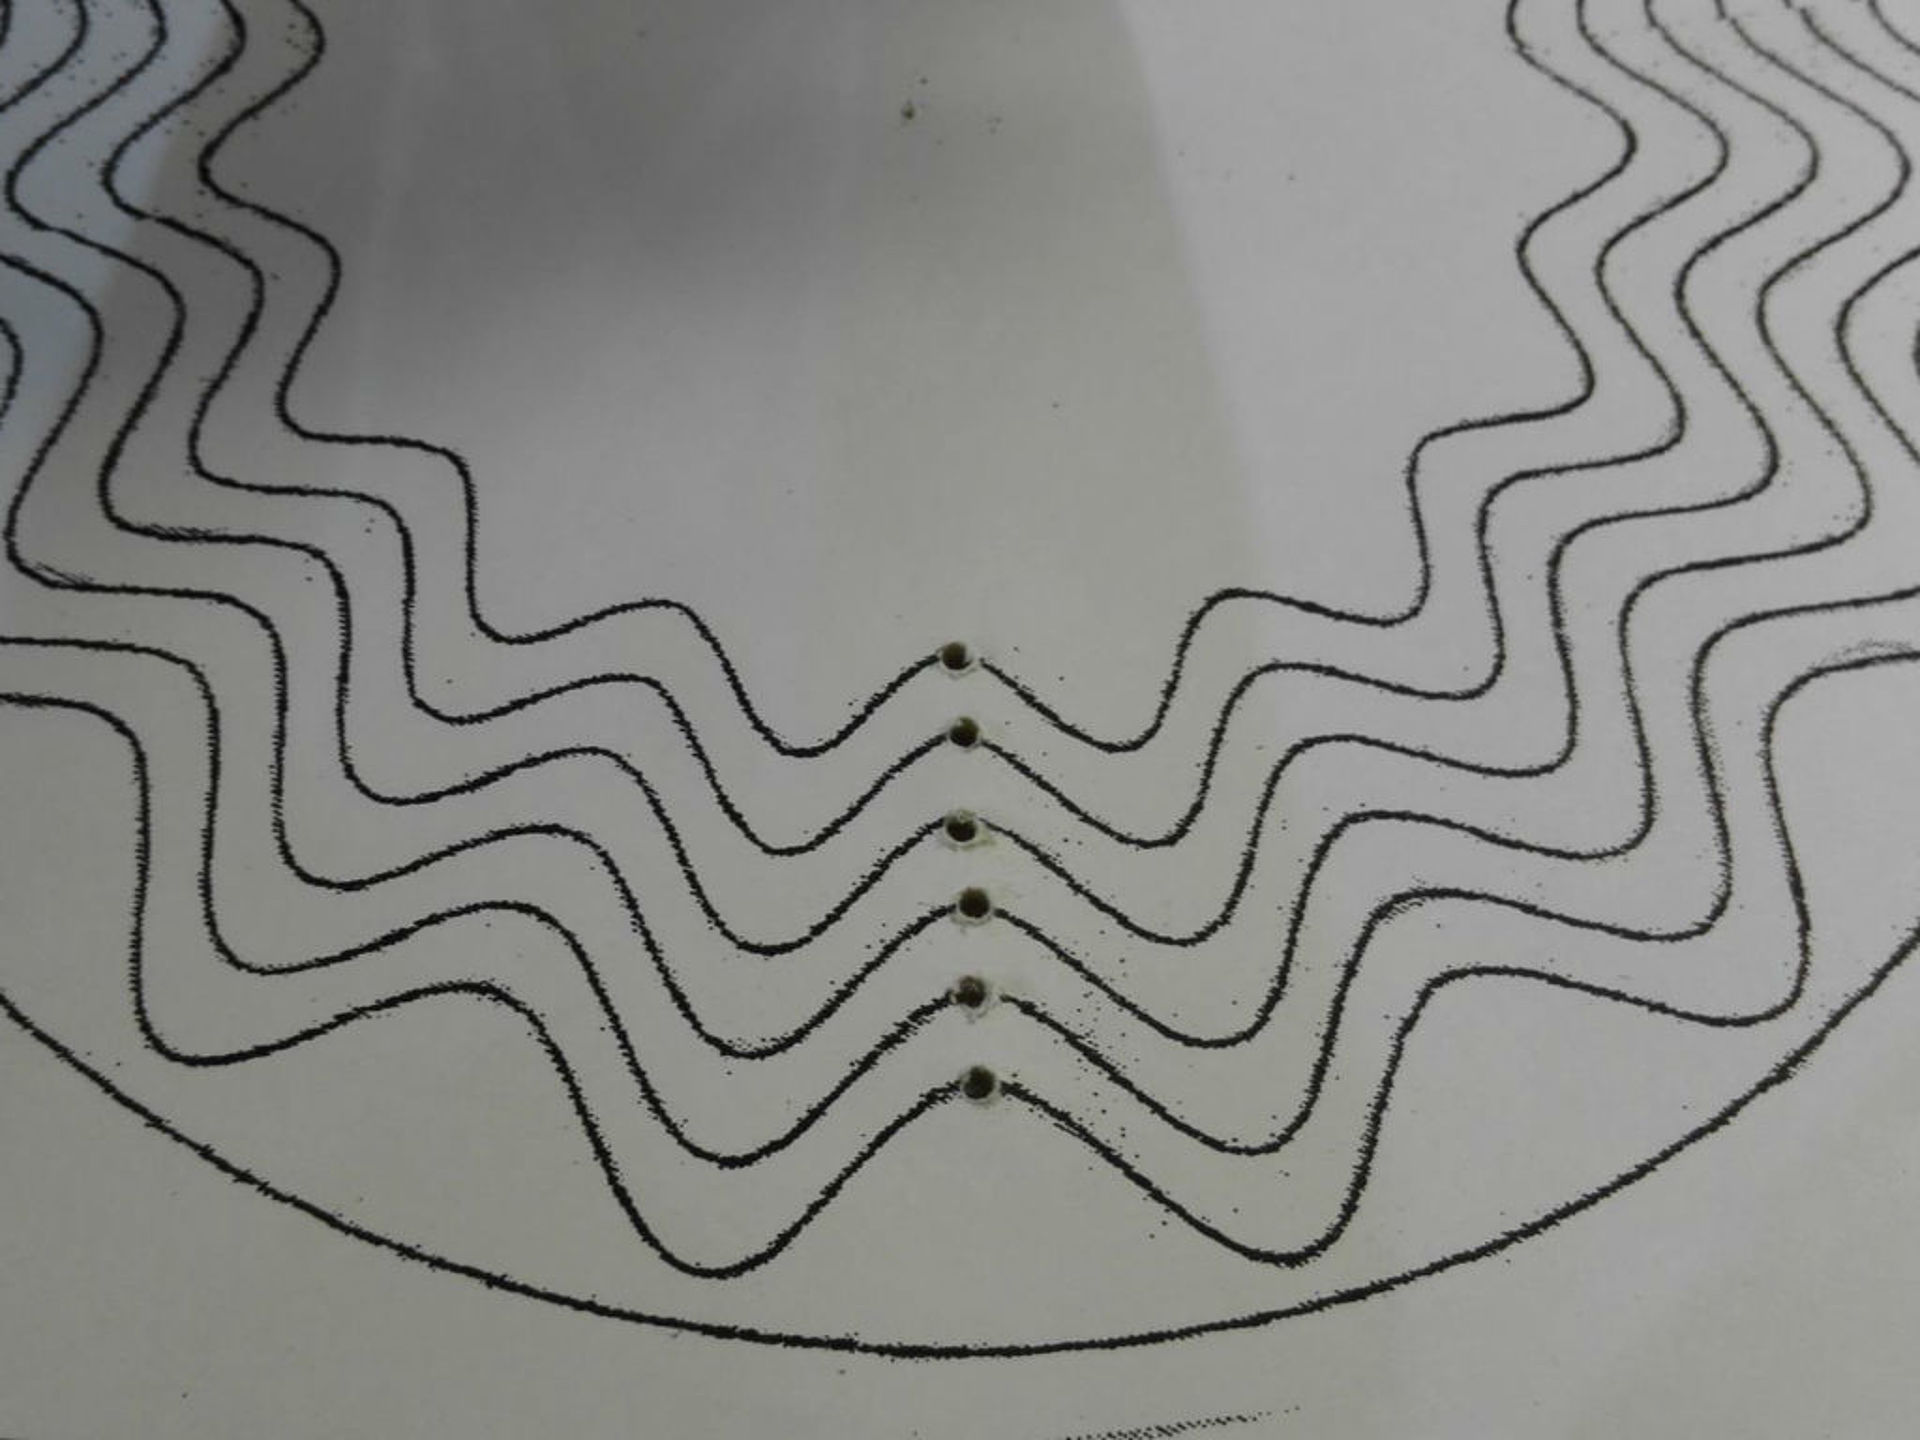
After drilling an approximately 1.5mm wide hole as a starting point for the saw blade into each sawing line on the template, we are ready for sawing. We are clamping now a round saw blade in the lower arm of the scroll saw.
Then we guide the saw blade through the innermost hole. The transparent tape holds the template and the outermost rings tight. The saw blade can now also be clamped up at this step.
Step 3: The sawing
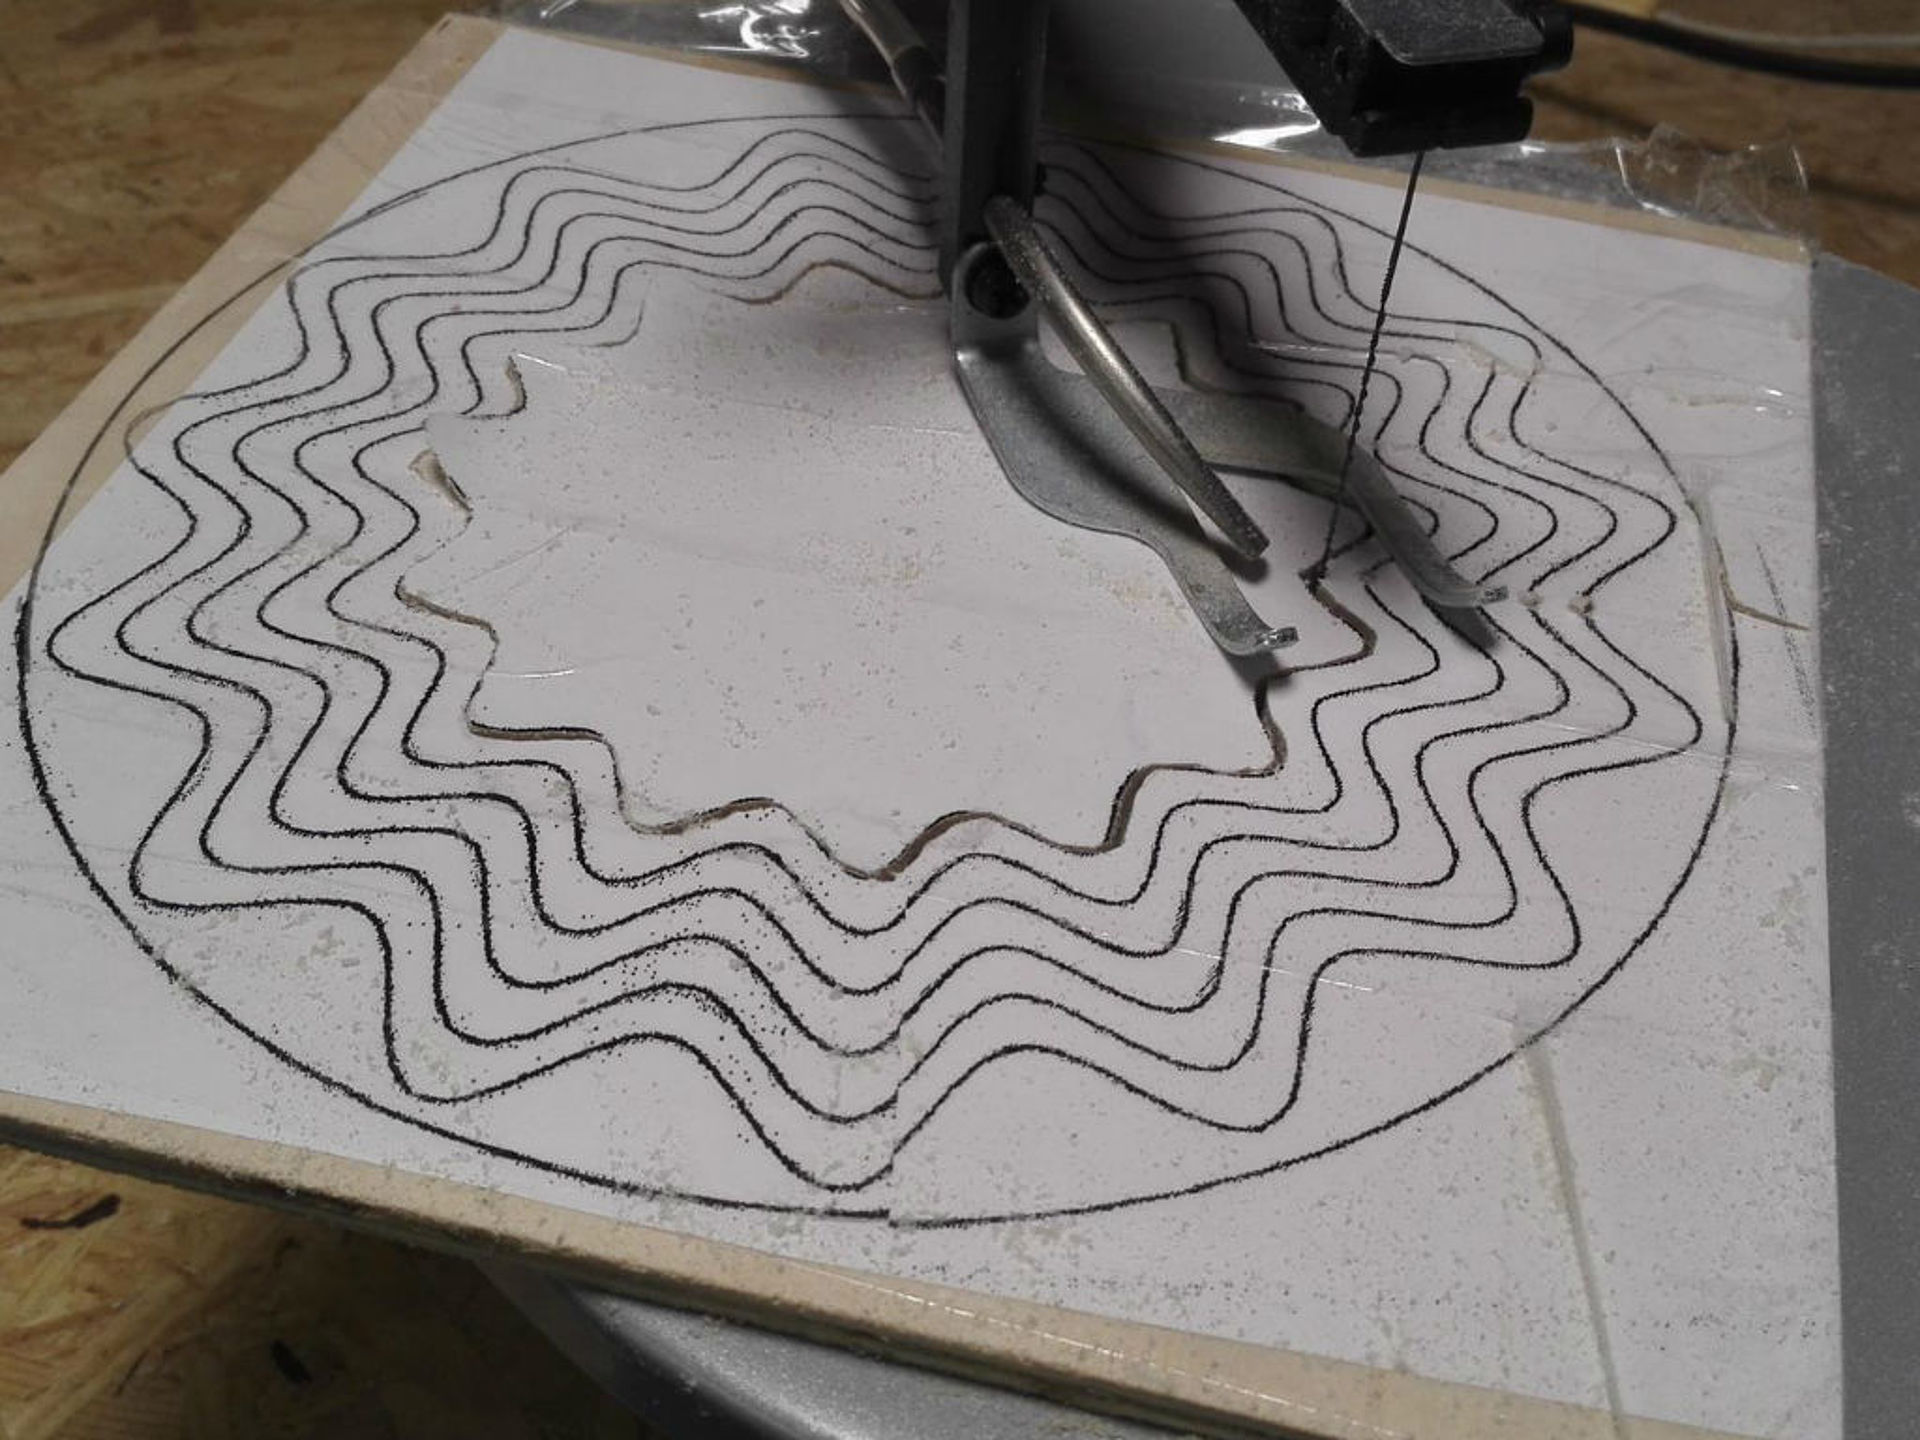
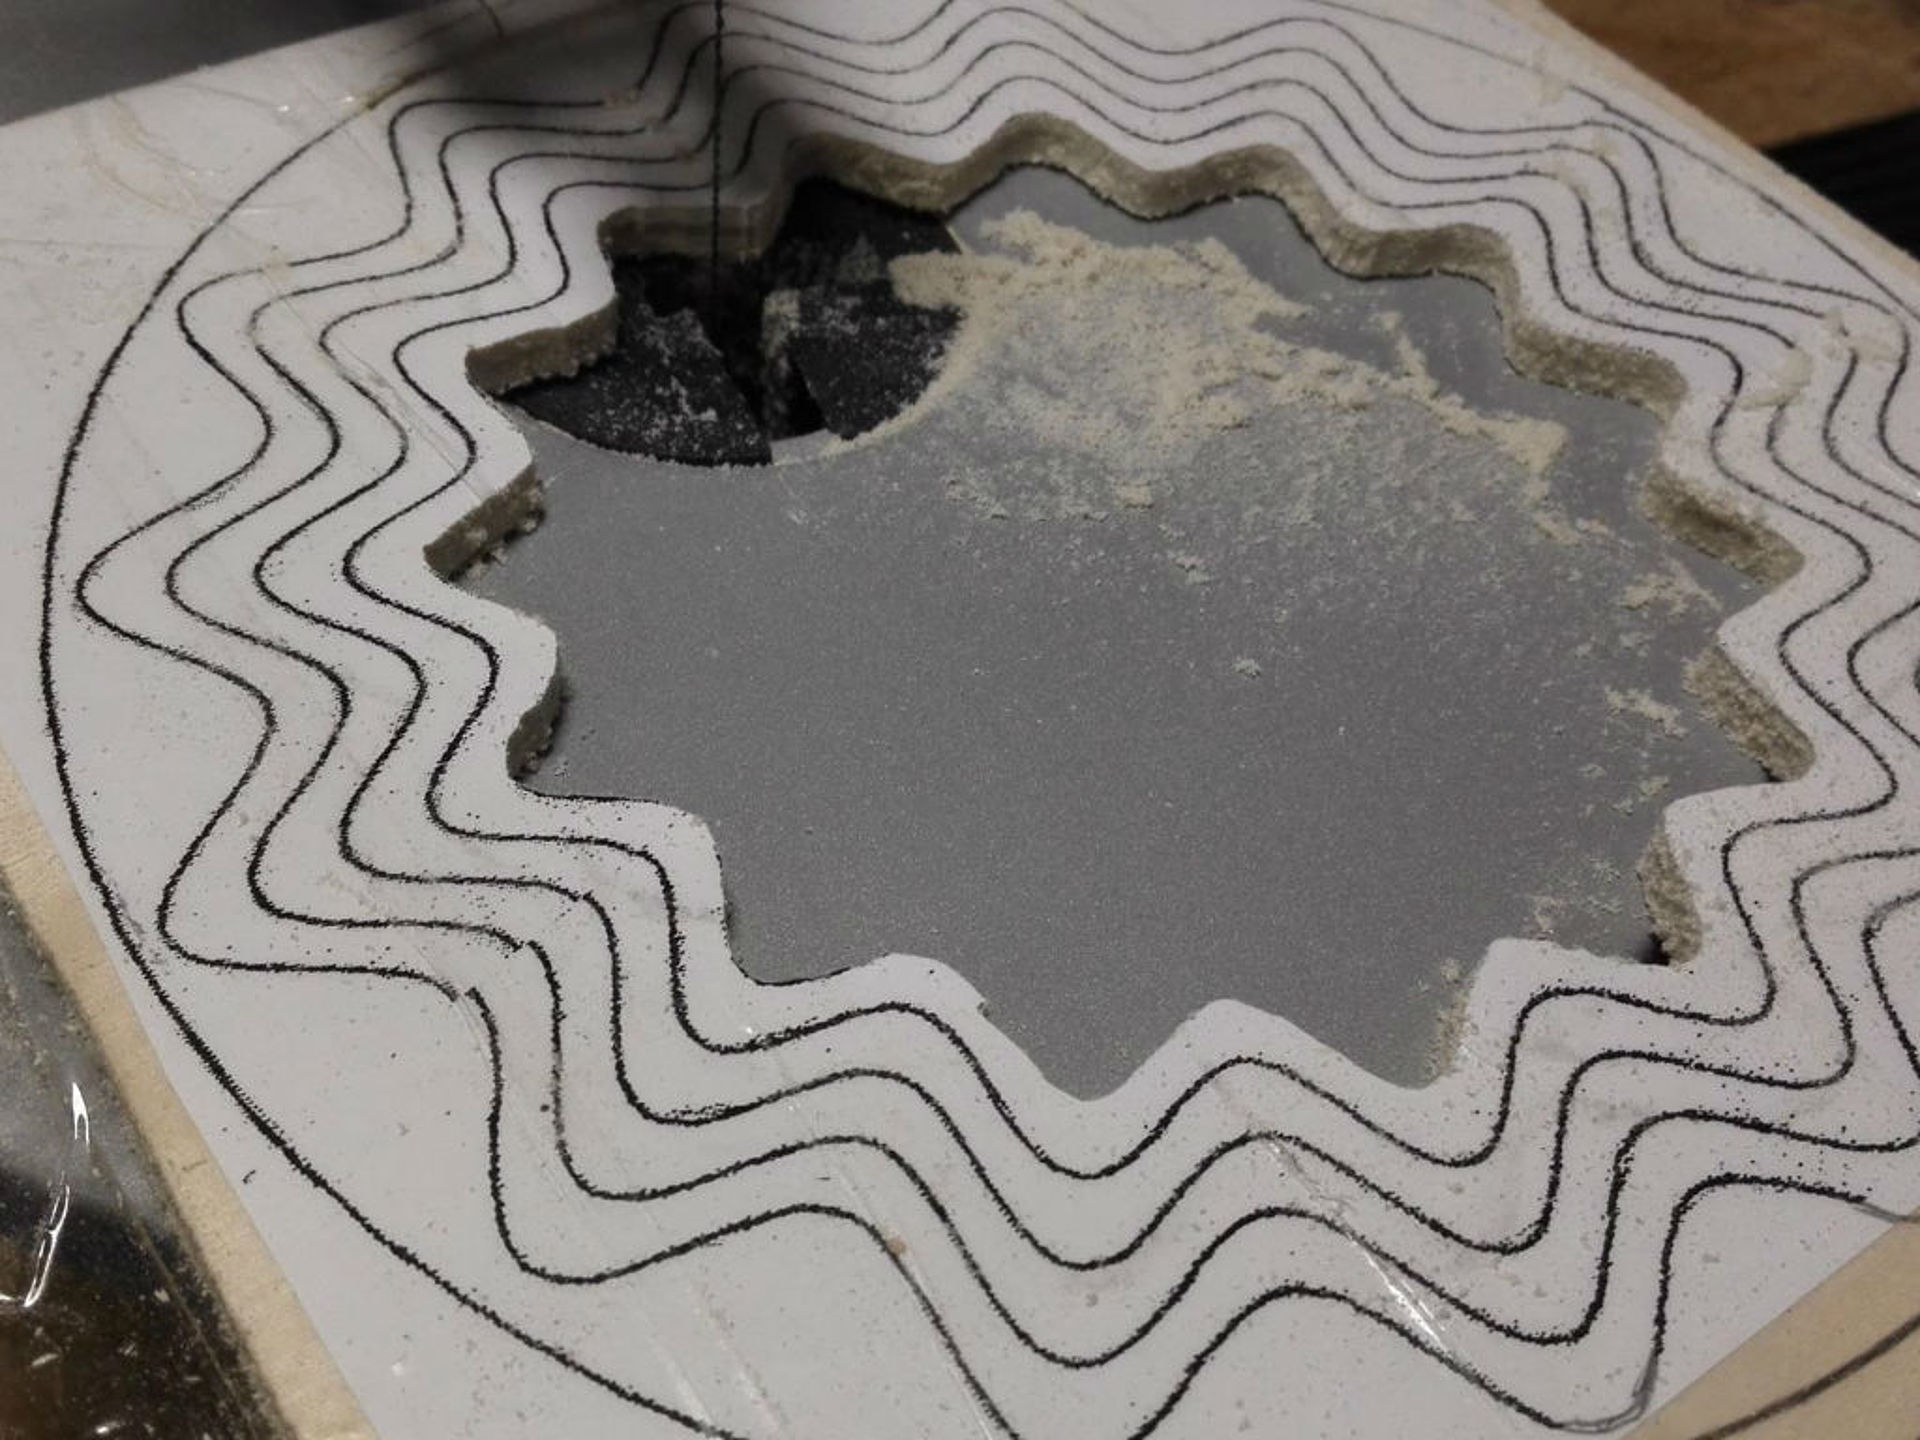
Once these steps are done, we can start sawing. Maybe you'll do a few test cuts with the saw before. I always saw from the inside out. Take your time, because the cleaner you saw, the better the shell will look later. Afterwards, the remains of the template and the adhesive tape can be removed.
Step 4: The grinding
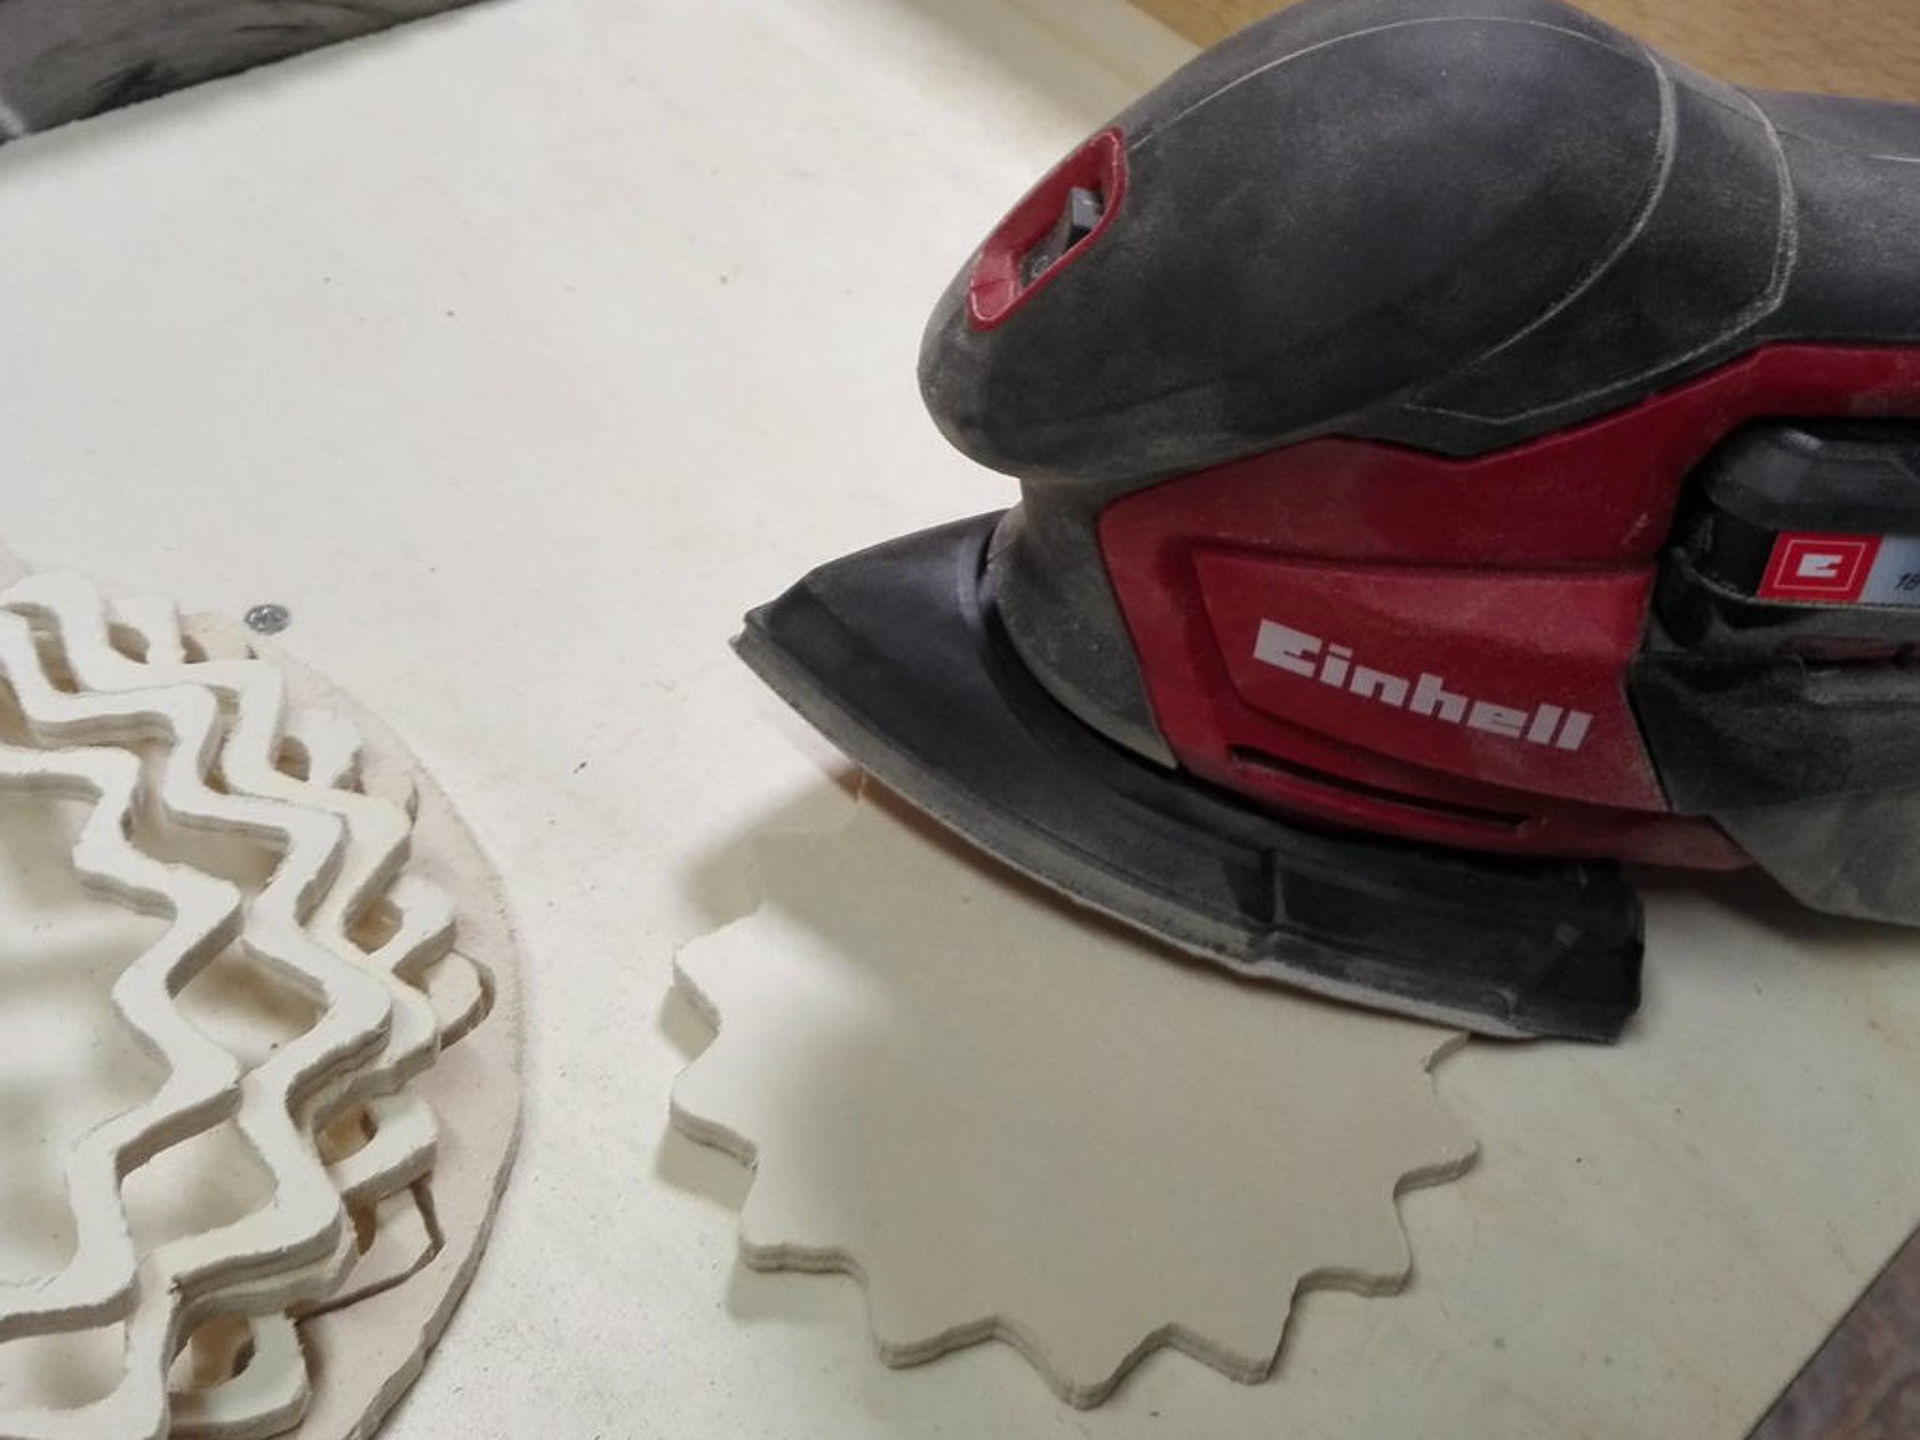
Despite all accuracy, small bumps in the individual rings or segments usually arise during sawing. But to make the finished bowl nicely symmetrical, we'll grind it all the way until we like it. I used my Einhell cordless multi-sander for this.
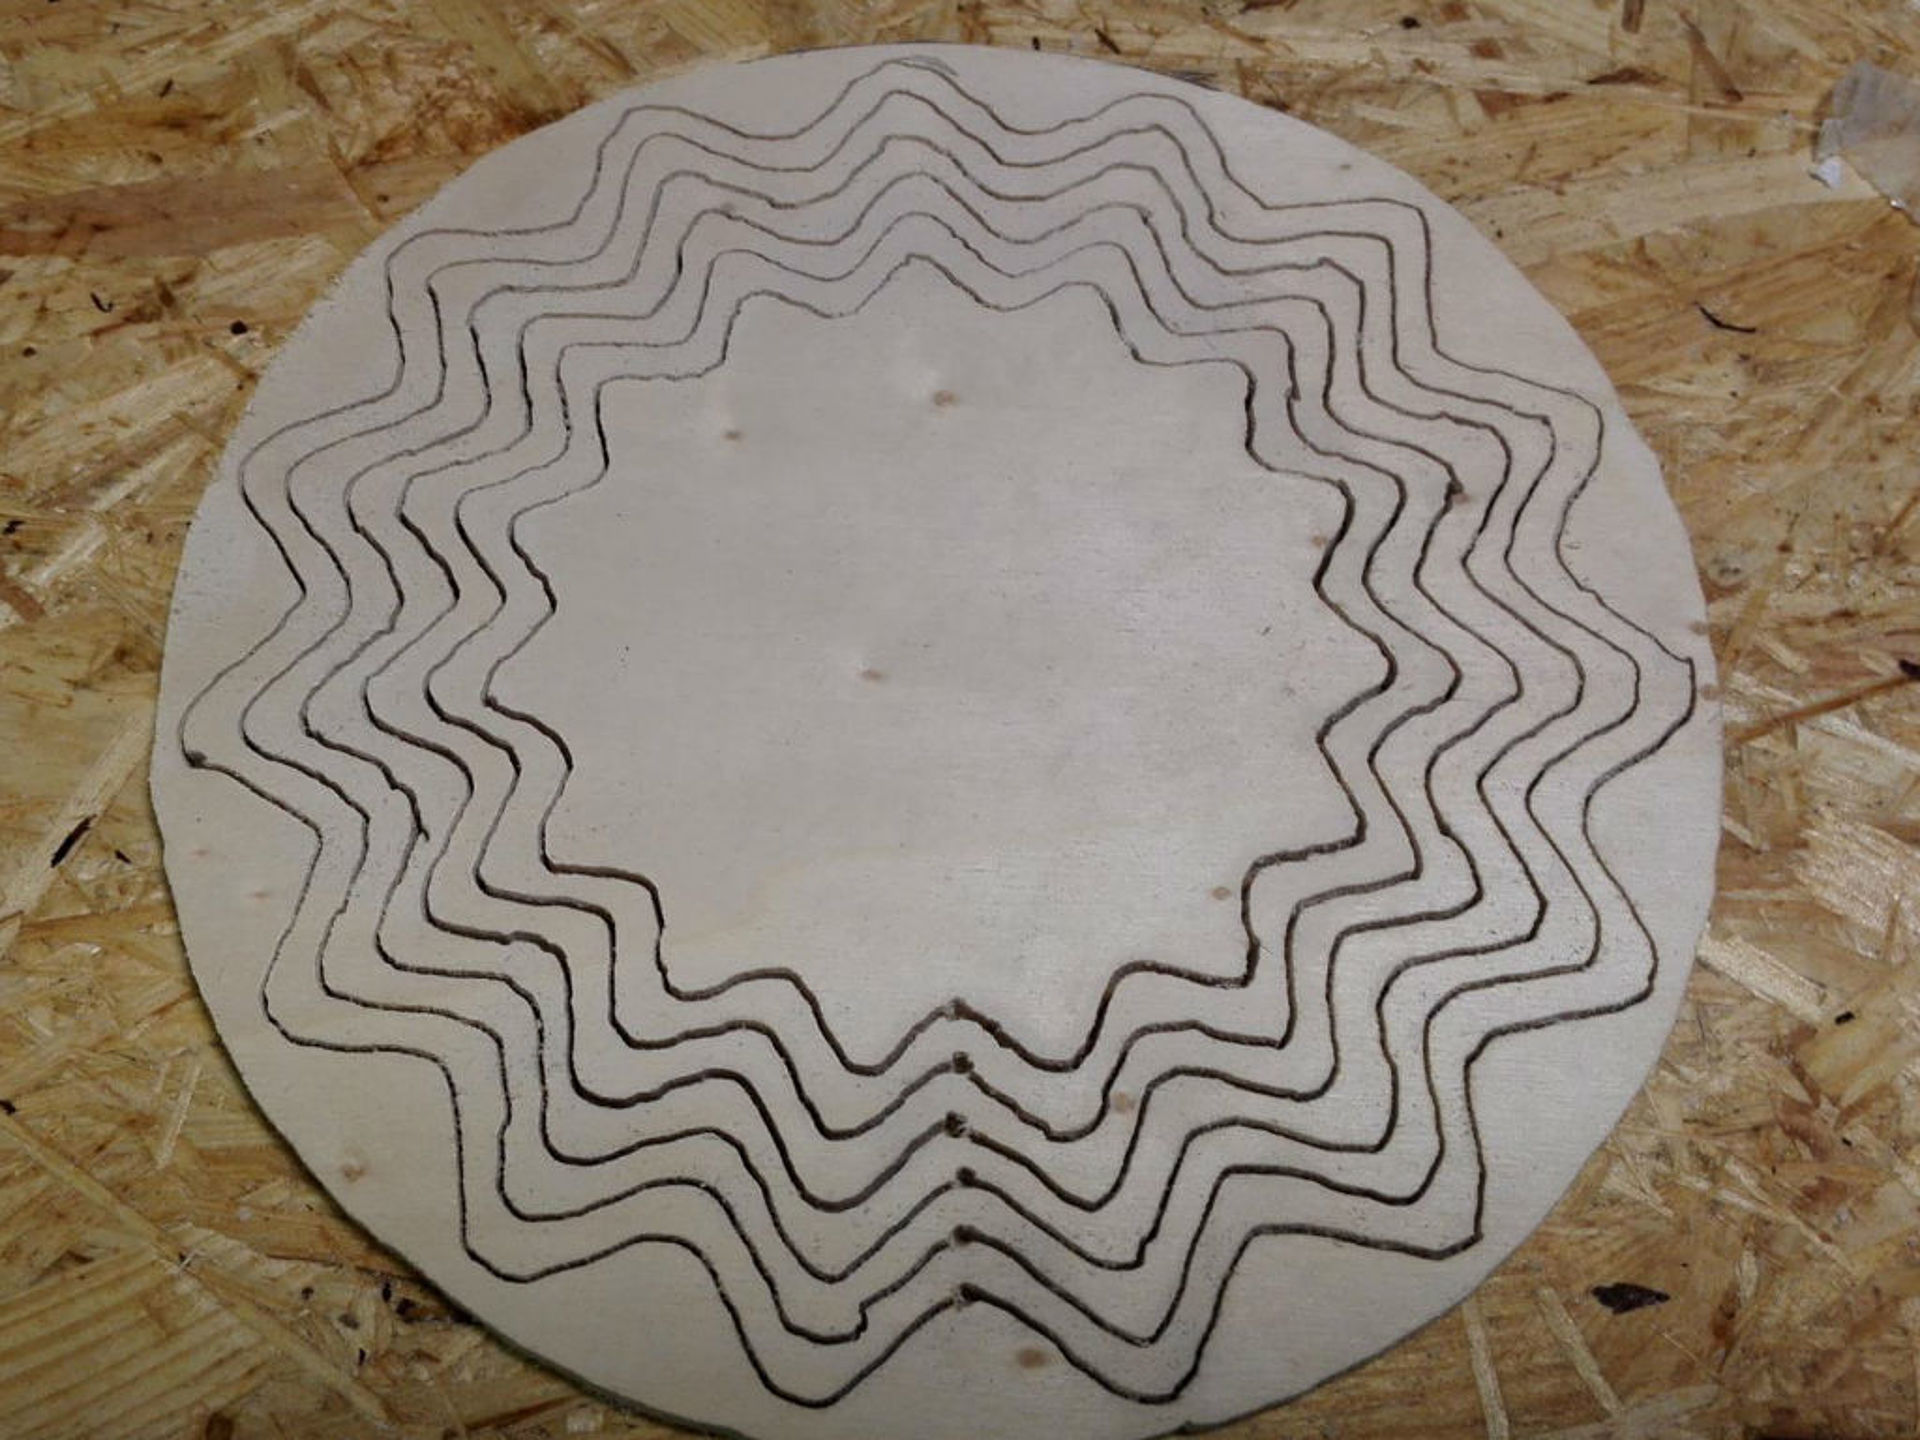
Step 5: The gluing
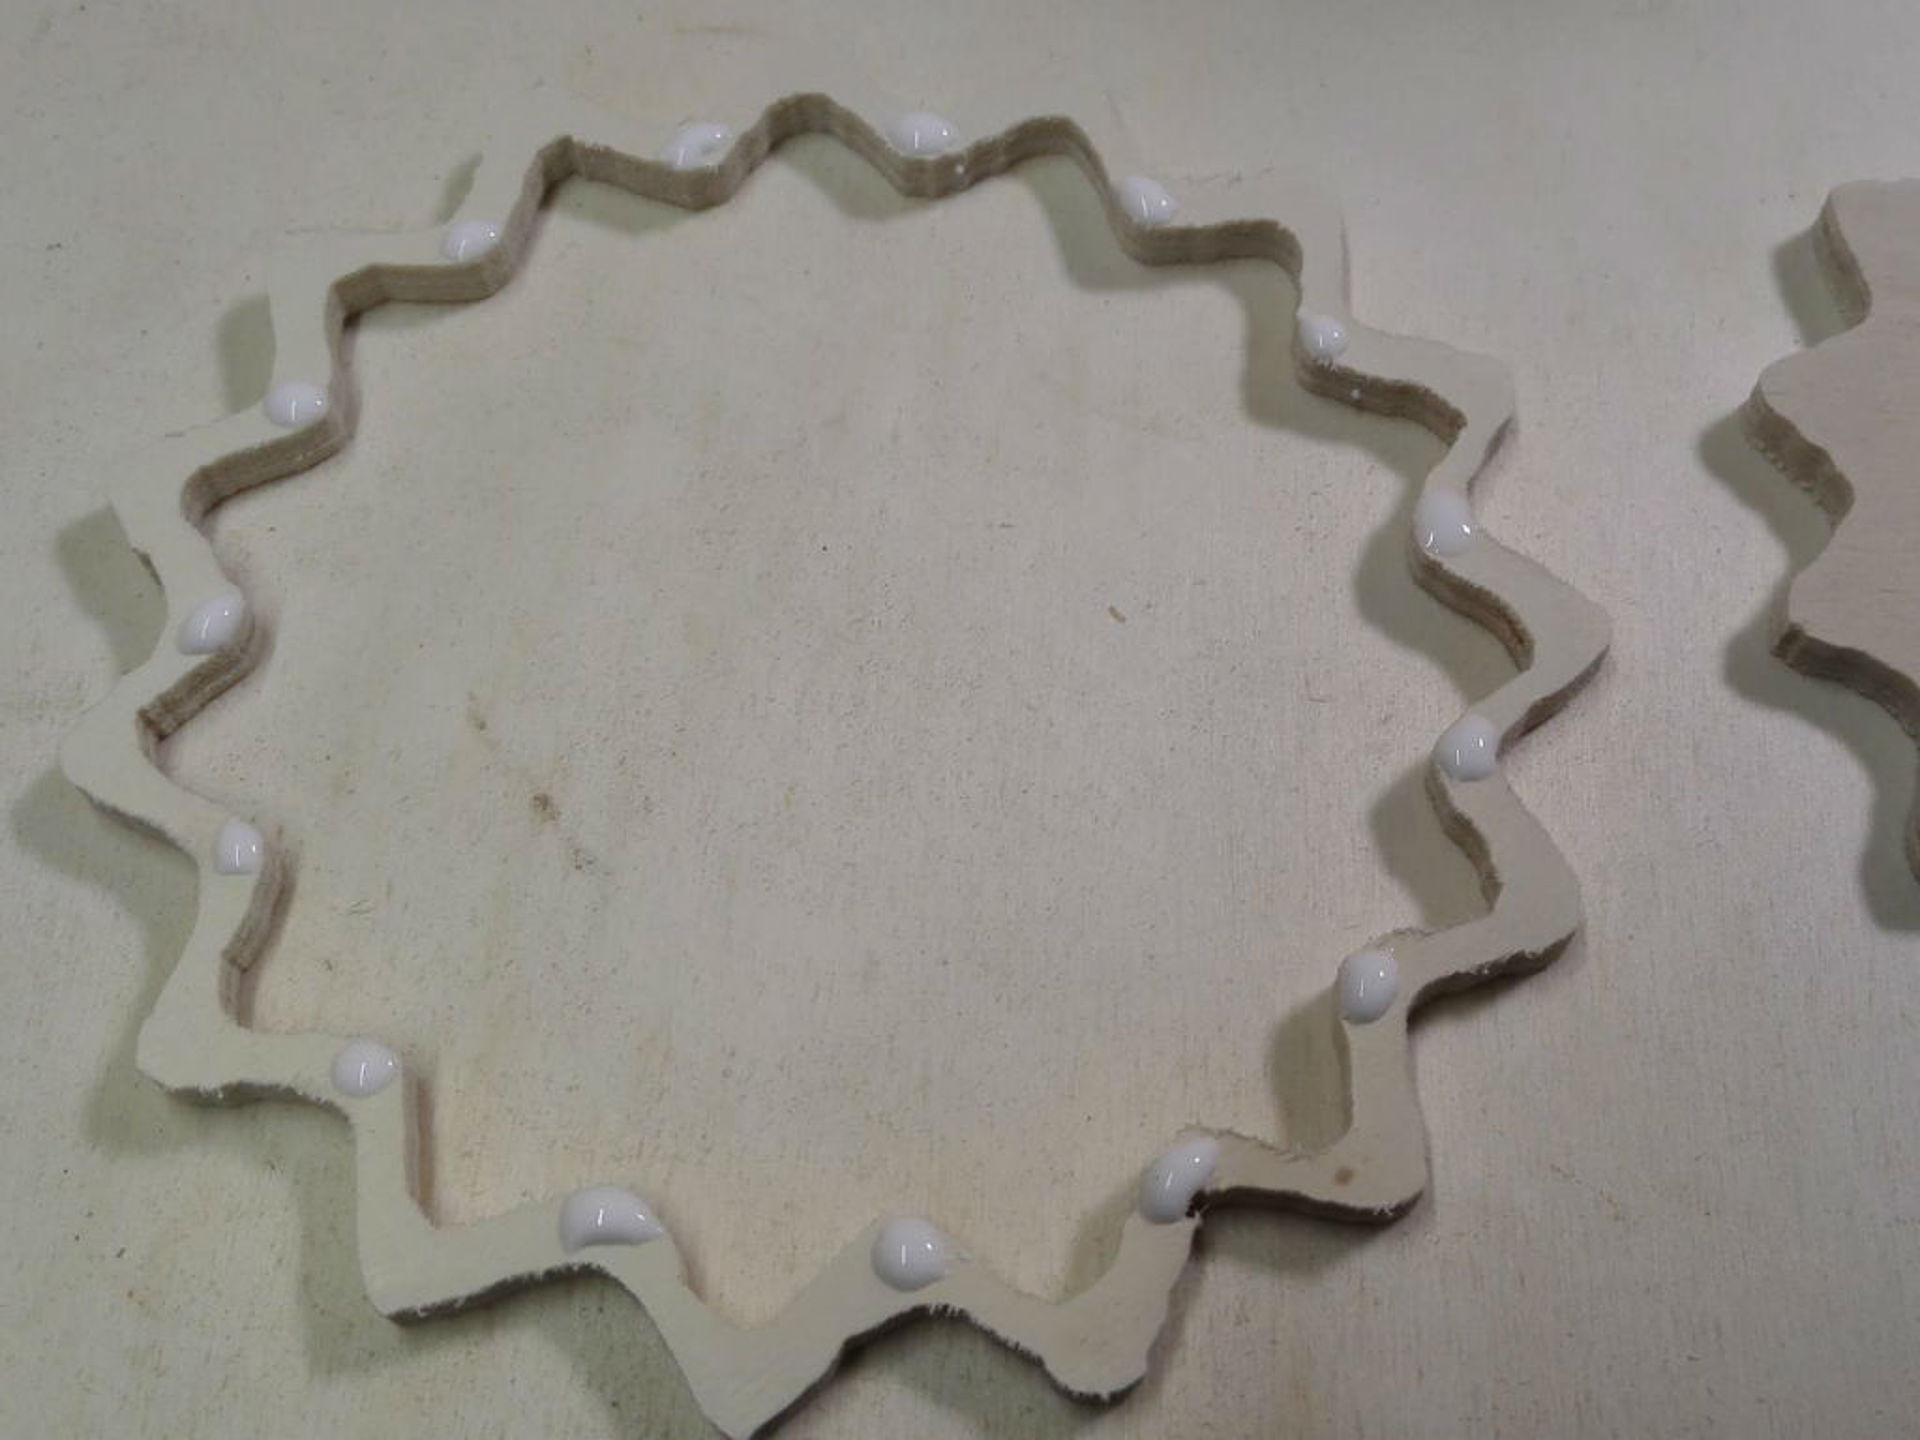
Before we glue the individual slices together, we put them on a trial basis, to see if we want to glue them like this later. If the whole thing looks good, we finally glue the pieces together. Thereby we always put corner on corner. Then it can be glued. Because only the corners overlap, it is sufficient if we only apply the glue there.
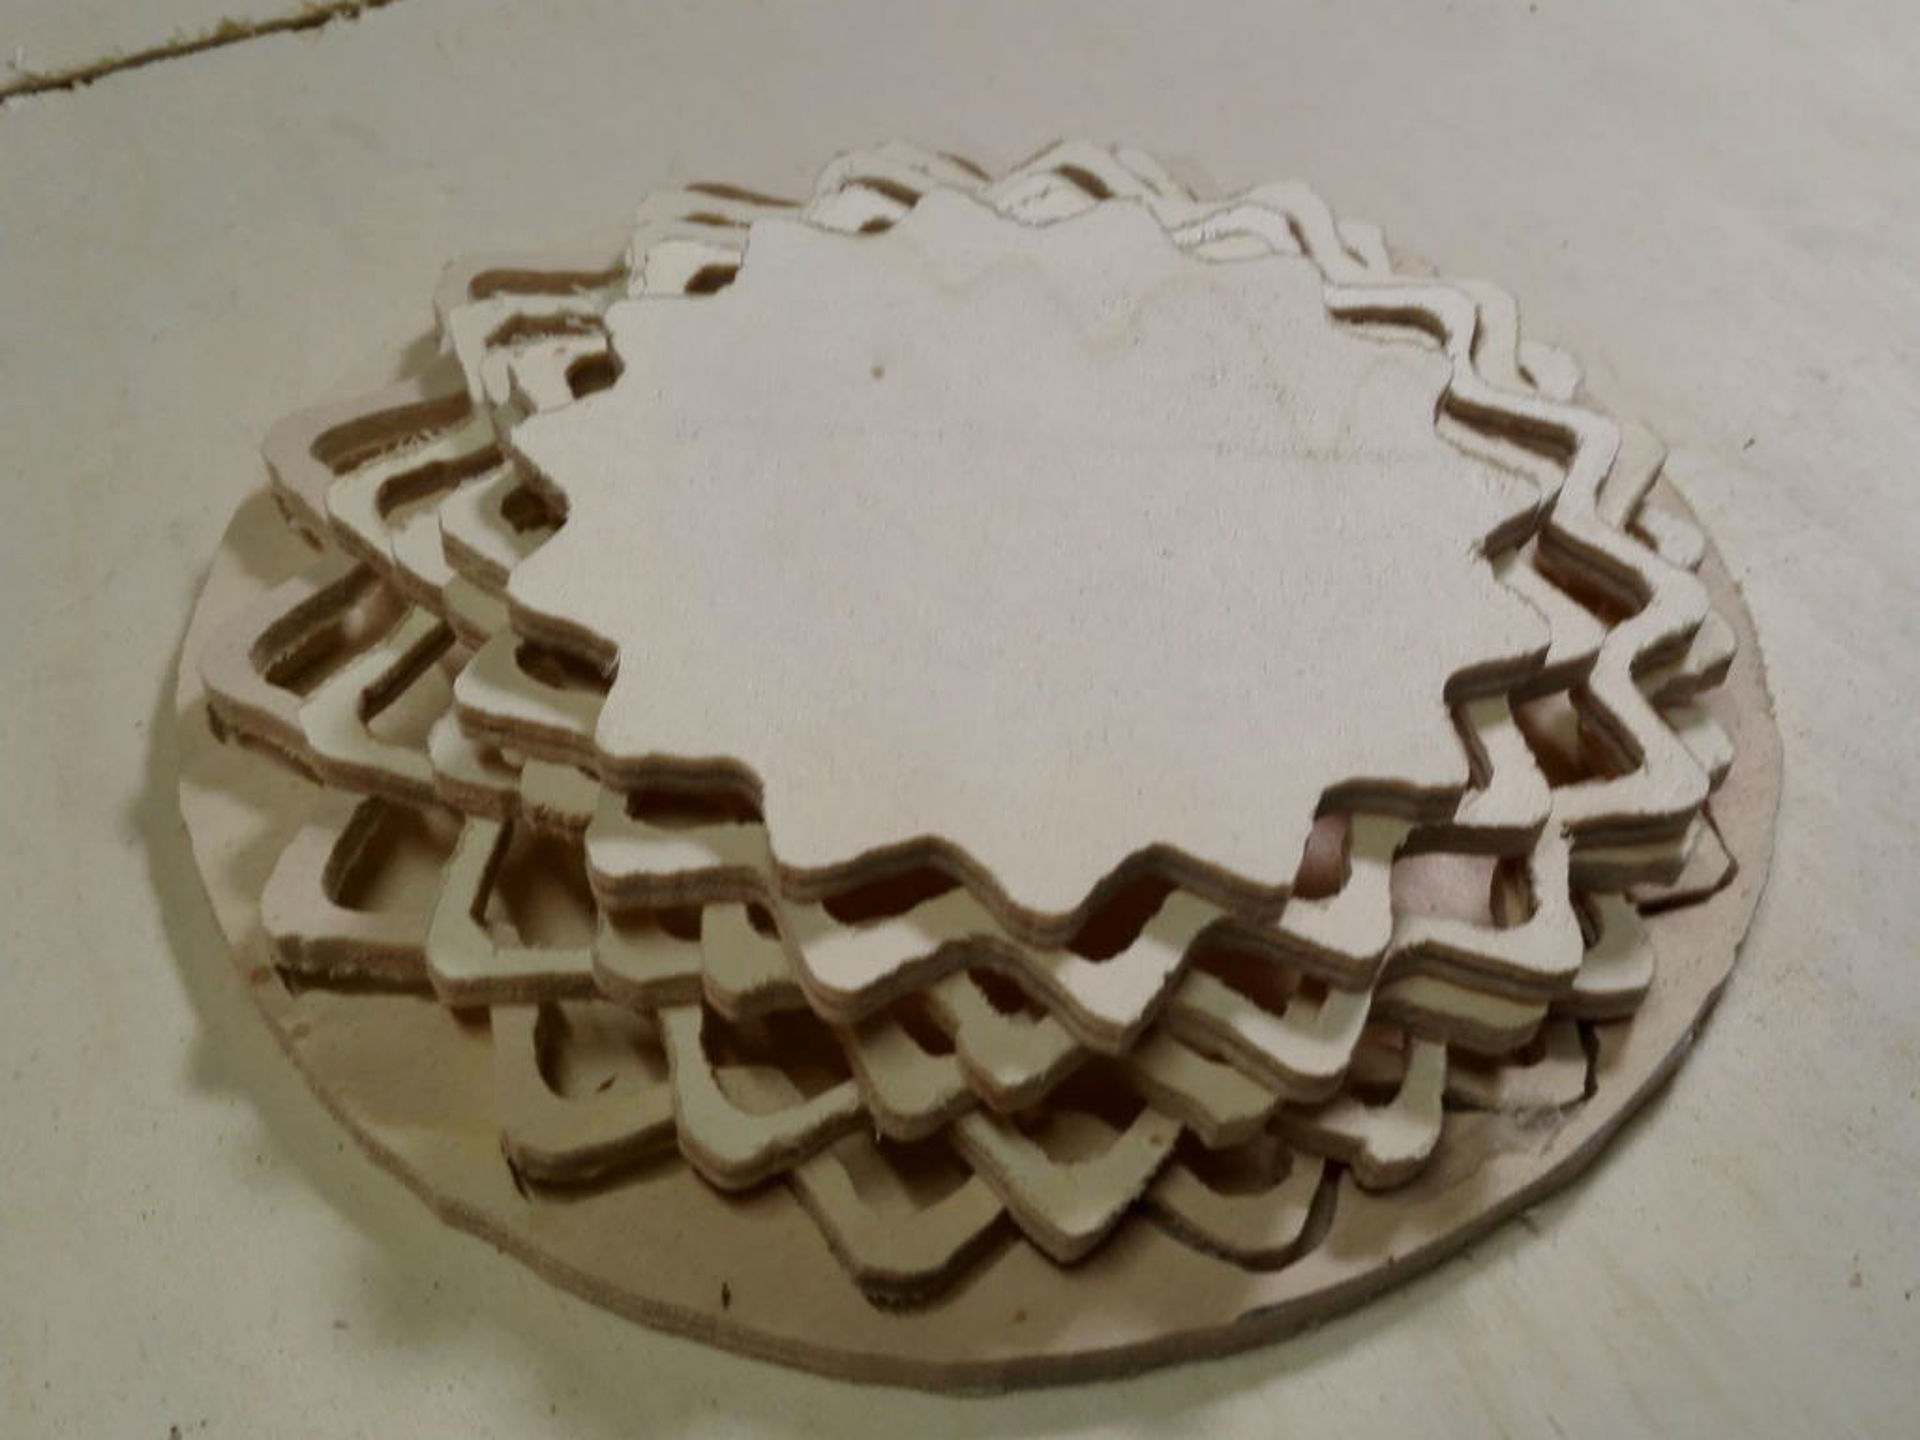
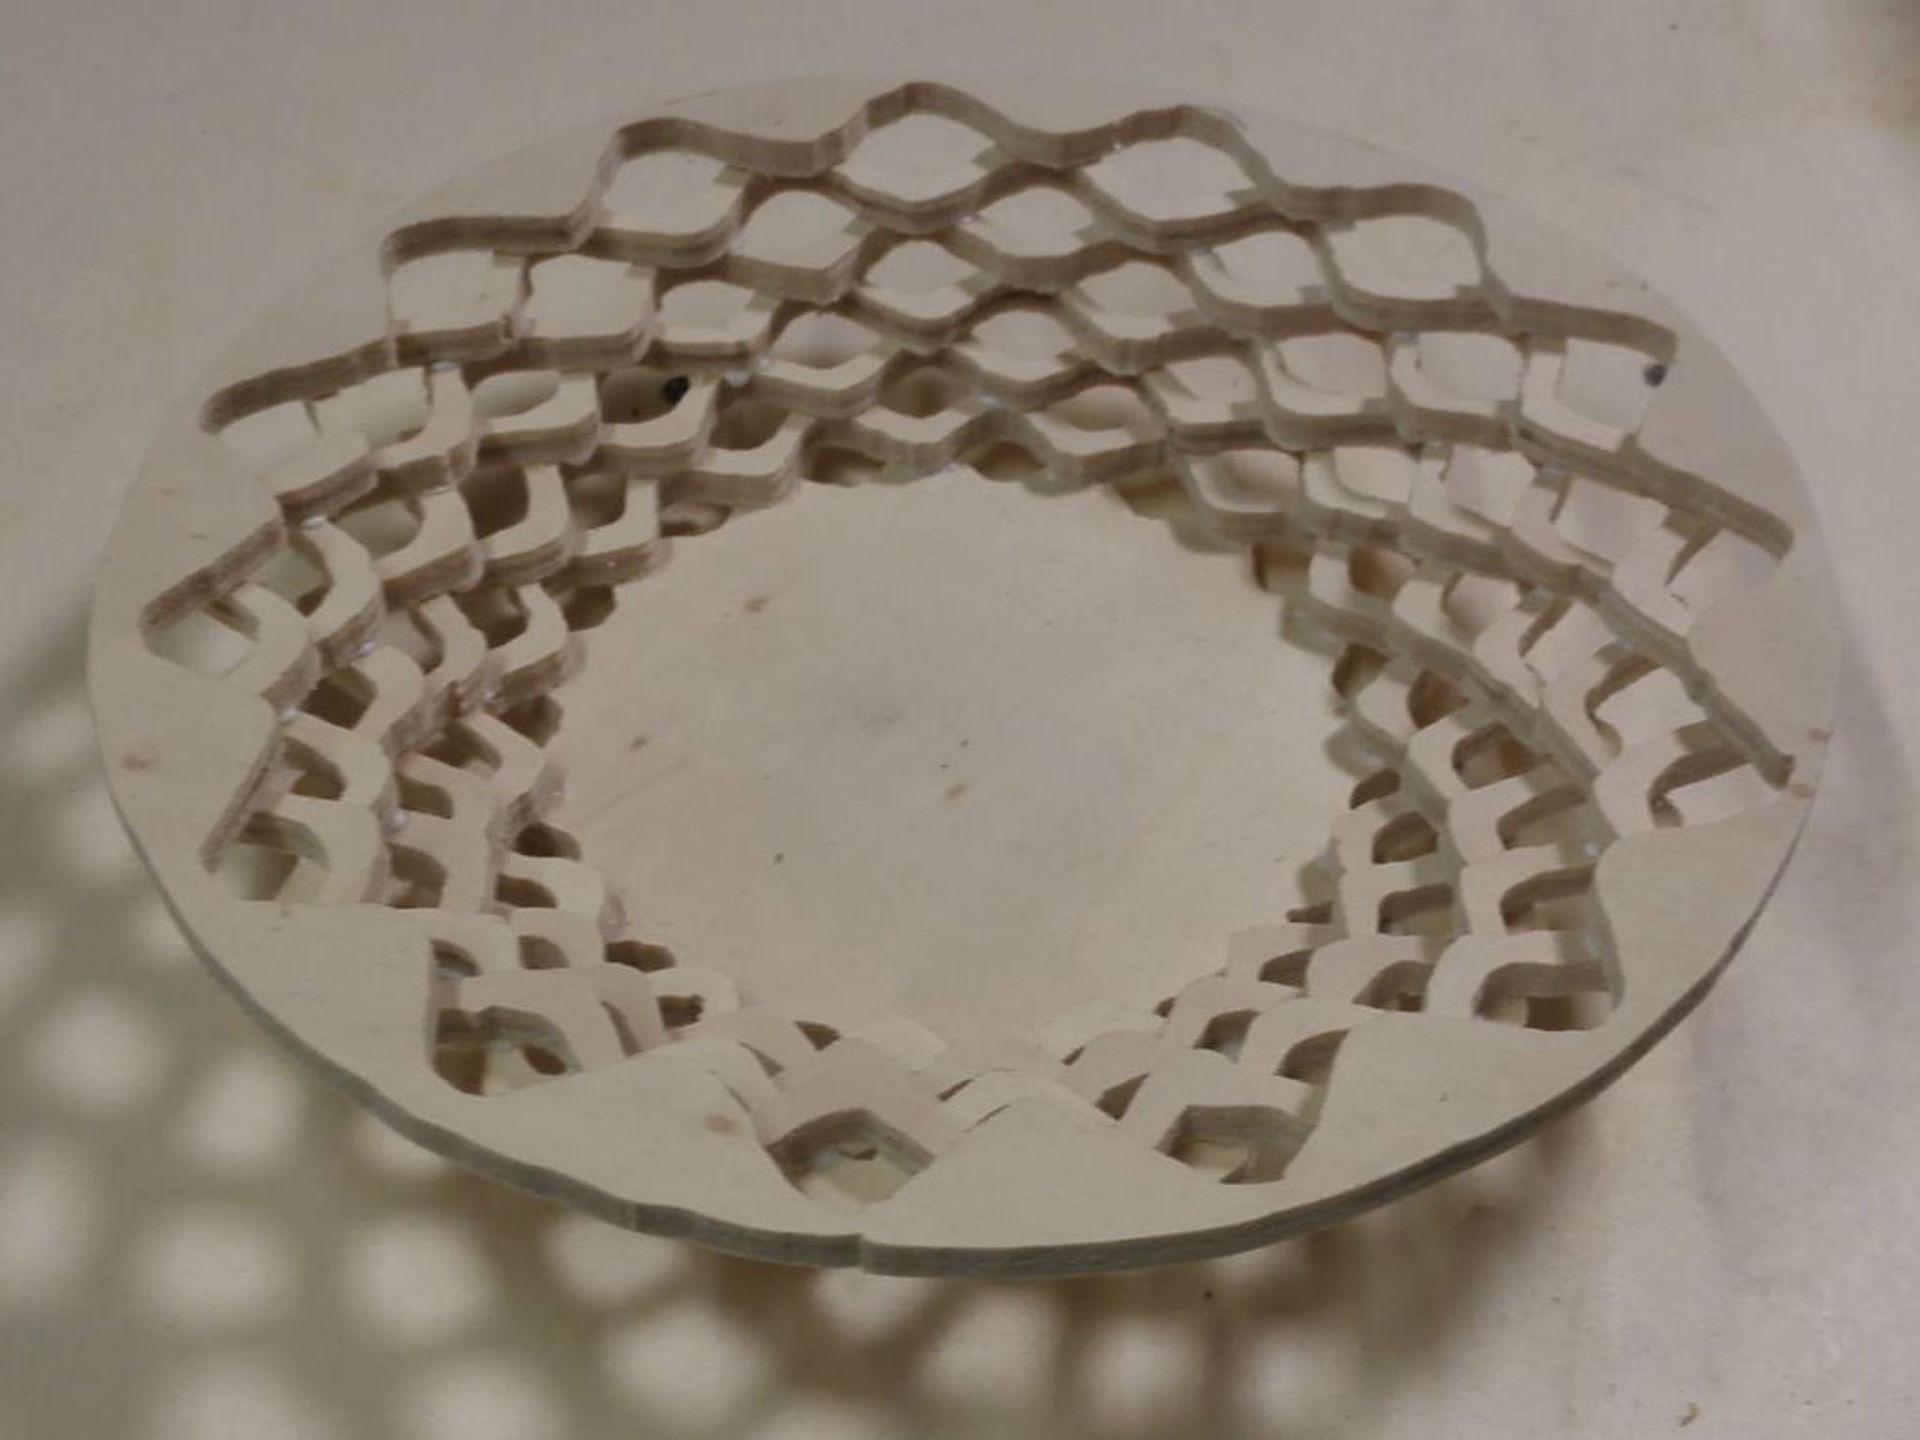
And after letting our beautiful bowl dry, it is ready to be given away! If you want, you can of course paint the bowl in another desired colour. I personally like this natural wood look. Whether as a small fruit bowl or as a decorative bowl, this workpiece is certainly a real eye-catcher.
I hope I could inspire you a little bit again
Your Einhell Harry


