


Beer Crate Standing Table
DO IT YOURSELF
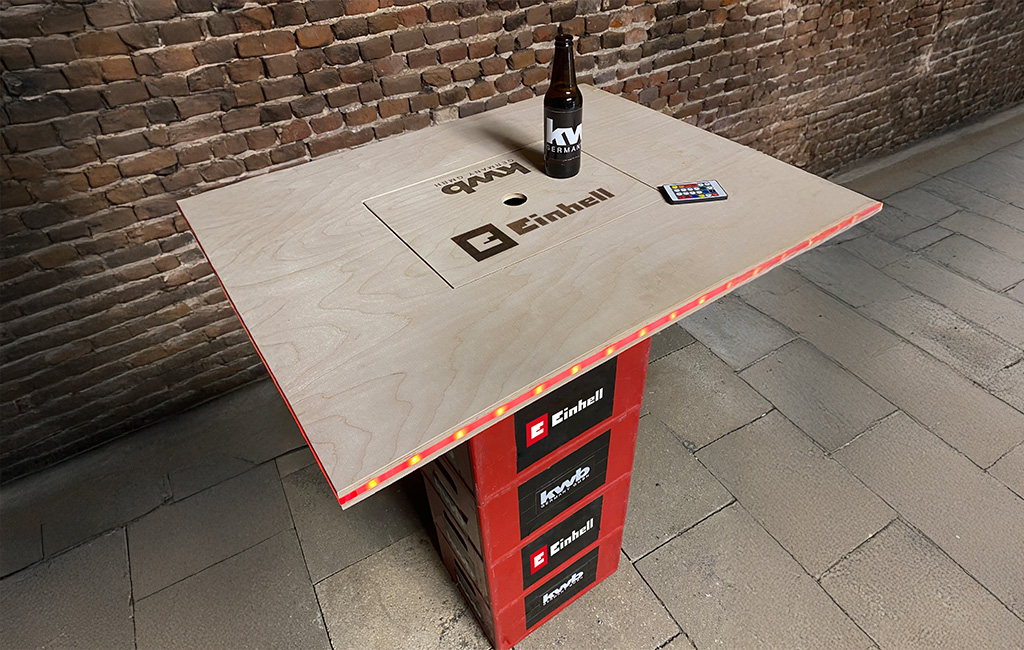
With a custom-built tabletop and a few crates of drinks, you can create a cool standing table featuring LED lighting, a bottle opener and integrated drink storage! The best part: you can easily adjust the height of the table by adding or removing crates, making it simple to set up and take down anytime, anywhere. Perfect for your next garden party or a private “public viewing” event. Find out how to build the tabletop yourself right here:
In diesem Blogbeitrag zeigen wir dir, wie du schnell und einfach deinen eigenen Stehtisch aus Bierkästen bauen kannst.
Tools & Materials
Werkzeug
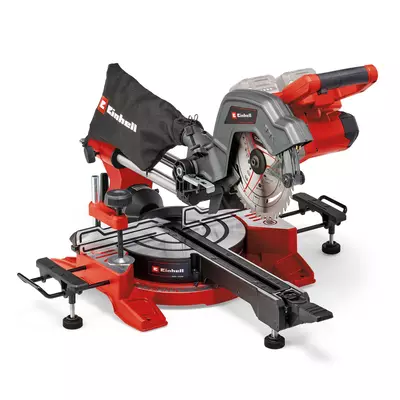
- Mitre saw
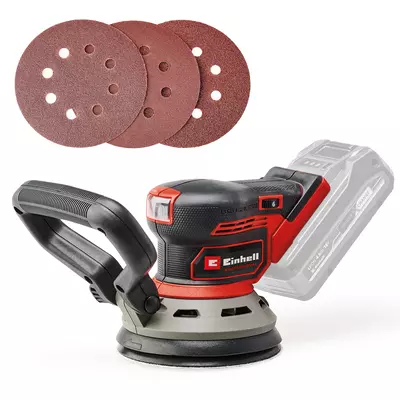
- Random orbital sander
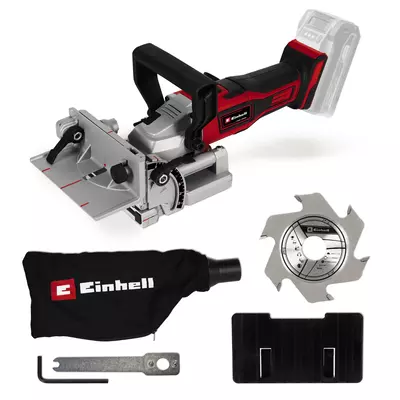
- Biscuit joiner
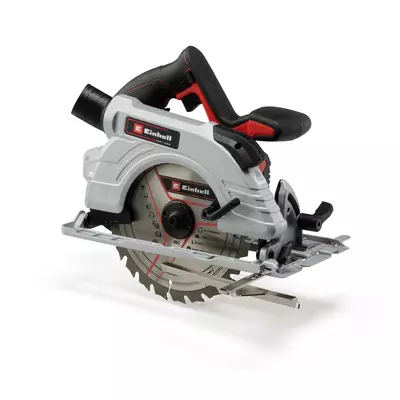
- Hand-held circular saw
- Cordless drill driver
- Bits
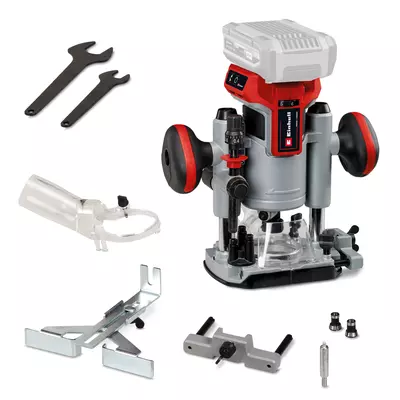
- Router
- Flush trim bit
Material
- Birch plywood board, 15 mm thick
- Glue, screws
- LED light digital RGBW set, 3 m
- Acrylic glass (Plexiglas), 10 mm thick
- Biscuit dowels
Building the standing table
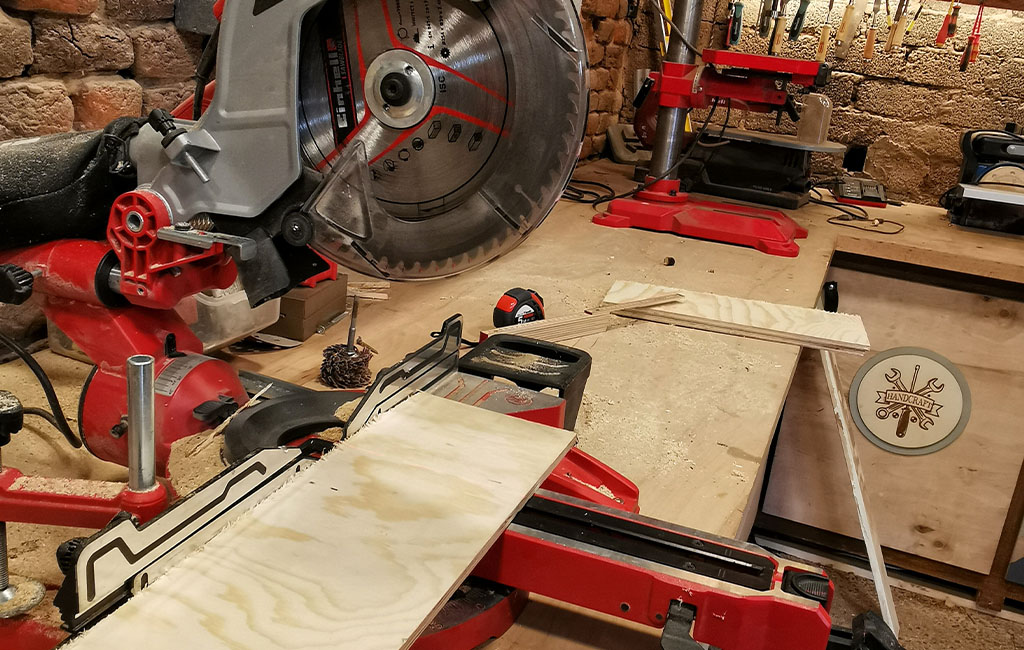
Step 1: Cut and sand the table frame
Start by using the circular saw and mitre saw to cut the lower frame of the table, which will later be placed over the top drinks crate.
To do this, cut four side panels from the 15 mm birch plywood. To ensure the table fits easily over the drinks crate later on, the finished frame must be slightly larger than the crate itself – so be sure to measure and mark everything accurately! In our case, the crate measures approximately 42 x 32 cm.
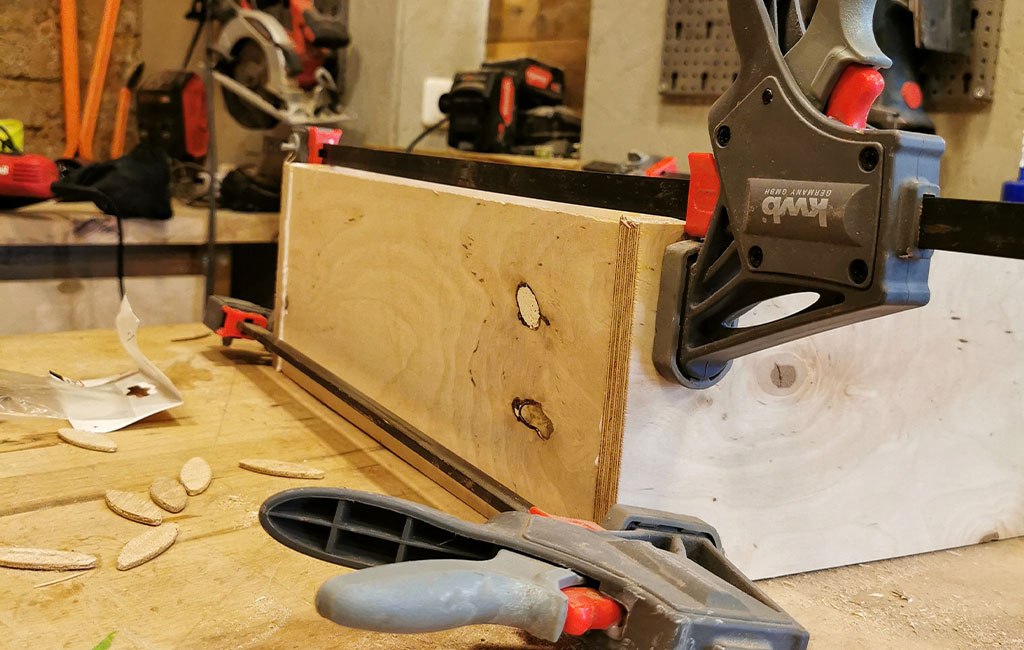
Now sand the cut side panels using a random orbital sander and 120-grit sandpaper. Then, assemble the four panels into a box shape.
To do this, first cut slots into each piece using a biscuit joiner. Then join the panels together at the slotted areas using biscuit dowels and a bit of wood glue. Clamp the structure using tension and spreading clamps and allow it to dry thoroughly.
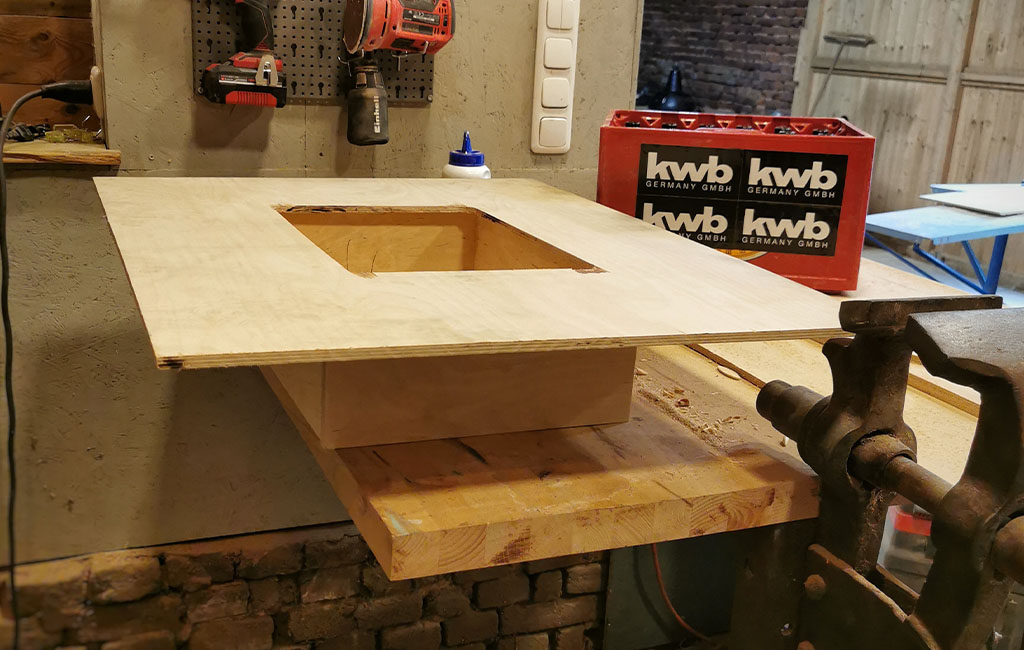
Step 2: Cut and sand the tabletops
After finishing the lower frame, it’s time to move on to the tabletops: these consist of two 10 mm plywood boards, with acrylic glass and LED strips sandwiched between them to provide lighting.
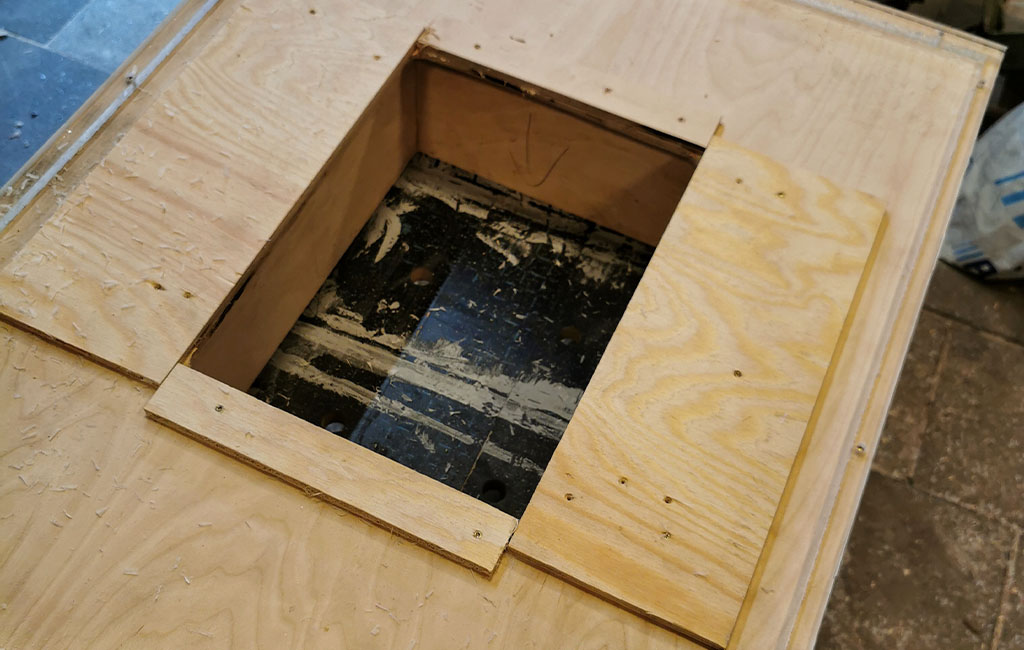
Using the hand-held circular saw, cut two tabletops from the 10 mm plywood. We used measurements of 84 x 66 cm for both boards. A cut-out is made in the centre of each board to allow access to the drink bottles later. For the lower board, we cut a 40 x 30 cm opening; for the upper, visible board, a slightly smaller 38 x 28 cm opening. The cut-out piece from the top board will later become the lid – so don’t throw it away!
Once all the boards have been cut, sand the surfaces and edges again using 120-grit sandpaper.
Step 3: Attach the lower tabletop to the base
In the next step, the lower tabletop with the larger opening is fixed to the base. To do this, use wood screws and the appropriate bits to screw the board down into the frame from above.
Step 4: Cut acrylic strips and attach them to the tabletop
To create a cool LED lighting effect in the table, use the hand-held circular saw to cut 3 cm wide strips from the acrylic glass. These strips will run around the outer edge of the lower tabletop. The exact strip lengths depend on the dimensions of the tabletop. The cuts may be a bit rough at first, so we'll smooth the edges later using a router. Drill four holes into each acrylic strip using the cordless drill and a 5 mm drill bit. Then attach the strips to the edge of the board using 5 x 16 mm wood screws. Later, the LED strip will be fixed to the inner edge of these acrylic strips.
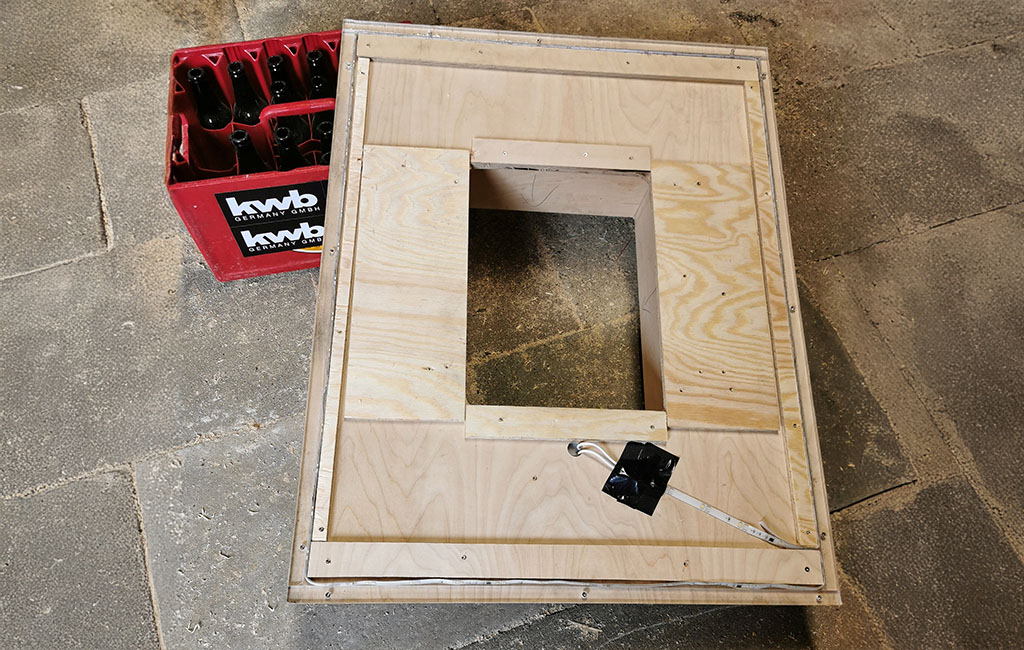
Step 5: The gap between the boards
To secure the upper tabletop (the one with the smaller opening) onto the lower one, you'll first need eight additional pieces of multiplex. Four of these are placed around the central cut-out. The remaining four strips are fixed along the outer edge, with approximately 2 cm of space between them and the acrylic glass. This creates a gap that will later house the LED strip. Any rough edges can now be smoothed using the router with a flush trim bit.
Step 6: Install the lighting and screw on the upper tabletop
Now carefully place the LED strip into the gap so the light shines through the acrylic glass. Drill a hole next to the frame to feed through the plug. The LED driver is mounted onto the side panel of the frame. Once that’s done, everything can be connected to the power supply and tested.

For a neater look, the LED driver is encased with a piece of multiplex. Next, place the upper tabletop on top and secure it from underneath using pre-drilled holes and wood screws. Now it's time to reuse the cut-out section from the upper tabletop, which will serve as the lid for the opening. To make it easy to lift in and out by hand, drill a hole into it. For a smooth, flush finish, sand it using a random orbital sander and 180-grit sanding discs.
Step 7: The finishing touches
As an extra highlight, you can engrave the lid using a laser. For outdoor use, the wood can also be treated with a stain or oil to add colour and provide protection.
Additional eye-catching and practical features include a bottle opener with a matching pouch to collect the caps.
Have fun building your own!
Tools Used
Here you’ll find the Einhell tools that were used during the build.

Product was added to the comparison list.
Product was removed from the comparison list.
Open comparison listIn this article you will learn all about:
Published on 11.06.2021
Tobias Peters is a passionate DIY enthusiast who shares a wide range of projects on Instagram @tobis_handcraft and his website tobis-handcraft.de – from furniture making and decoration to lighting design. Together with his partner Steffi, he is also renovating a 1950s country house. On the Einhell Blog, Tobi offers practical tips and step-by-step guides for creative home improvement projects.