


Wooden Beach Chair
DO IT YOURSELF
Whether indoors or outdoors, our latest DIY project is the perfect opportunity to create a new space for relaxing and unwinding. This beach chair isn’t just a comfortable spot to take a well-deserved break – it also doubles as a cosy workspace, thanks to its integrated ambient lighting and power socket. A quick time-out in your self-built beach chair, whether inside or out, will leave you recharged and ready to get back to work!
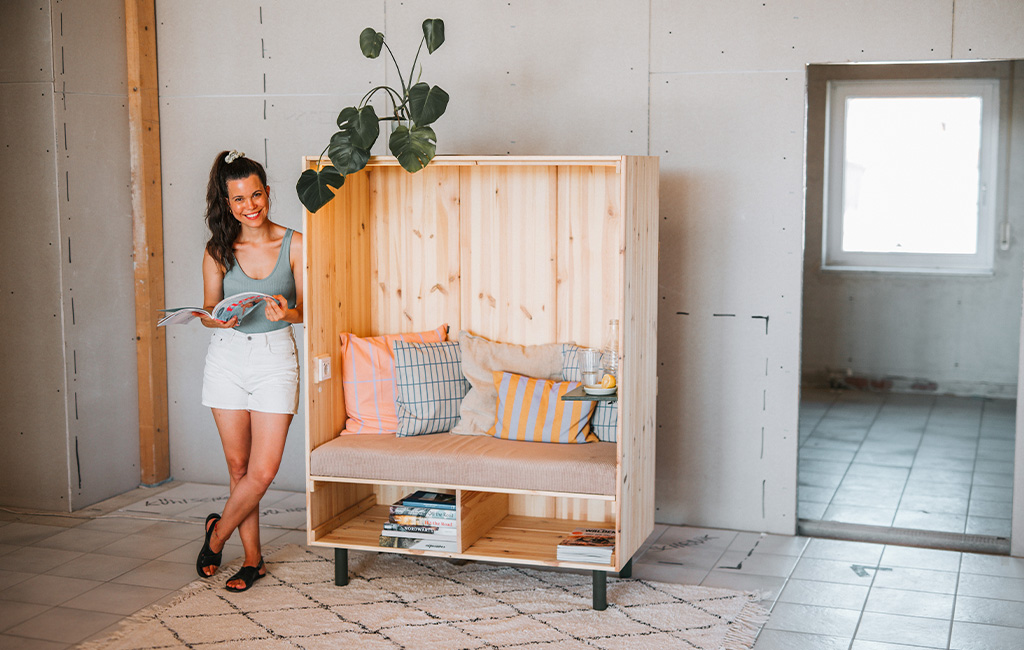
The self-built beach chair is a true statement piece – perfect for both outdoor and indoor spaces!
Tools and Materials
Tools
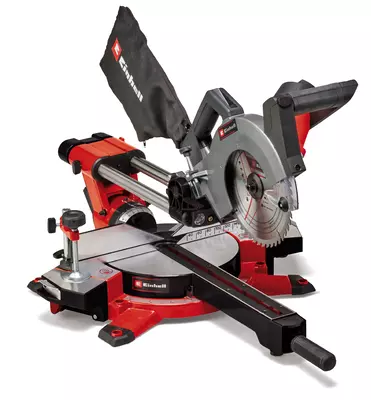
- Sliding mitre saw
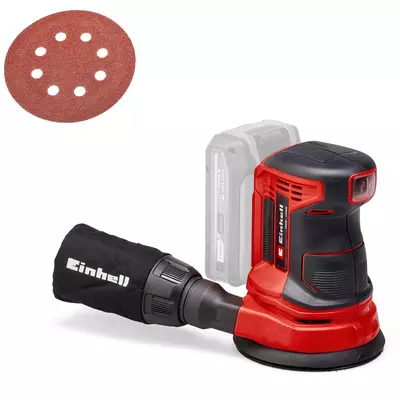
- Random orbital sander
- Cordless drill/driver
- Cordless wet & dry vacuum cleaner
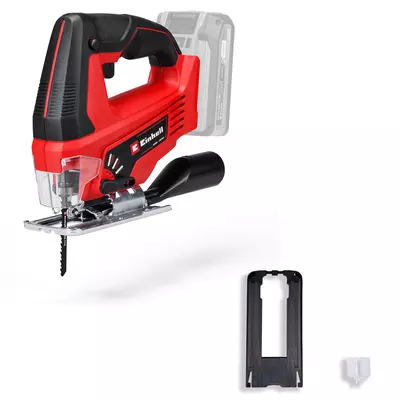
- Cordless jigsaw
- PXC starter kit
- Paint roller
- Sanding sponge
- Wire stripping tool
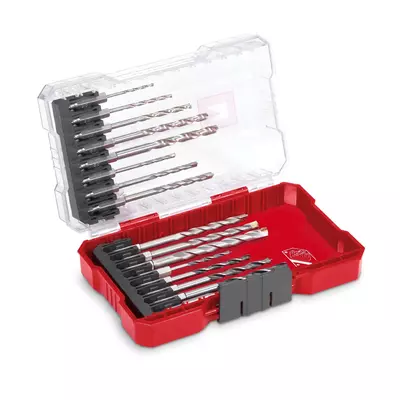
- Step drill bit
- Countersink bit
Materials
- Laminated wood panels
- Paint
- Fast-setting wood glue
- Coiled cable
- Power socket
- LED strip
- Touch dimmer
- Solder connectors
- Table hinges
- Seat cushions
- Furniture feet
Preparation
To help visualise the project, we created a sketch of the beach chair. This shows you the exact dimensions for the build:
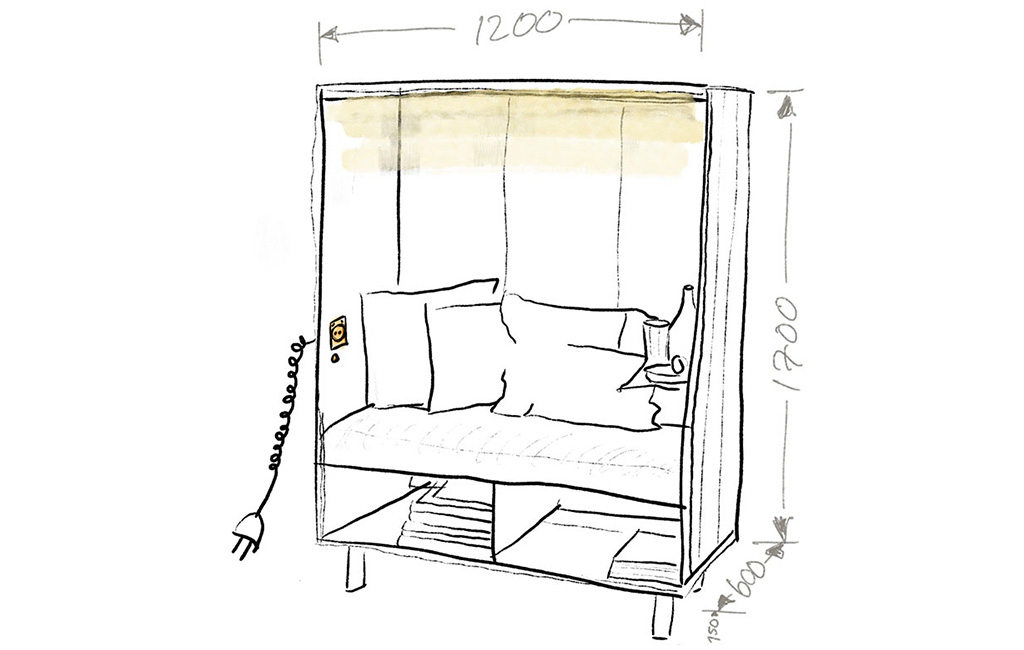
A dimensioned sketch makes building the beach chair significantly easier.
Step-by-Step Instructions: Building the Beach Chair
Step 1: Cutting the Panels
Start by cutting all the wooden panels needed for the beach chair. We used laminated spruce panels, which are relatively inexpensive and readily available at most DIY stores. The total cost for the wood came to around €180.
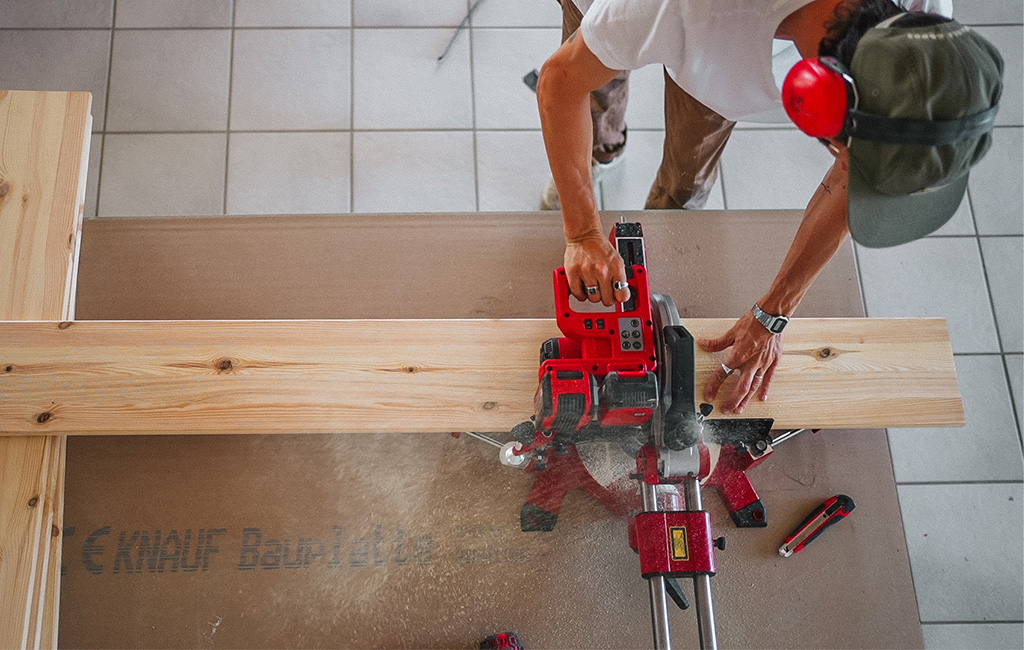
For the side and wall sections, we joined several panels together by screwing and gluing a support strip to the back.
- Tip: Pre-drill all parts before screwing – this helps the screws pull the wood together more effectively and prevents splitting.
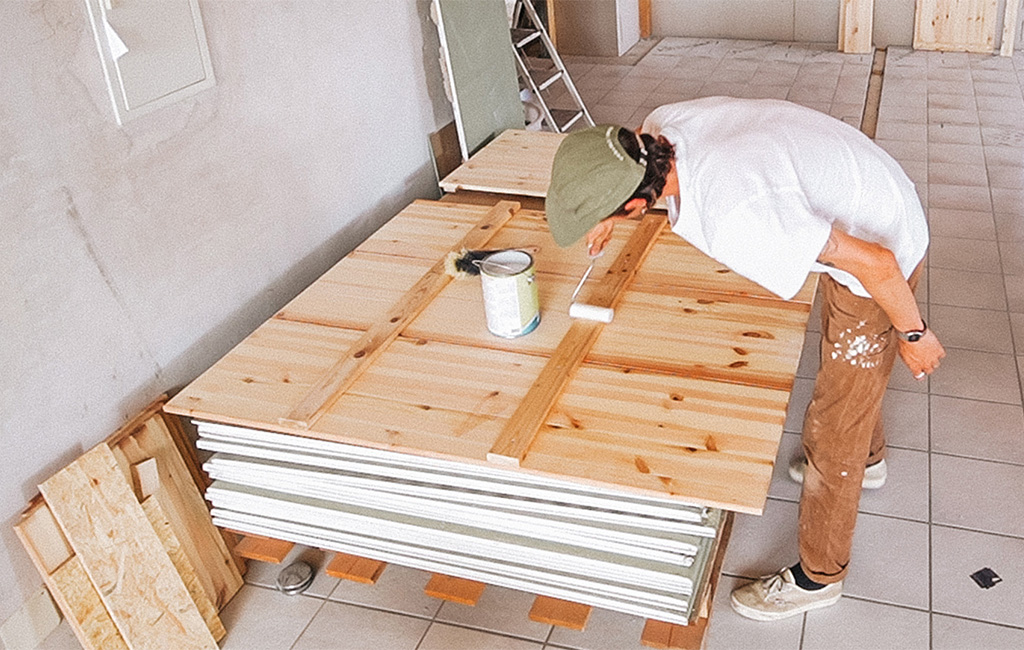
Step 2: Painting
Before assembling the parts, we applied a coat of acrylic clear varnish to all components. The varnish should be applied twice, with a light sanding in between coats to ensure a smooth and even finish.
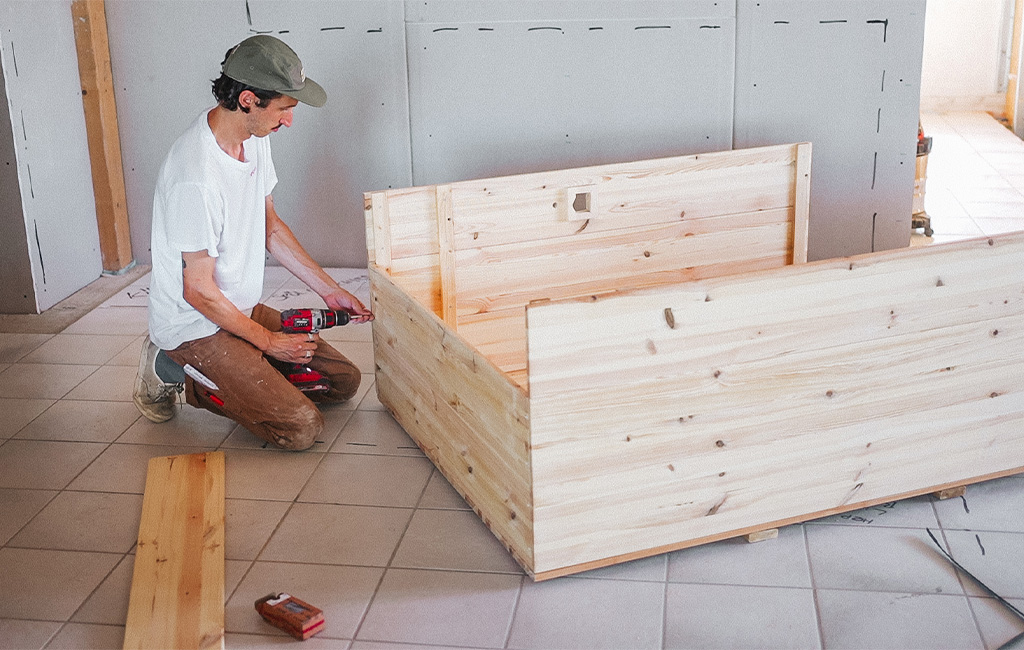
Step 3: Assembly
Now it's time to join all the parts using 30 mm wood screws. We chose not to use glue at this stage, as the structure is stable enough without it. It’s best to use a large set square during assembly to ensure that everything is aligned correctly and the finished piece stands straight.
Step 4: Electronics
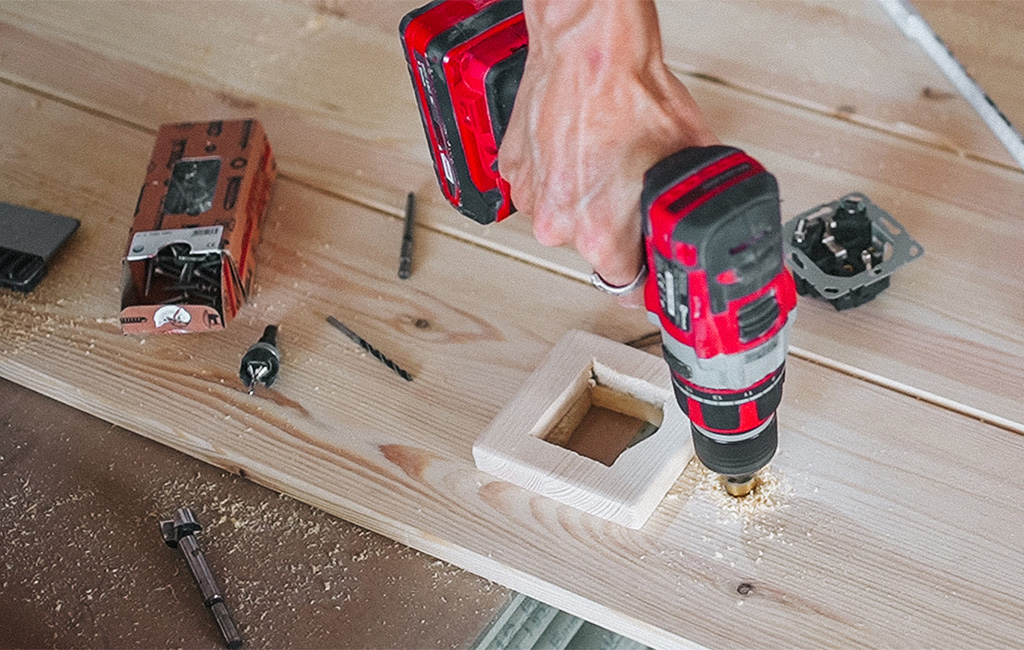
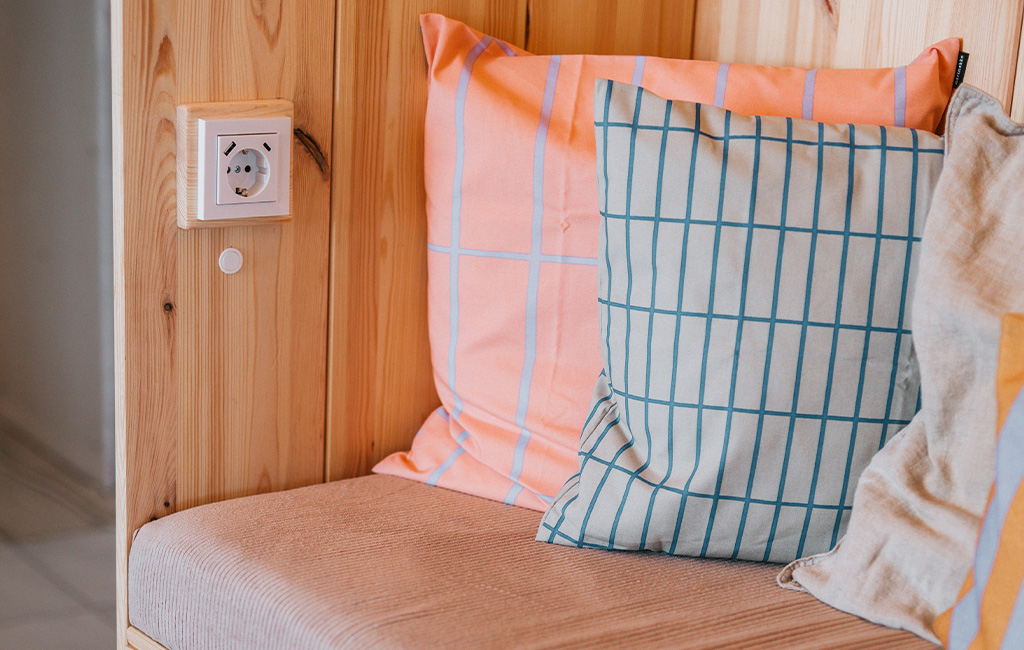
To add lighting and the option to charge devices, we gave the beach chair a “smart” upgrade. A LED strip is mounted on the ceiling between two wooden battens, creating a bright yet indirect light source. To control and dim the light, we installed a touch dimmer switch, which is easy to integrate into the system. We also added a power socket with two USB ports on the side, making it simple to charge your laptop, phone or tablet while you relax.
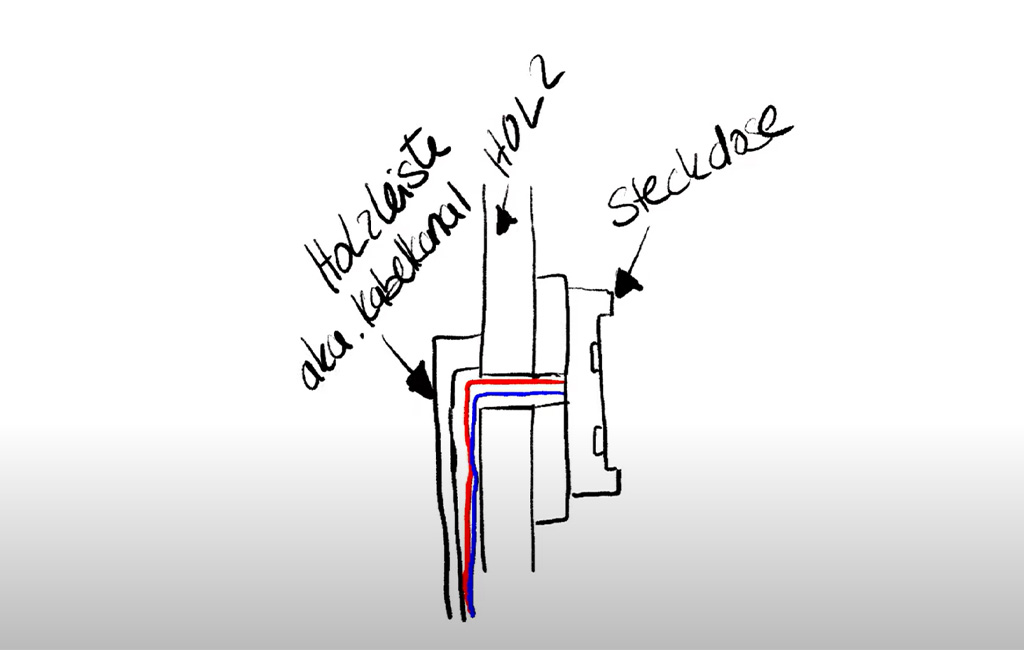
Since the side panel of the beach chair is only 16 mm thick, we built a small mounting frame for the power socket. All cables were routed along the side of the chair and concealed using a wooden batten that we repurposed as a cable channel by cutting a groove into it. Finally, everything was connected to a coiled cable, which exits discreetly at the back of the chair and can simply be plugged into a power socket.
- As a general rule: when it comes to electrical work, it’s always advisable to consult a qualified professional.
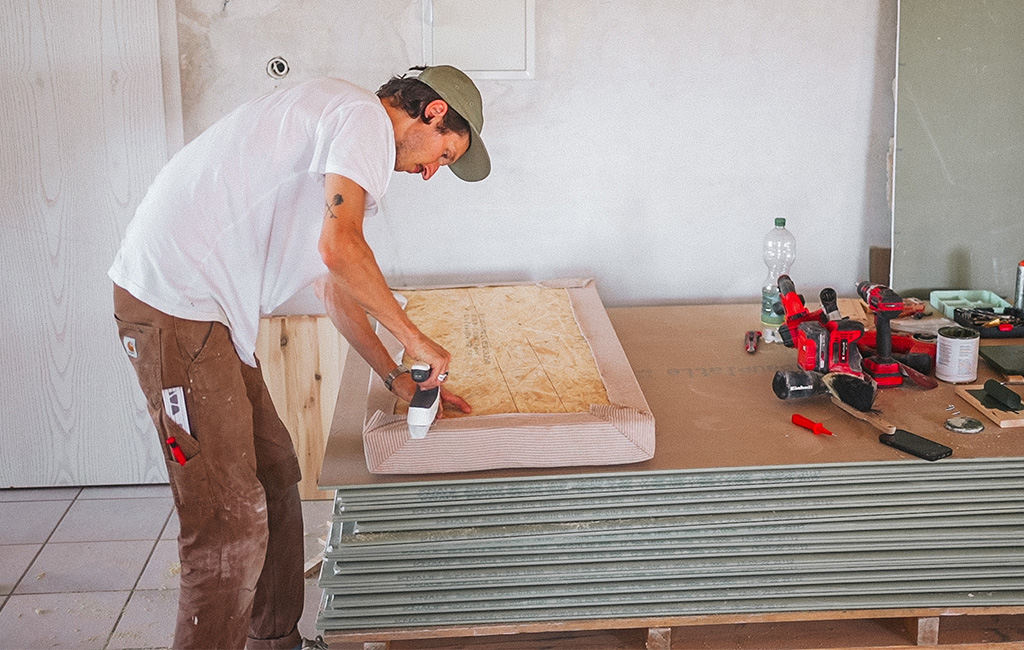
Step 5: Seat Cushion
To ensure a comfortable seat, we cut a wooden board to fit the inner dimensions of the beach chair and topped it with 10 cm thick foam padding. We chose a beige corduroy fabric for the cover, which was simply stapled to the back of the board. This way, the seat cushion can easily be removed if the beach chair is used outdoors.
Step 6: Additional Features
To add a practical surface for placing items, we installed a small side table. It’s supported by two foldable table brackets, allowing it to be easily folded up or down as needed.
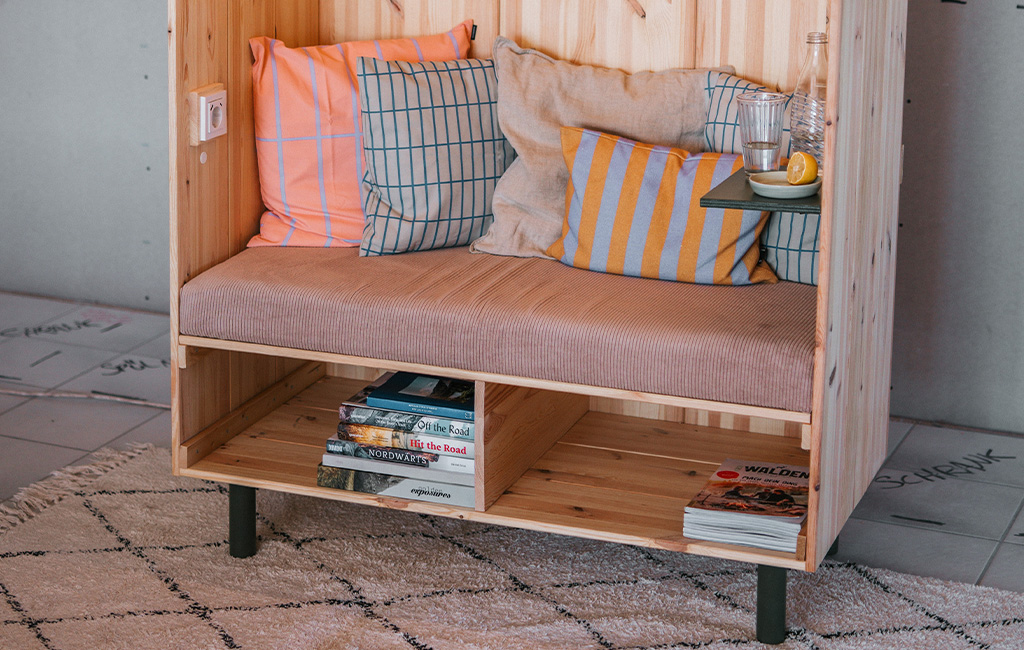
We also attached four furniture feet to the underside of the beach chair, giving it a lighter appearance and raising it to a comfortable height. Now you can personalise your beach chair just the way you like – perhaps with a lovely plant, colourful cushions or a few books to create the perfect cosy corner.
Conclusion: Handmade Beach Chair
Now there’s really only one thing left to do – sit back, relax with a refreshing drink and enjoy some well-earned downtime. We hope you have just as much fun with this DIY project as we did. Wishing you lots of success and enjoyment while building your very own beach chair!
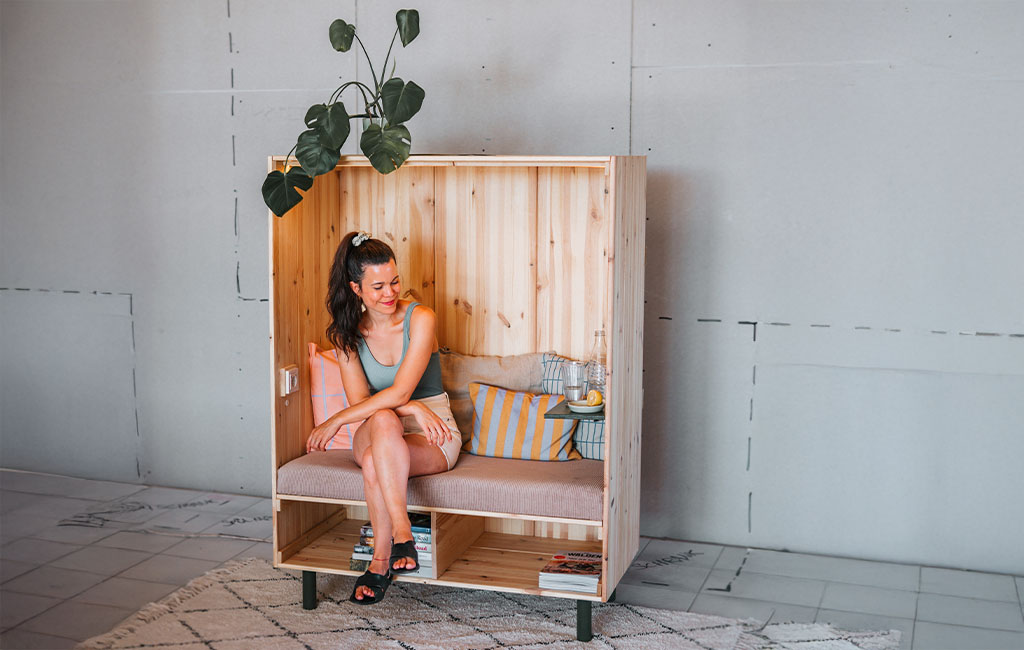
Relaxing with a cool drink and a good book – the beach chair is the perfect place for it!
Tools Used
Here you’ll find the Einhell tools that were used during the build.


Product was added to the comparison list.
Product was removed from the comparison list.
Open comparison listIn this article you will learn all about:

Published on 18.08.2022
Whether it’s vanlife or attic renovations – Selina and Frank Stoll from PinePins are full of ideas and hands-on energy. Together with their little one, they bring heartfelt DIY projects to life – from self-built campers to lofts under the roof. On YouTube and Instagram (@PinePins), they take their community along on every step of the journey. In their blog posts for Einhell, they share their experiences, offer tips on self-building, and show how big dreams can become reality with the right tools.