Build a vertical herb planter
If you want to add a special touch to your food, planting your own herbs is a great start. However, if you don't have a garden or only limited space on your terrace, you don't have to abstain from having fresh aroma from your own garden. The vertical herb garden offers a space-saving and visually appealing alternative to the traditional vegetable patch.
Before we start with the actual construction, the size must be defined. Depending on the space you have available you need to determine the maximum length and width and decide how many levels the herb garden should have. According to your measurements and criteria you need to get the required material.
| Material | Tools |
|---|---|
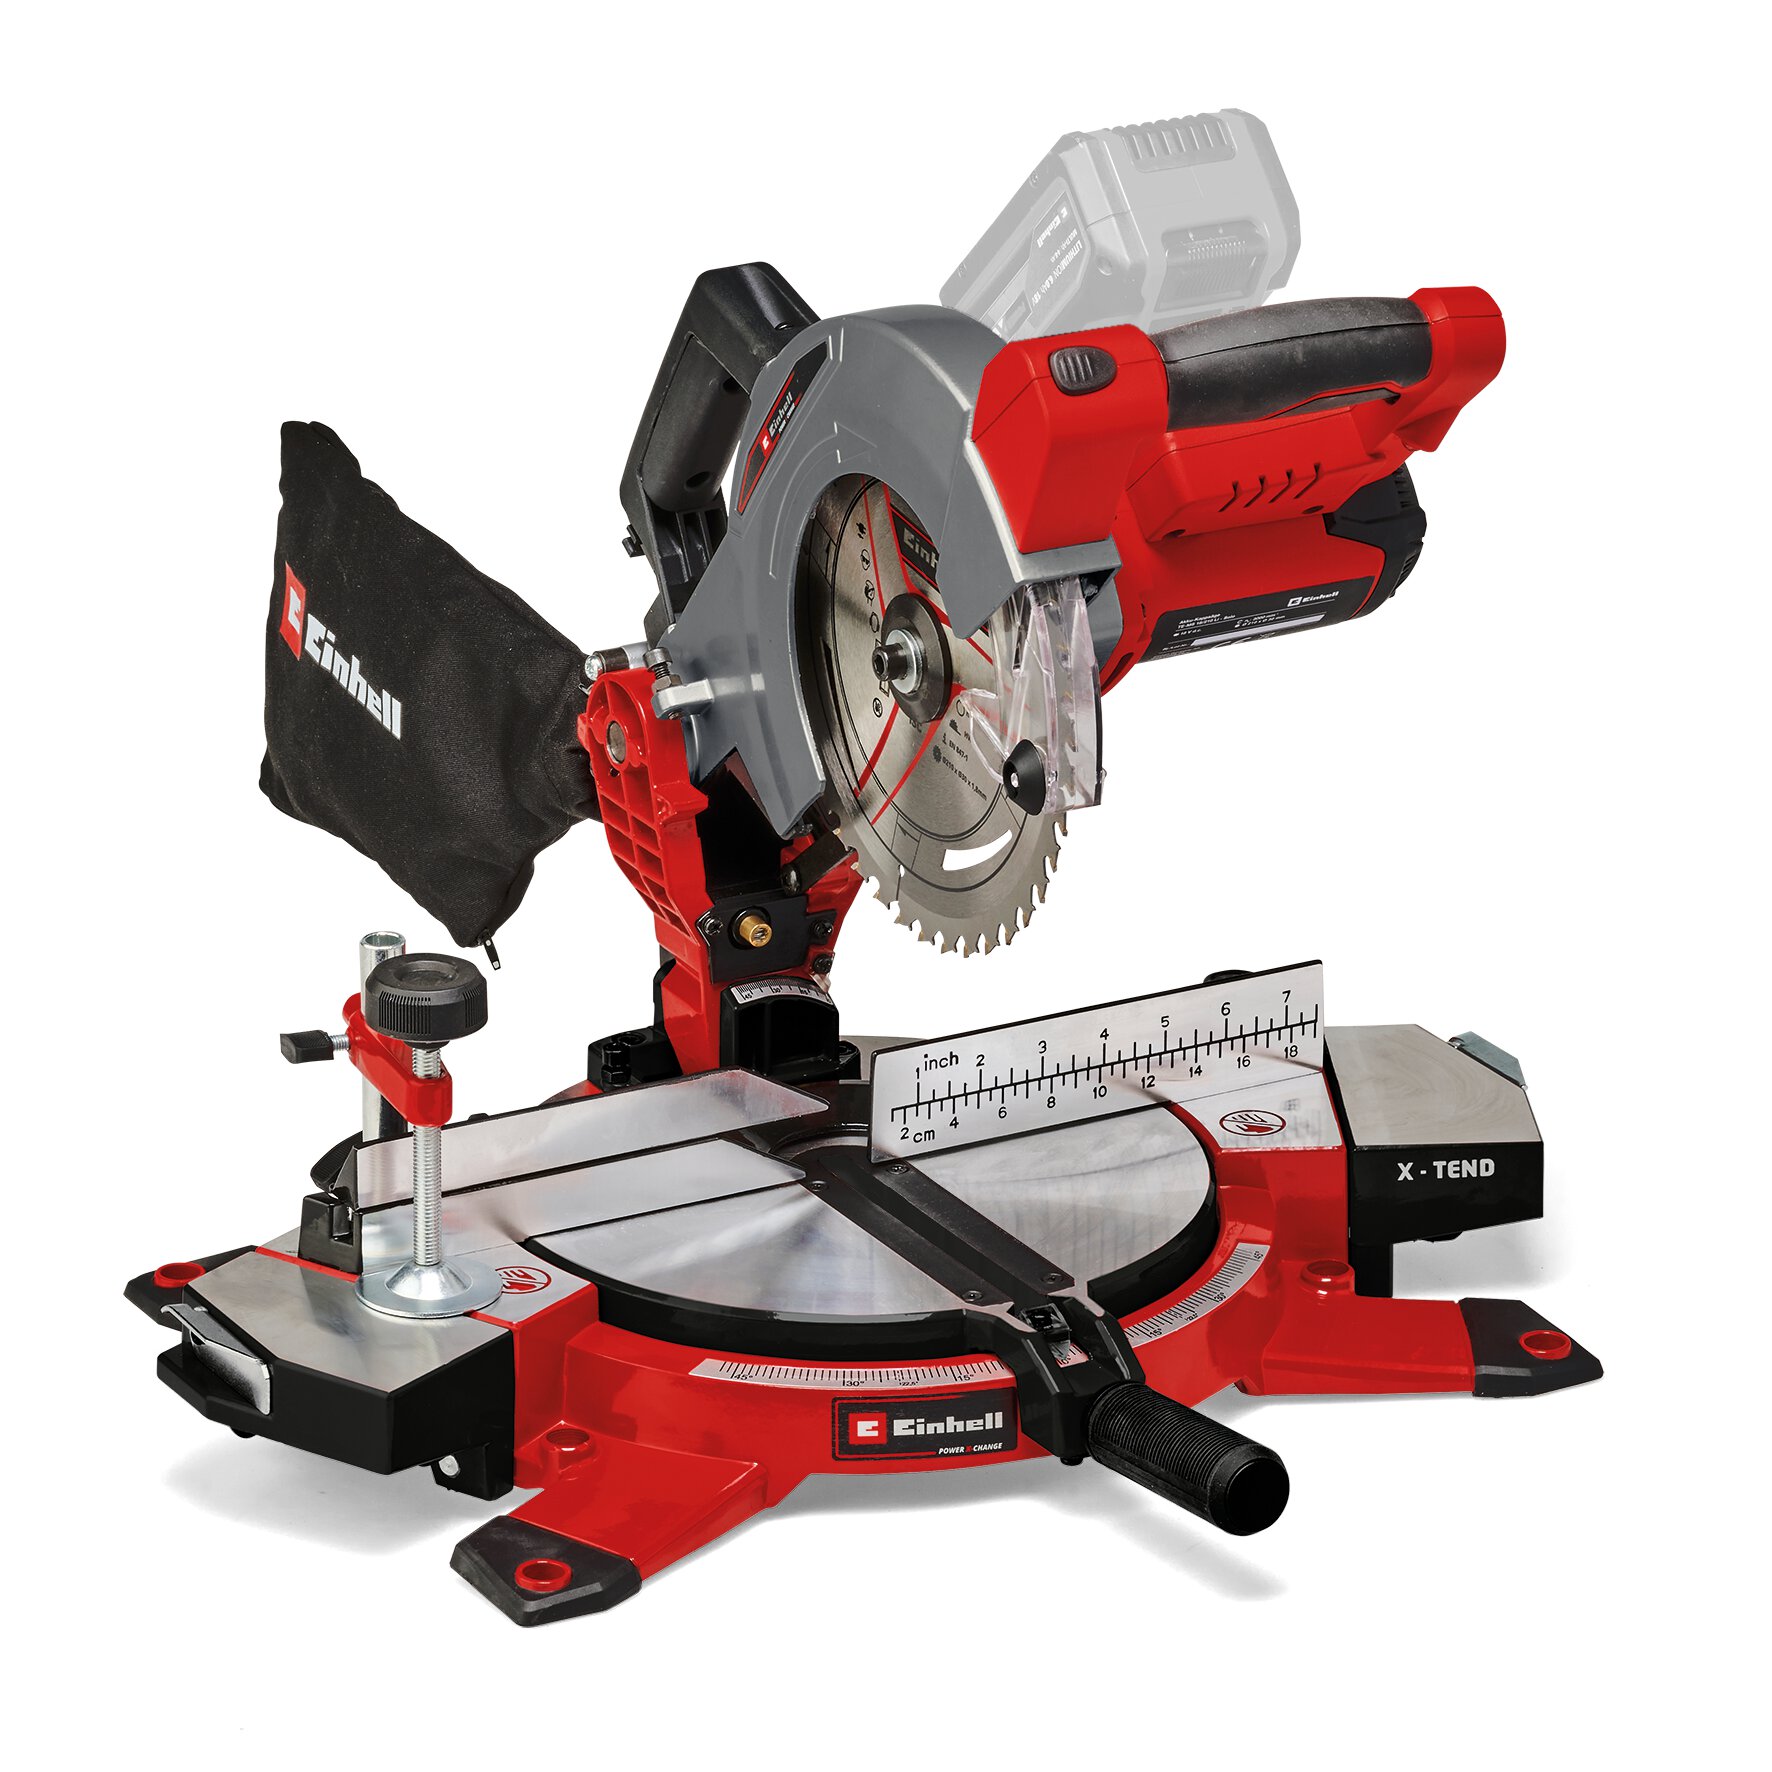
| 3x plastic planters 40x17.5x14.5cm | mitre saw |
| Planed wood boards (~ 5 linear meters) min. 17.5 cm width (height of the planters) | yard stick and pen |
| 2x squared timber 5x5x120cm | cordless screwdriver and driller |
| Wood varnish and painting supplies | multi sander |
| Screws | frame tensioner |
| Soil and herbs |
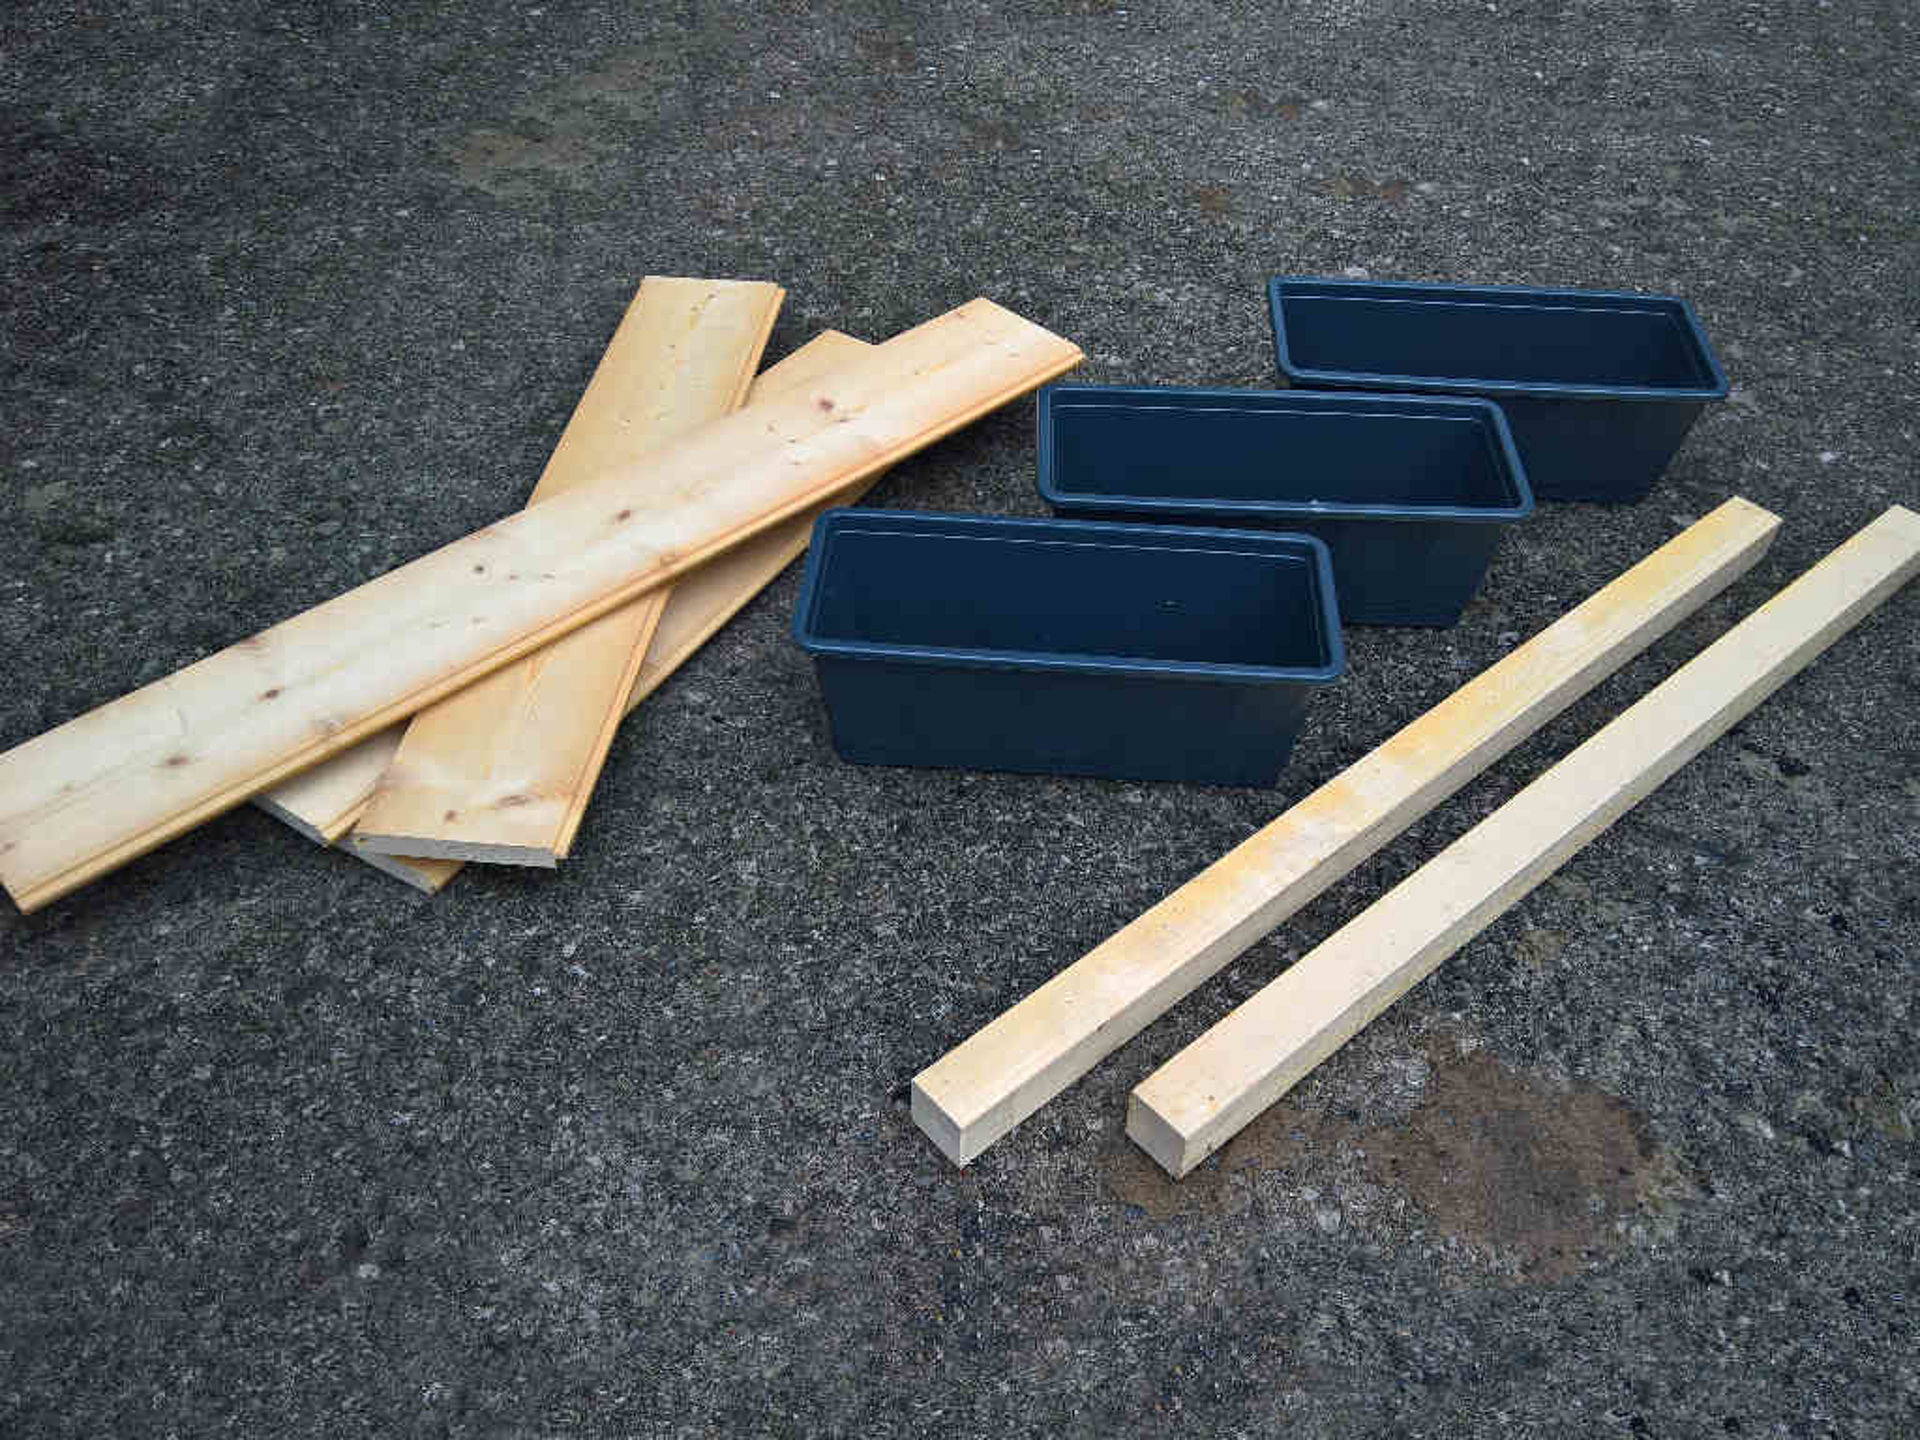
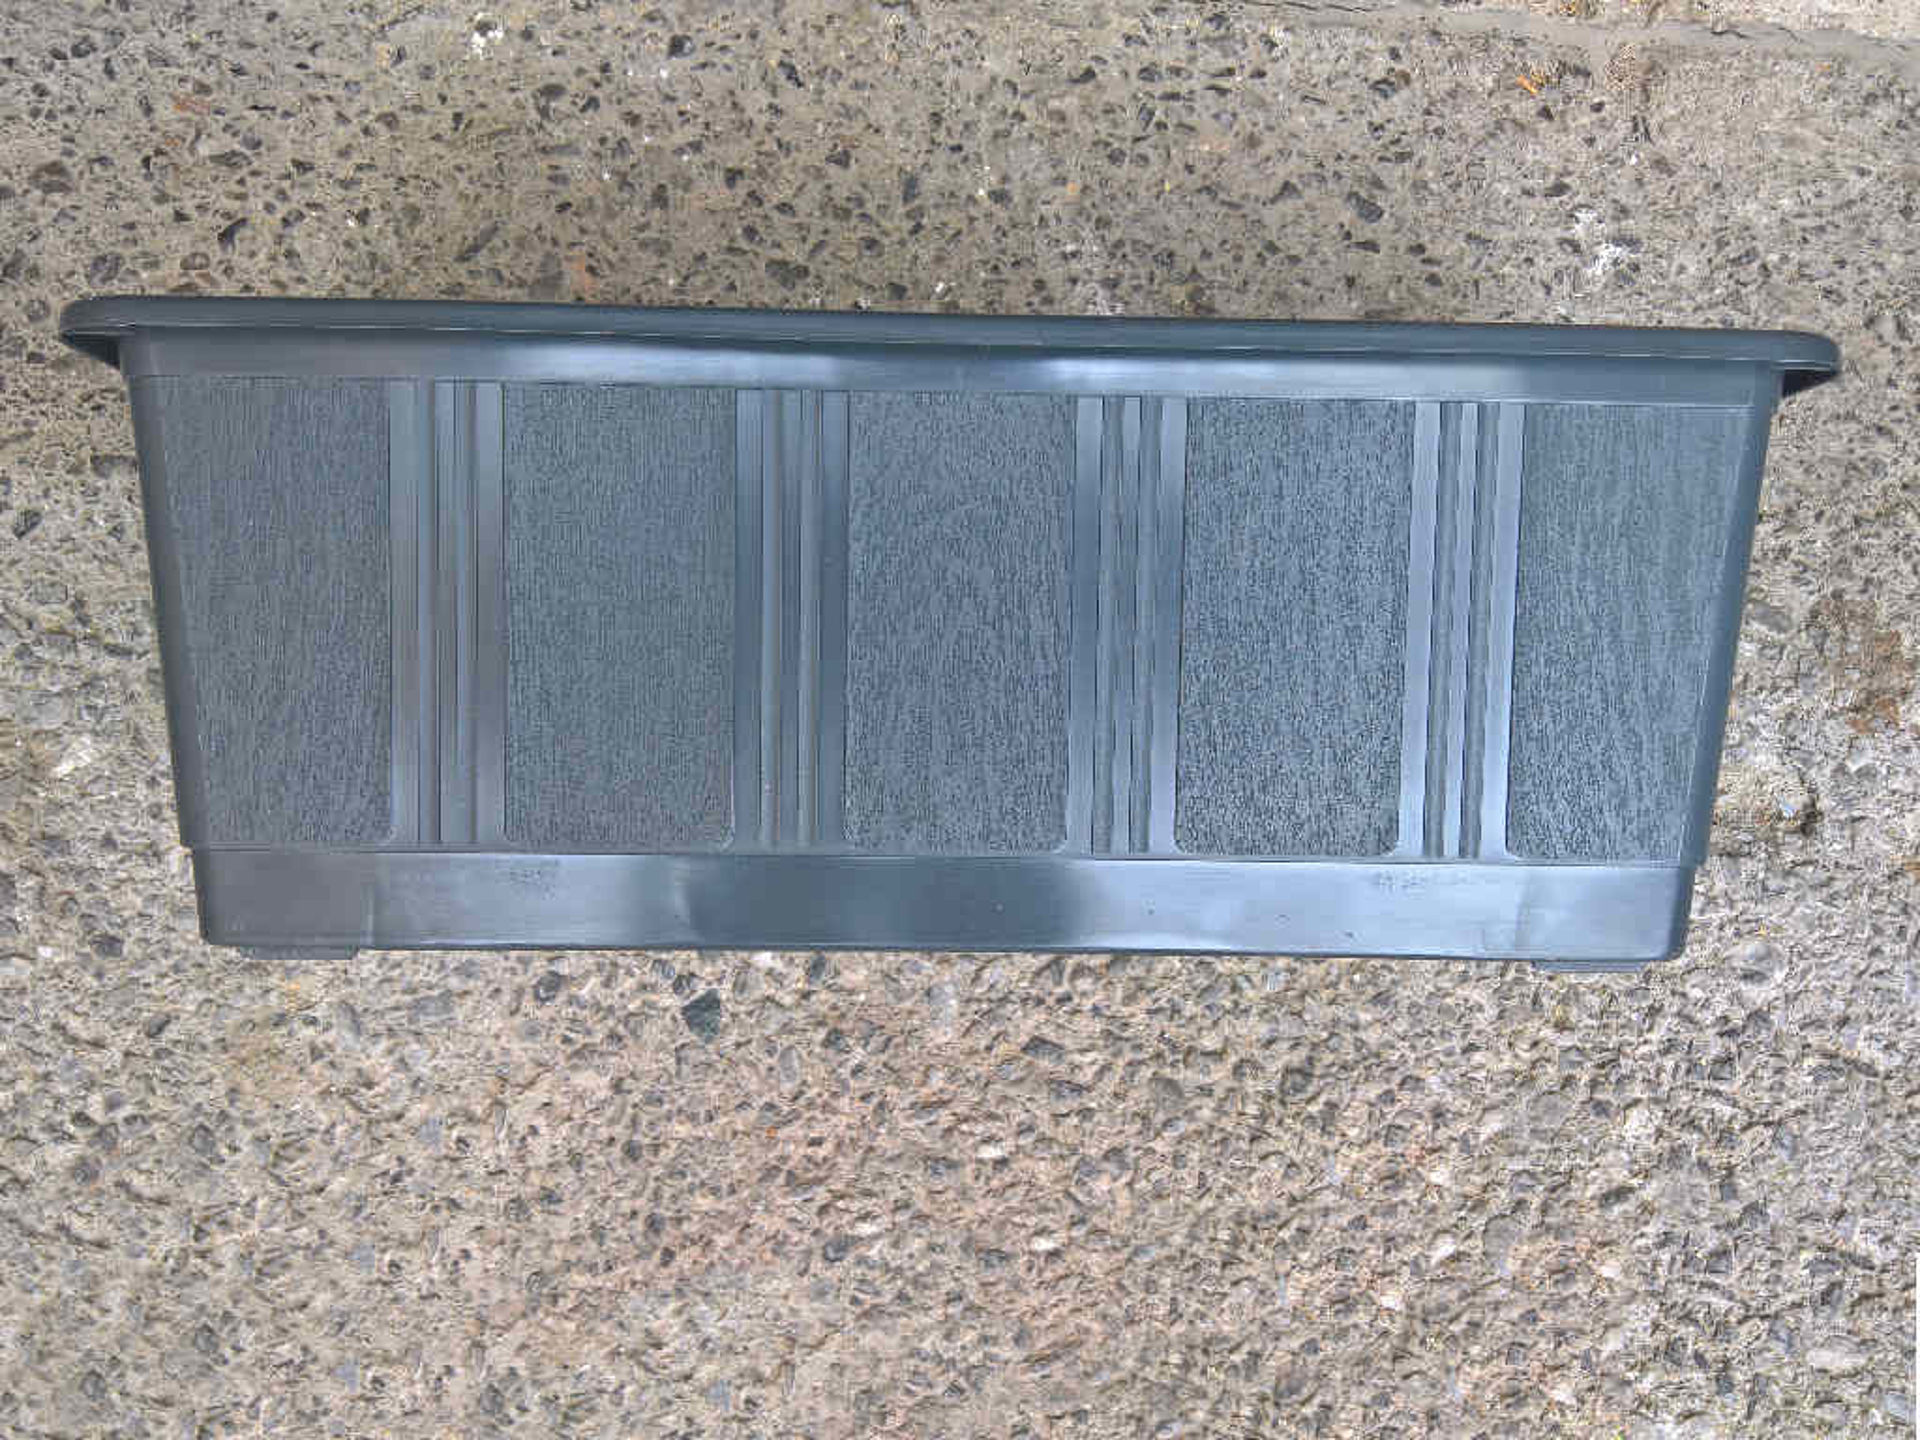
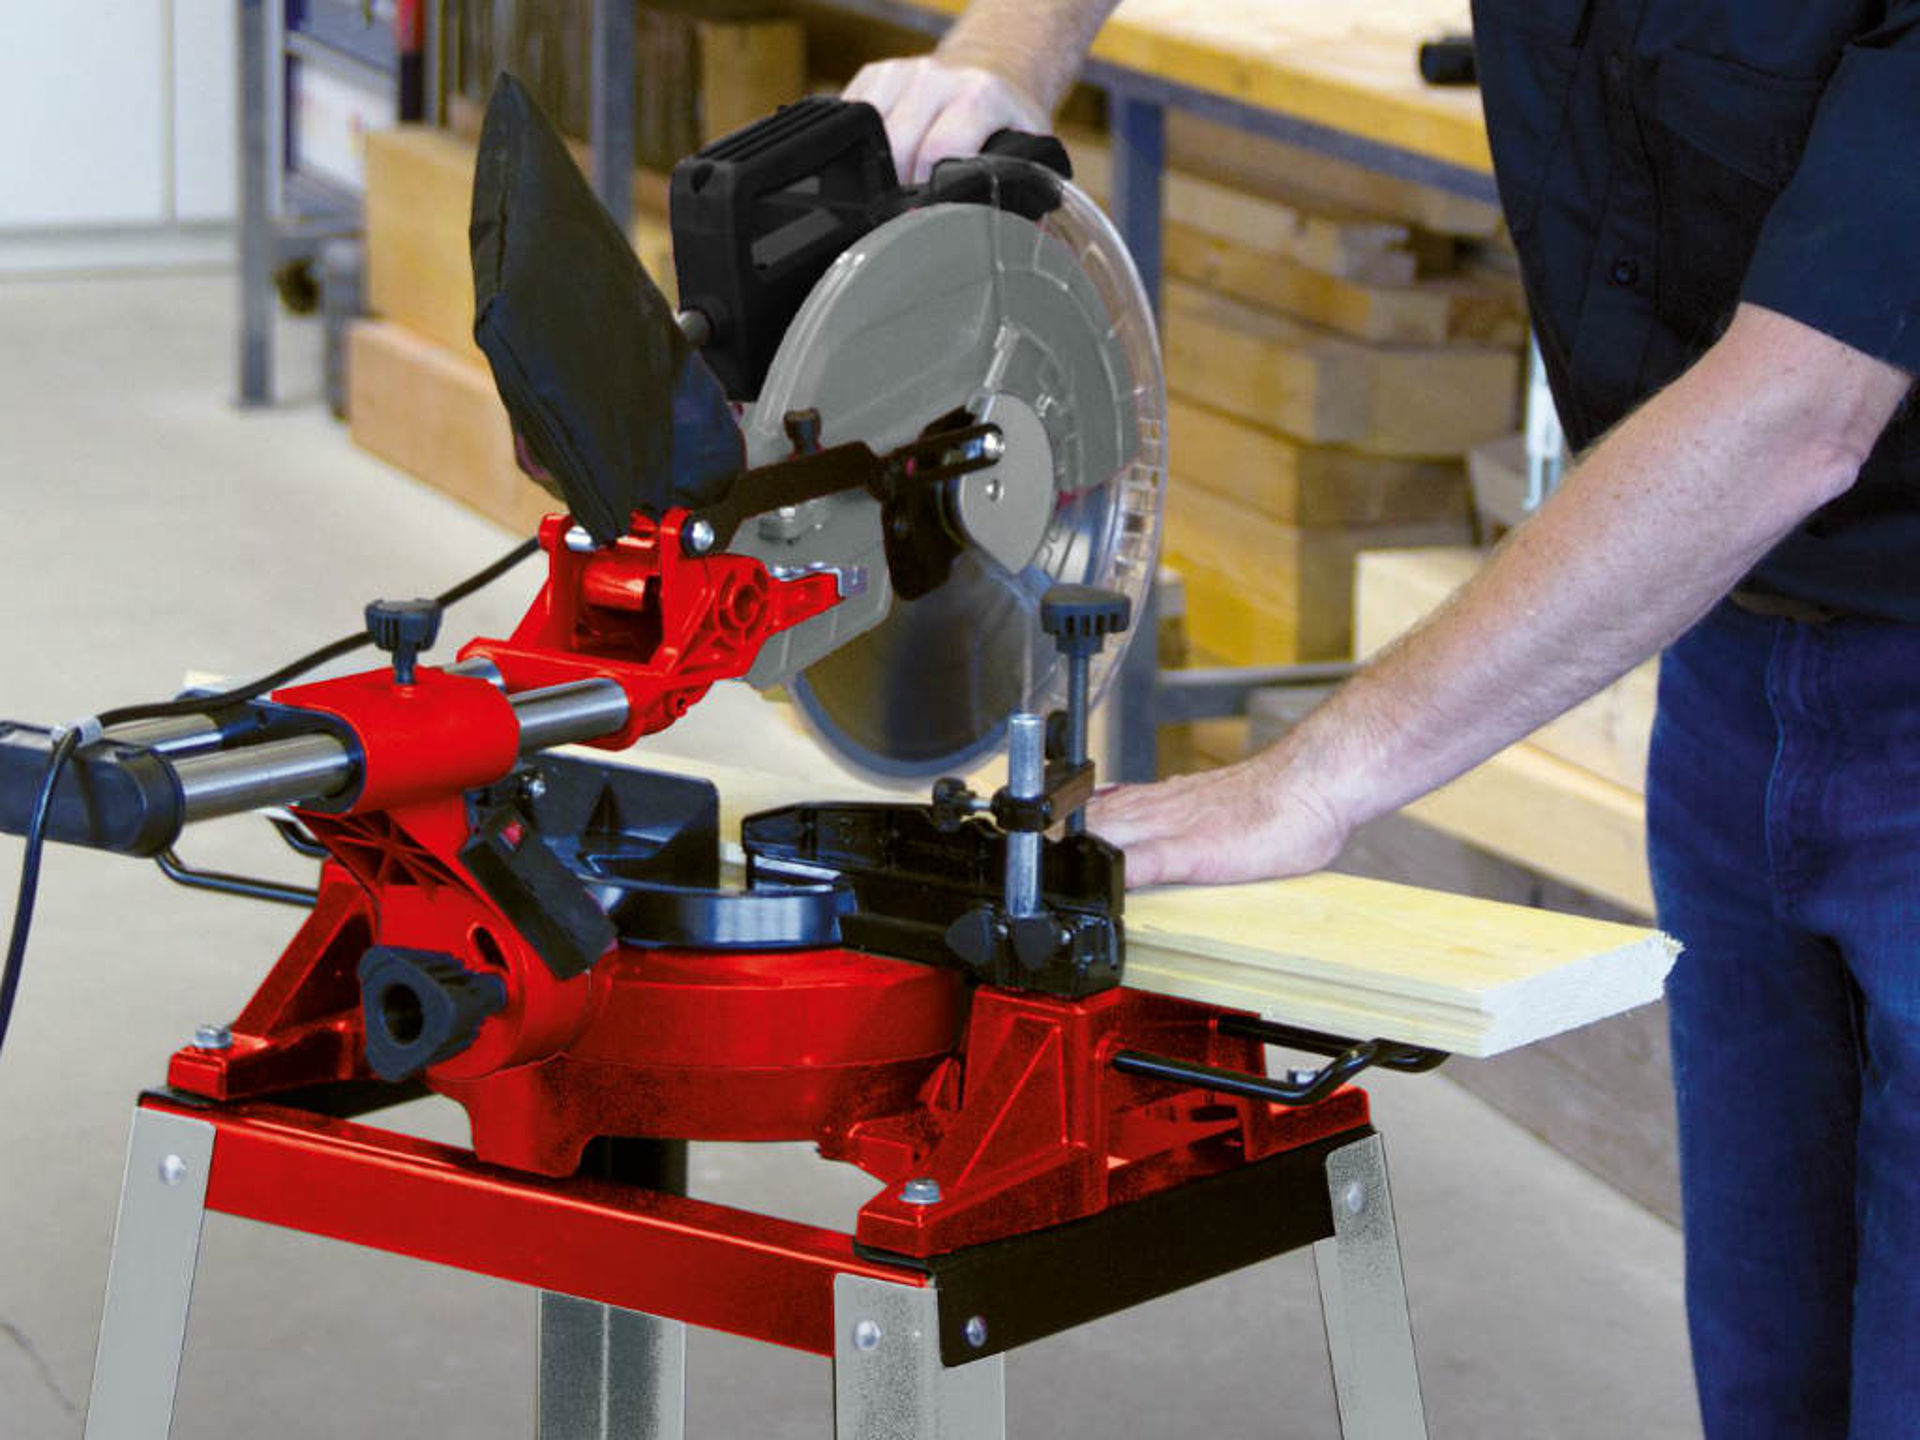
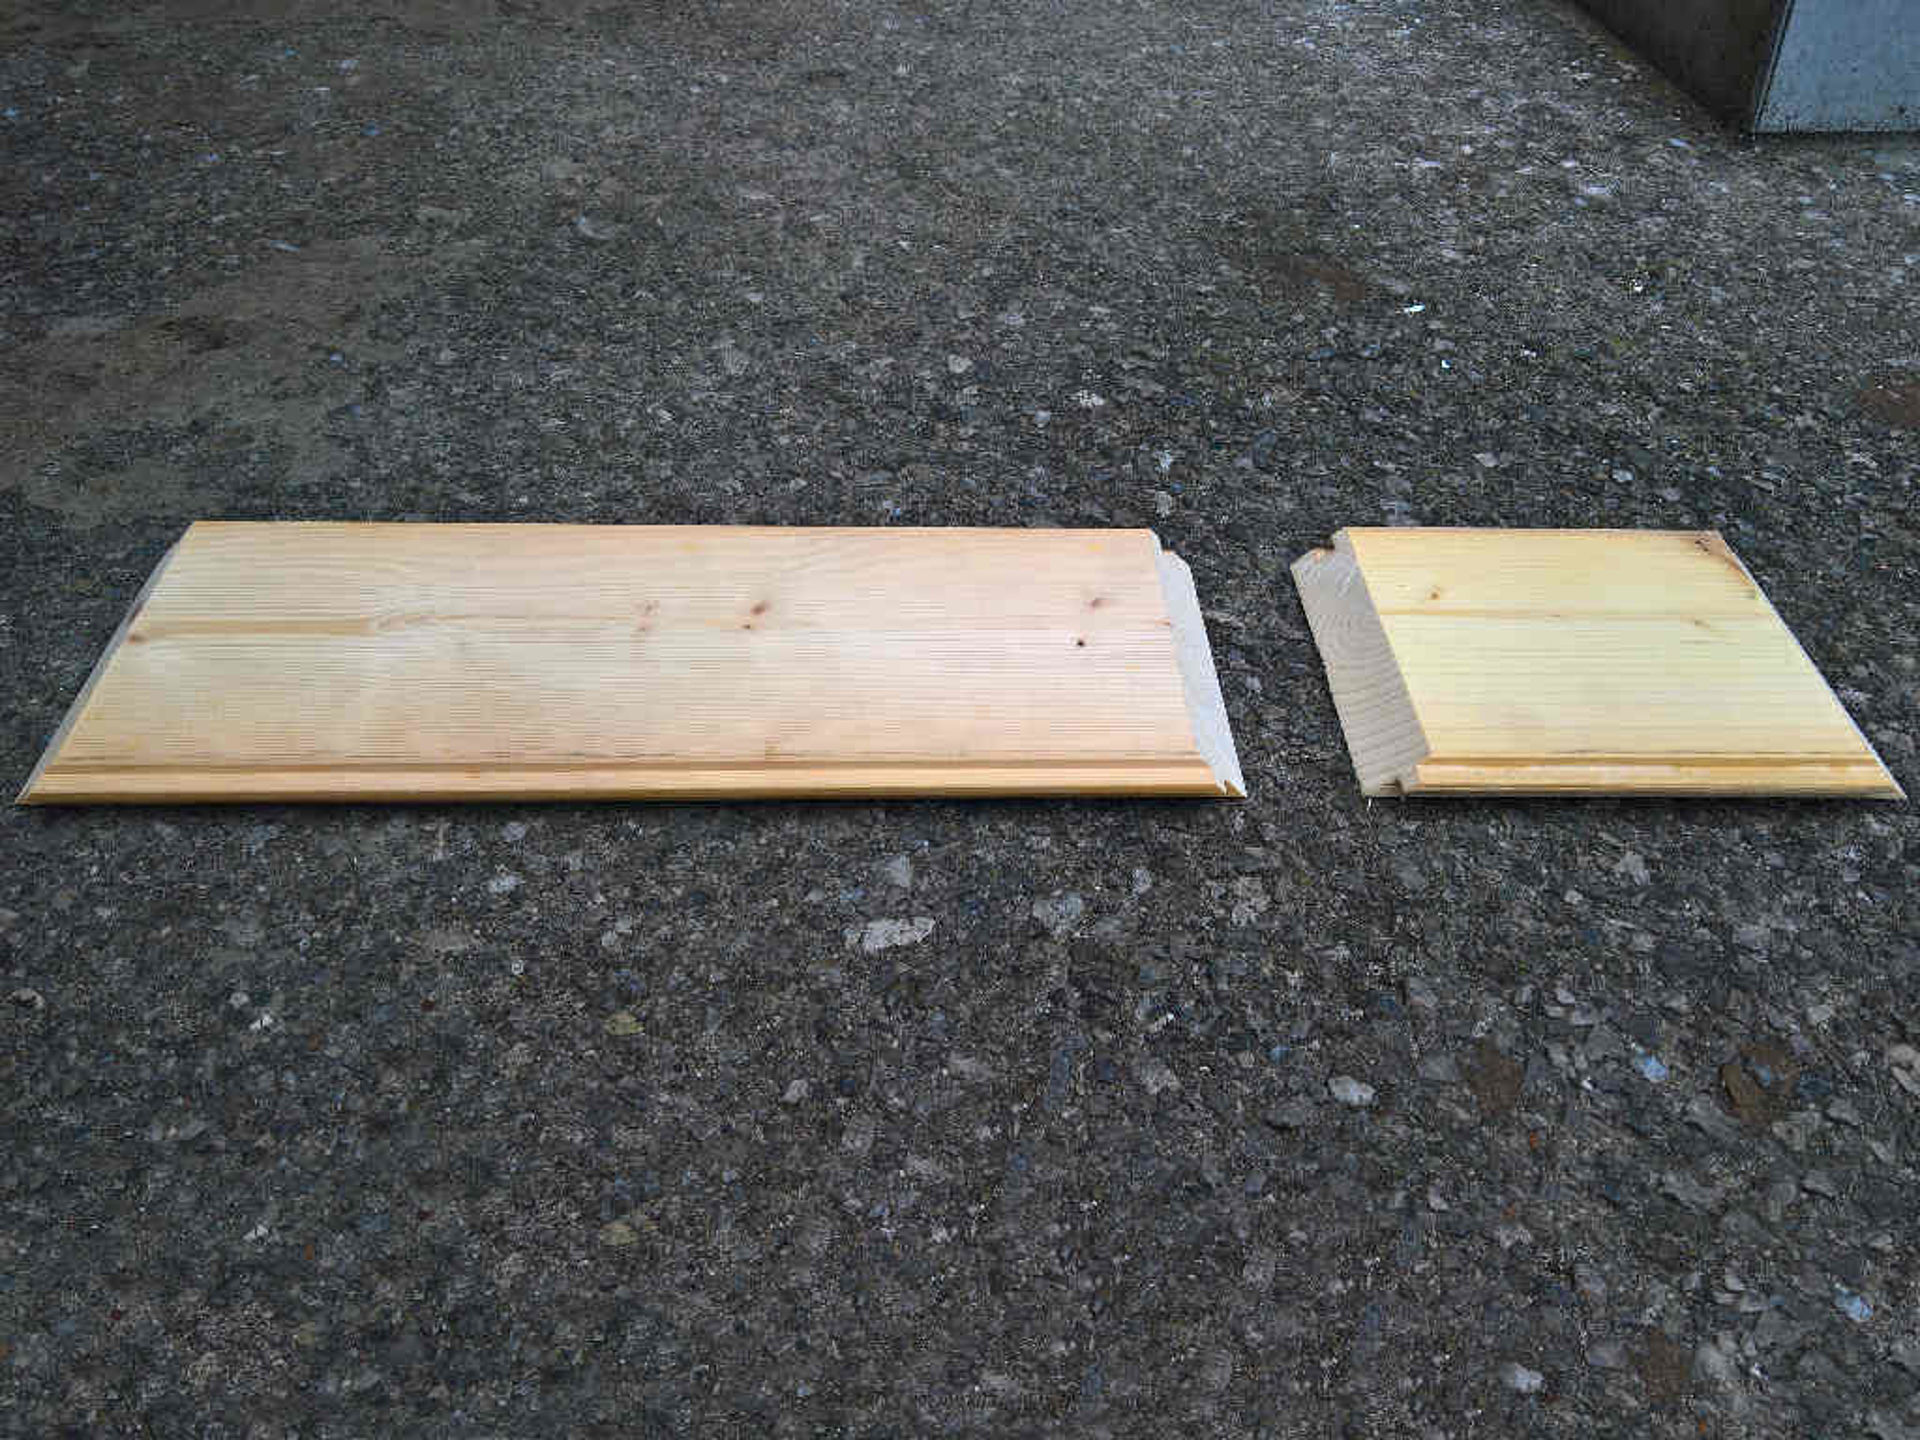
First, we cut our boards to the correct length so it forms a kind of frame for our planter boxes. In order to obtain a neat appearance, we cut the ends of the wood pieces in a 45 ° angle, with the help of a mitre saw. The inside dimensions of the collar correspond with those of the body of the planter boxes, excluding the protruding edges (the collar needs to bear the weight of the planter box). Here I recommend to use a sharp saw blade, because it prevents the edges of being unclean or fibrous. Since I want three floors, I need 6 pieces lengthwise and 6 shorter pieces crosswise each. Then we eliminate all the optical defects that are left and smooth the surfaces with the multiple sander out.
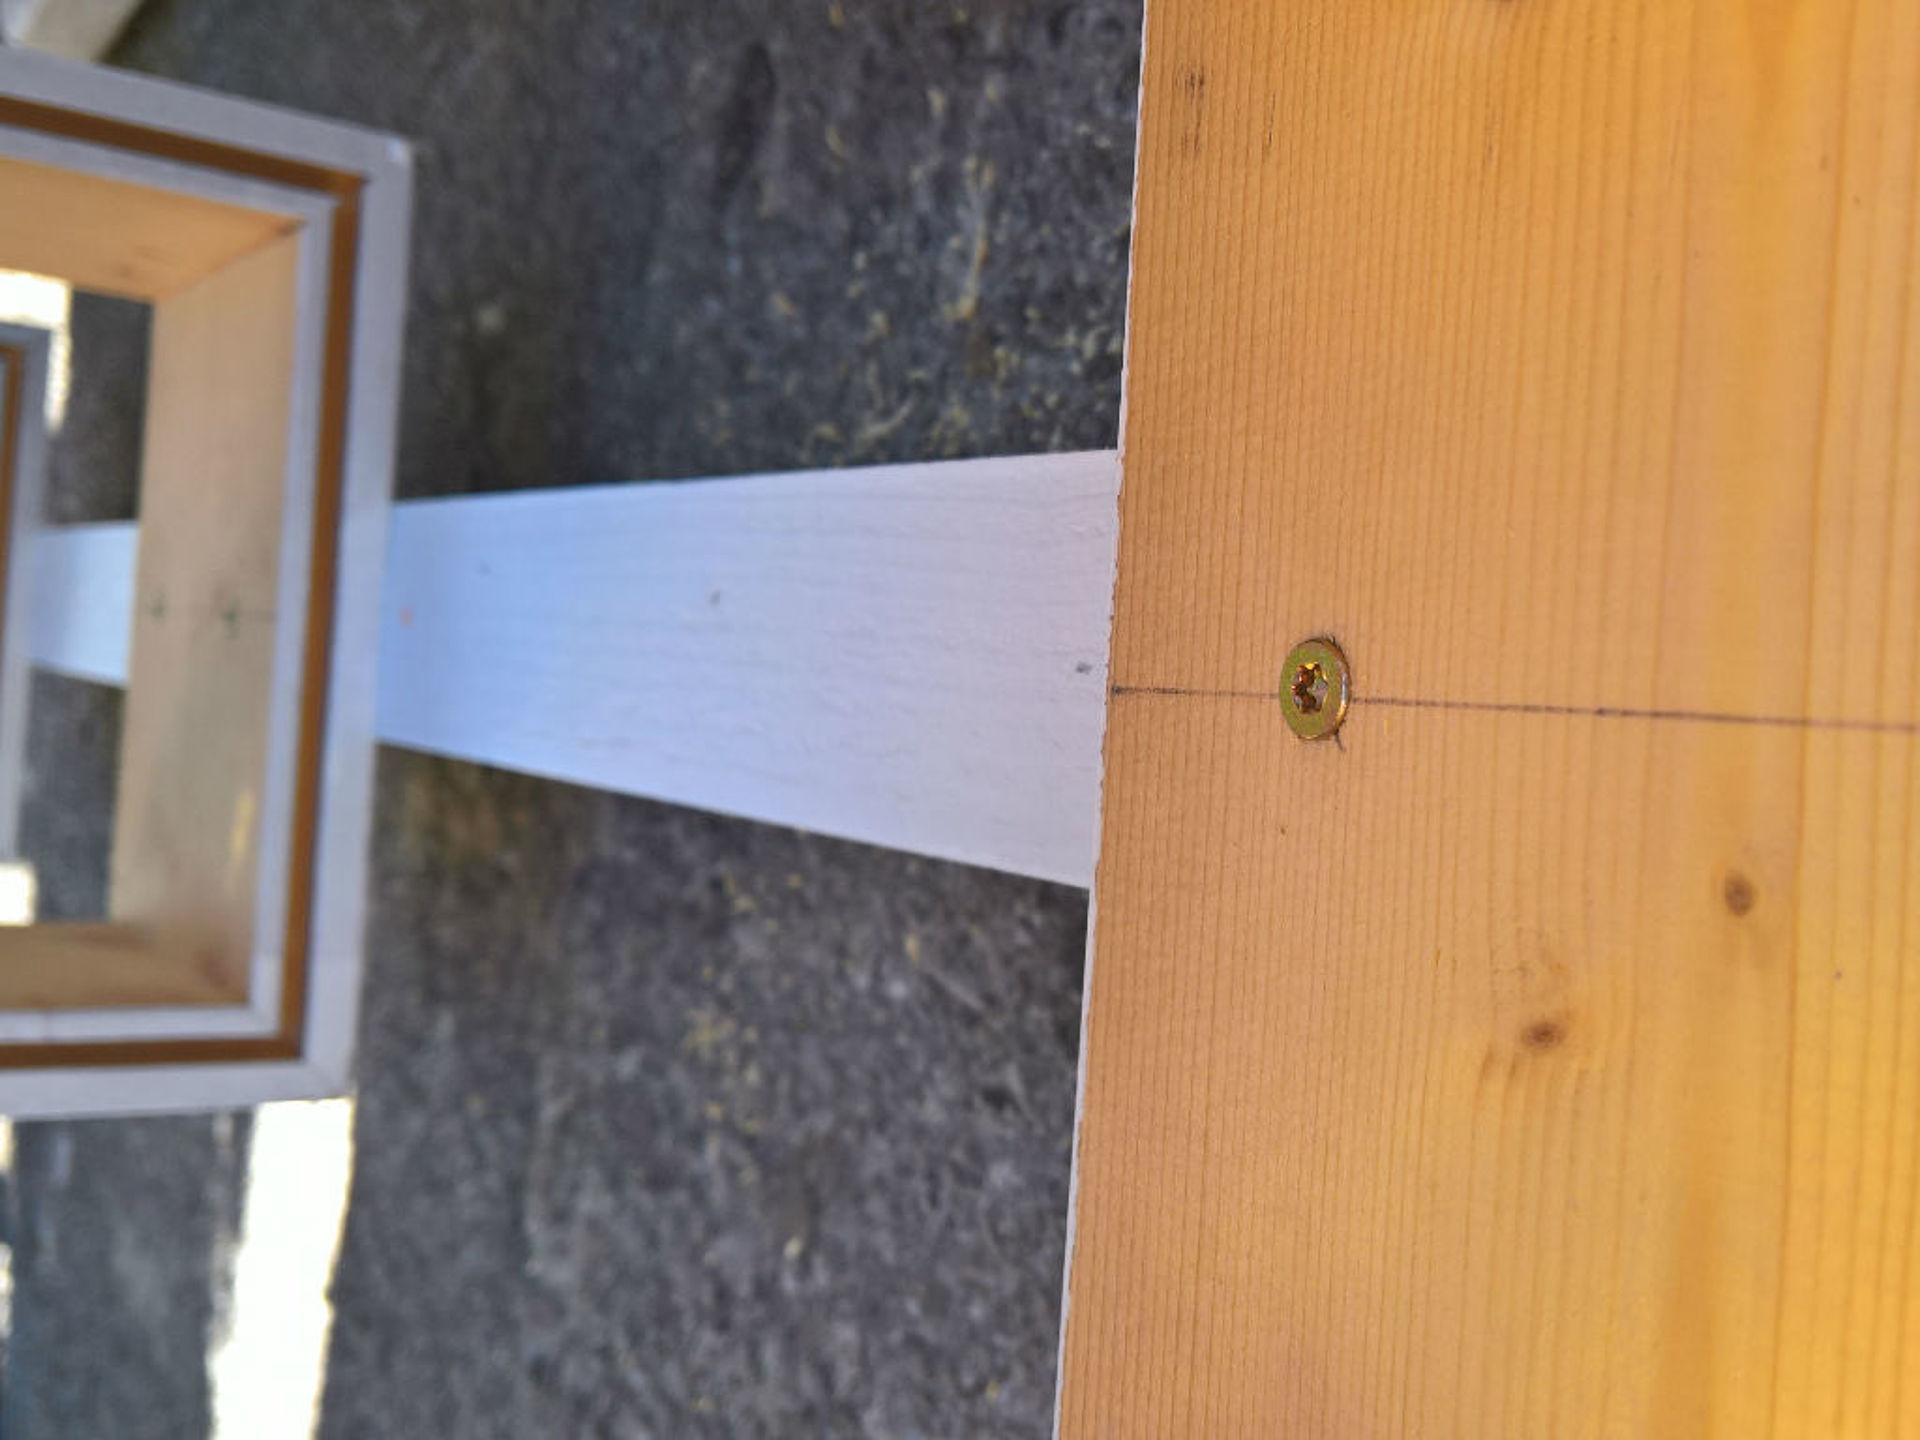
In the next step, the pieces of wood are connected together. I have chosen to screw them together, because a glue, which is constantly exposed to the weather influences, eventually gives in. For this we need the so-called frame tensioner, which keeps our construction temporarily in shape, so that we can safely pre-drill the holes for the screws, which are due to the mitre angles, very close to the edge and increase therefor the danger of something splintering. So that the screws do not become an eye-catcher, we put them on the narrow side of the frame and sink their heads, till they are flush with the wood surface.
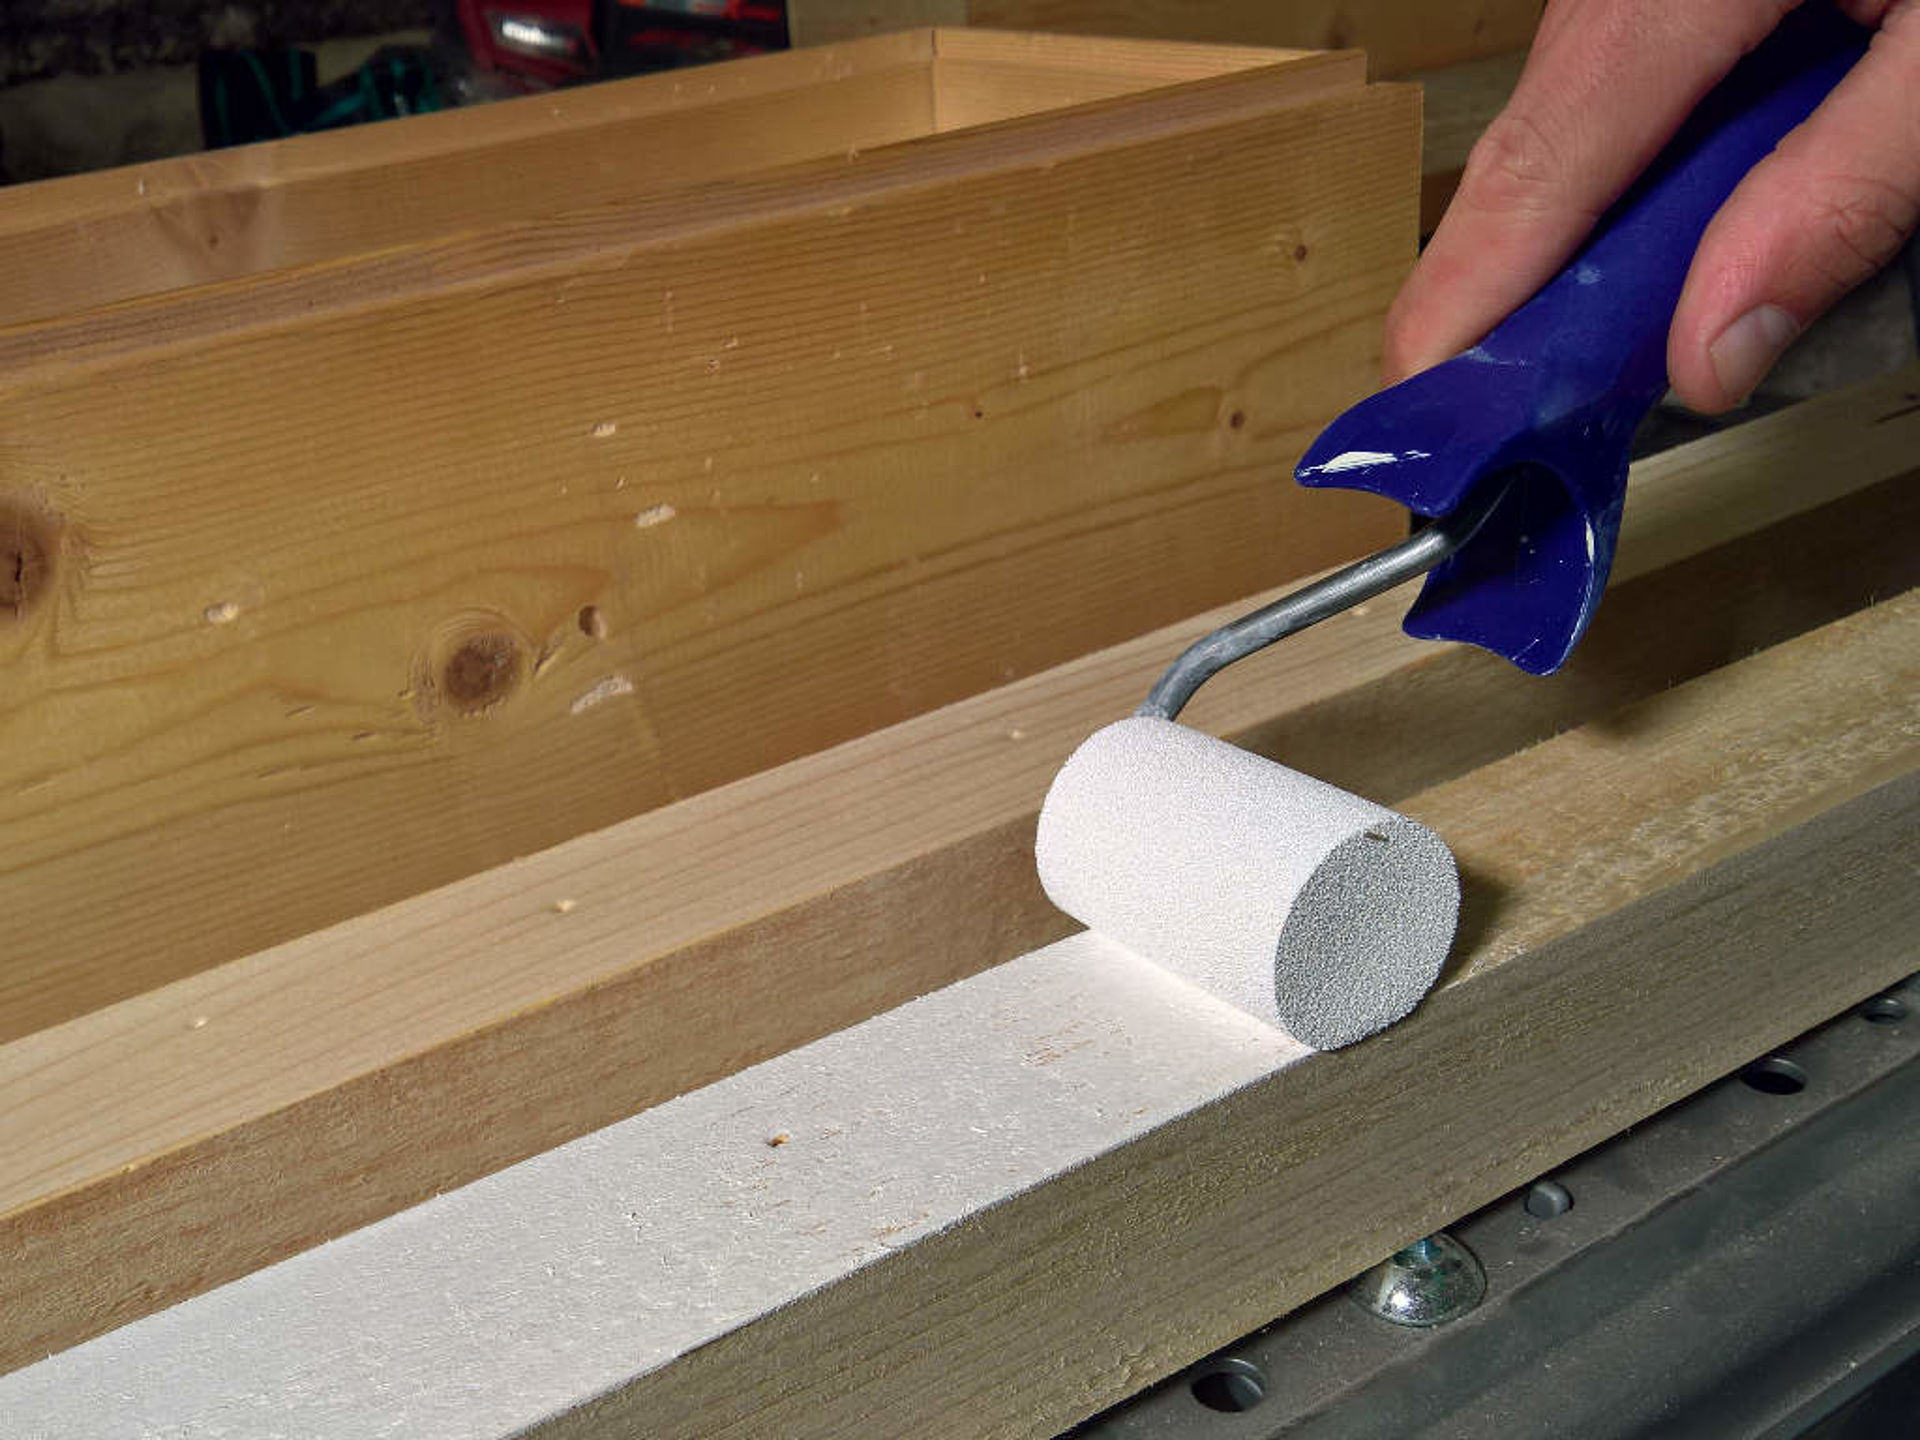
Now we come to the painting. Basically, it is advisable to choose a darker color to conceal possible mud splashes (which often occur during watering the plants). Nonetheless I chose white because it fits better with my remaining garden furniture. A double coat of foam roller paints not only gives the most consistent result, but also optimally protects the wood from moisture.
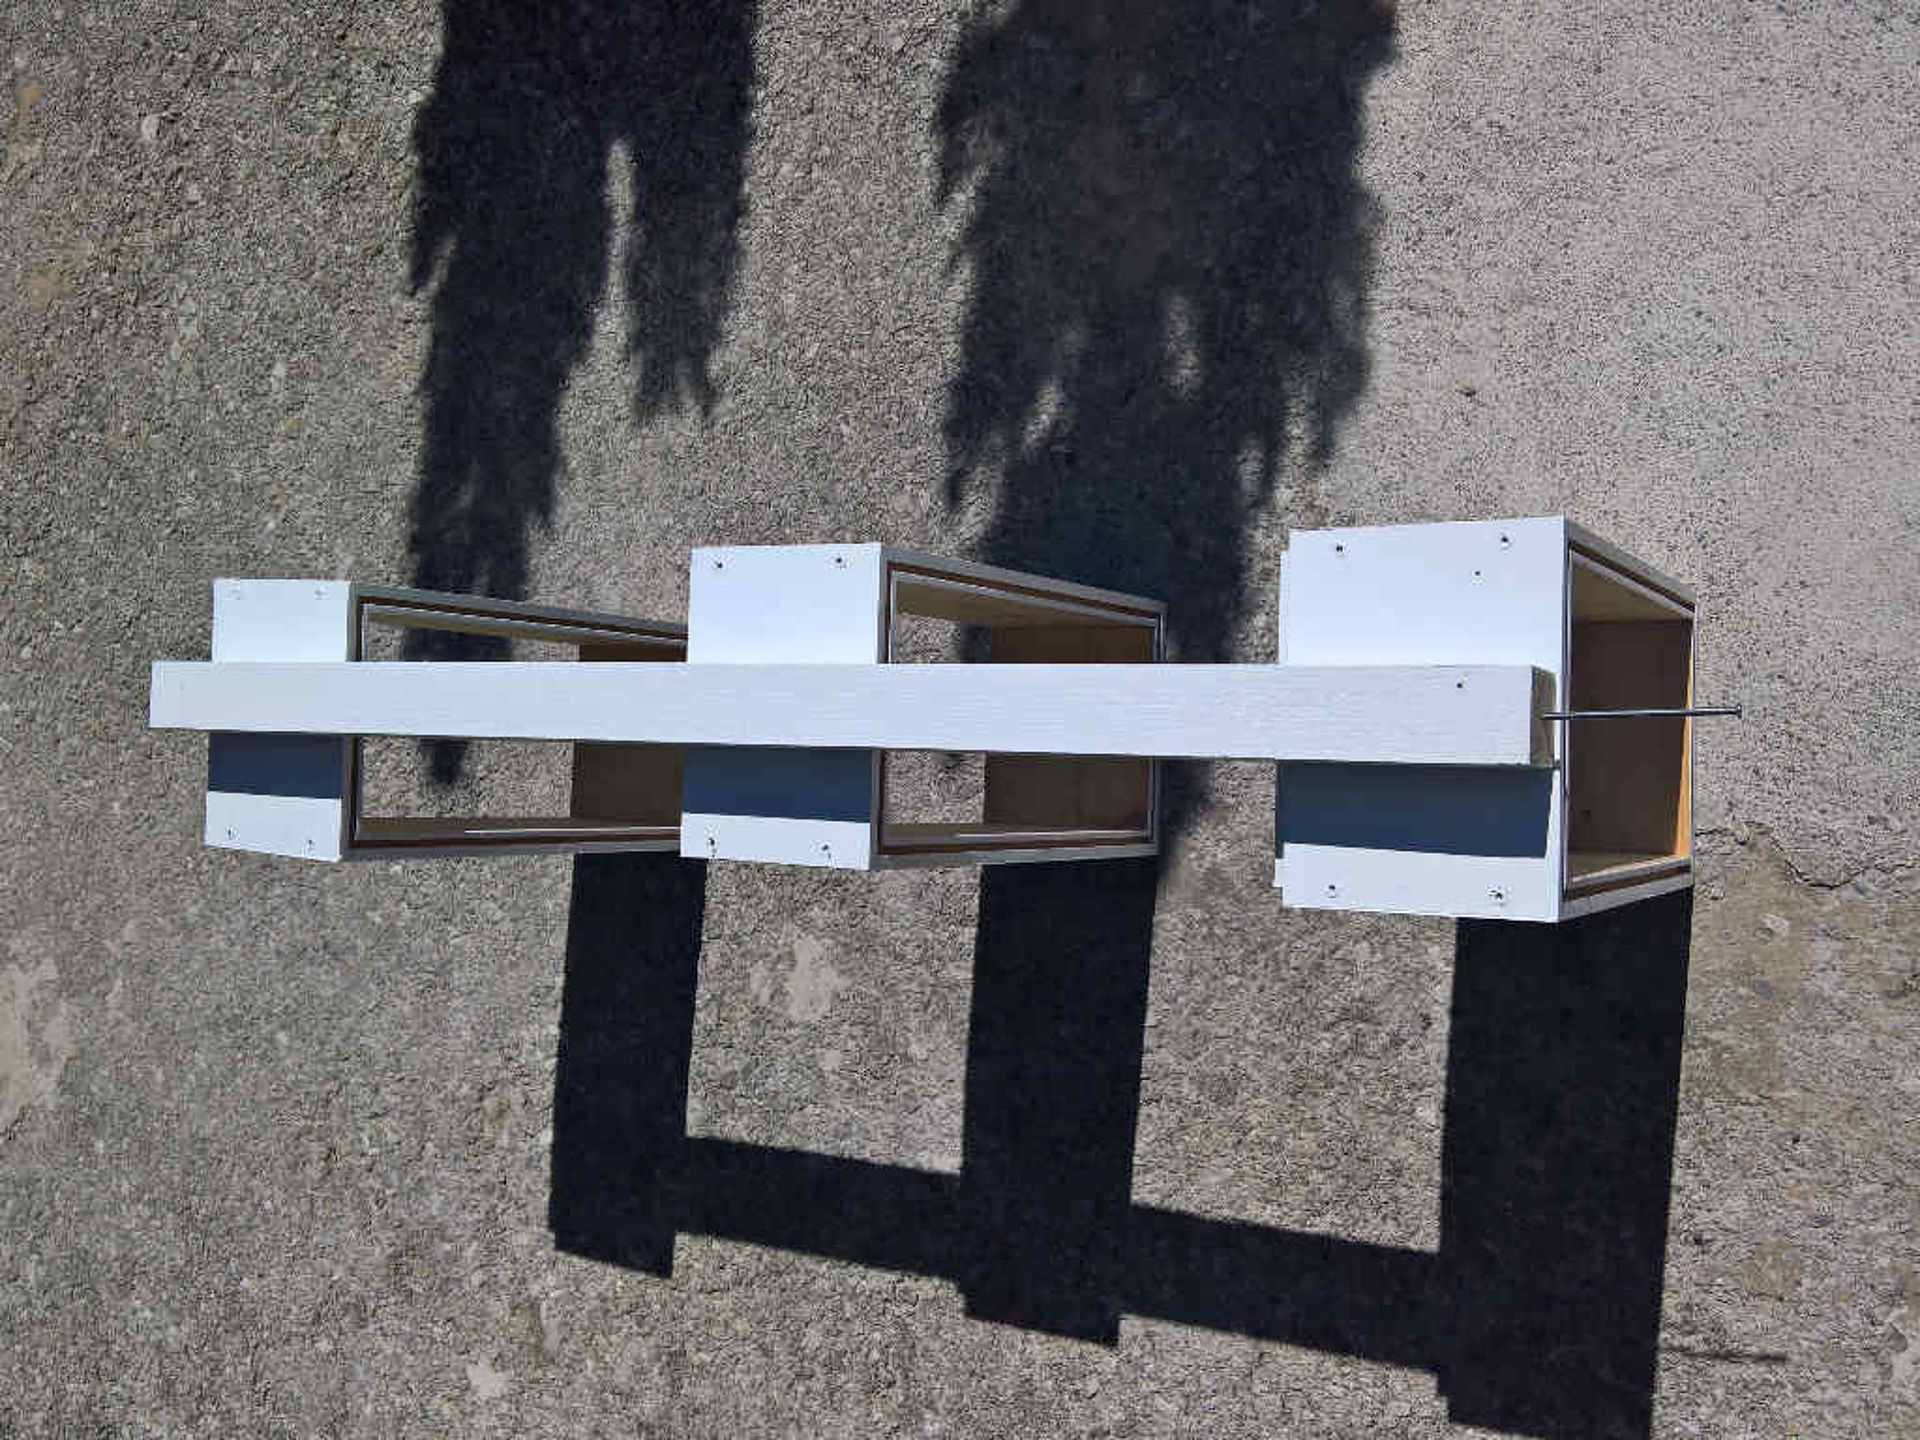
Once the paint has dried, we can connect the individual floors with the squared timbers, by using screws. If the herb garden should later stand on a flat surface such as a terrace, the bottom floor forms the base (as in this construction manual). If you want to anchor the squared timbers to the ground using ground spikes, you need to mount the first frame 5-10cm higher.
Now that the technical part is done, we can focus on planting. Mediterranean herbs, which need a lot of sun and sometimes survive short periods of dry weather, are best planted in the top shelf. For herbs that love permanently moist soil or prefer partial shade, the lower levels are used. Do not forget to drill holes in the bottom of the flower boxes to prevent waterlogging.
Here I listed a small selection of herbs and their needs:
| Herbs | The use | soil/position | watering |
| basil | salad, pesto, soup | nutrious, sunny | damp |
| mint | dessert, tea | loose, sandy, shady | little to medium |
| sage | meat, vegetables | warm, dry | little to medium |
| lemon balm | tea, dessert | partly shady | medium to damp |
| oregano | pasta, soup, meat | sunny | medium |
| thyme | fish, meat, vegetables | warm, sunny | little to medium |
| rosemary | fish, meat, pasta | sandy, warm, sunny | medium |
| tarragon | fish, salad, sauces | garden soil, sunny | medium |


