


Laminate, vinyl, parquet: How to lay your floors yourself
A new floor can completely change the look of your home — with some preparation and the right tools, you can take matters into your own hands and save a lot of money. Because when it comes to renovations or new constructions, every penny you save through DIY often counts. Whether you choose durable laminate, versatile vinyl, or elegant parquet, in this blog post, we will show you how to lay your floor step by step. Whether you're a beginner or an experienced DIY enthusiast: with a well-thought-out plan, laying these floors will be manageable even for novices. We will explain the necessary materials and tools and provide you with valuable tips for installation.
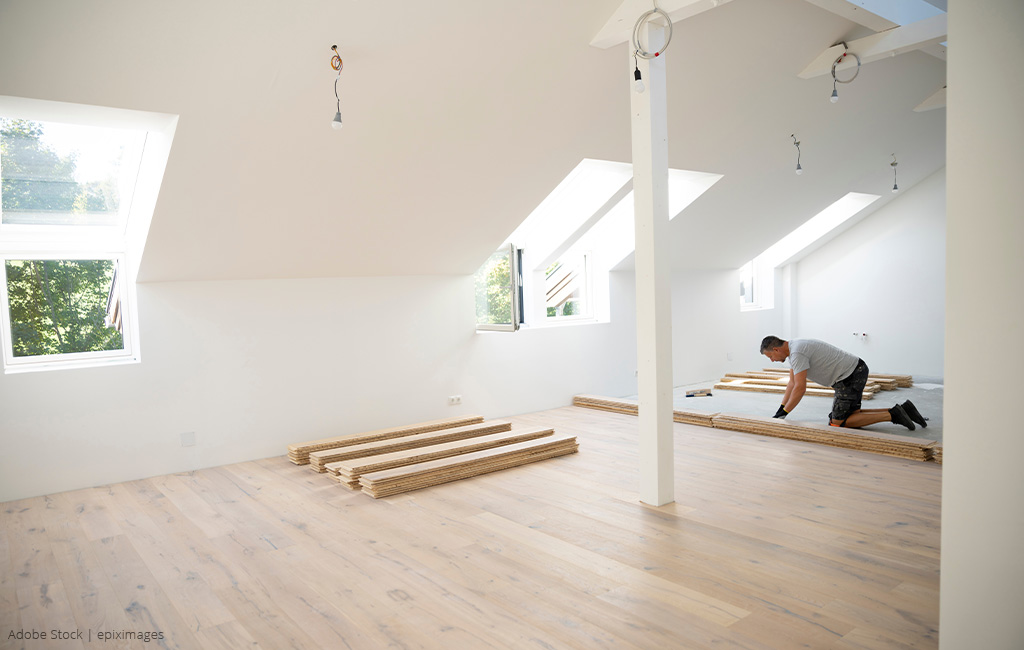
Installing flooring yourself: With some preparation and the right tools, you can beautify your home through DIY.
Parquet, vinyl, and laminate: Similarities and differences
When choosing between parquet, vinyl, and laminate flooring, there are some important differences and similarities that can influence your decision.
- Material properties: Parquet is made of real wood, which makes it high-quality and natural, but also more susceptible to moisture. Vinyl, on the other hand, is typically a synthetic floor, water-resistant, and particularly durable, while laminate consists of a wood fiber board with a decorative layer and is especially easy to maintain.
- Appearance and feel: Parquet offers an elegant, warm appearance and feel because it is made of real wood. Vinyl can realistically imitate wood or stone but feels cooler. Laminate also imitates wood appearances, but is harder and less natural to the touch.
- Price and durability: Parquet is the most expensive but also the most durable flooring, as it can be sanded down in case of damage or discolouration. Vinyl flooring is mid-priced, water-resistant, and durable, but cannot be easily repaired. Laminate is the most affordable option, with lower durability, and needs to be replaced if damaged.
Parquet, vinyl, and laminate differ in many ways, so the choice of flooring should be well-considered.
Materials & Tools: What you need for laying flooring
To successfully lay laminate, vinyl, or parquet yourself, you will need a variety of materials and tools. Here is an overview of everything you need for installing the different types of flooring:
Material
- Acoustic Underlay: Reduces footstep noise and improves comfort. It may already be integrated into the panels, depending on the type of flooring.
- Vapour Barrier: Protects against rising moisture, especially on concrete or screed floors.
- Skirting boards: For a clean finish along the walls.
- Transition strips: To seamlessly connect different types of flooring in adjacent rooms.
- Installation wedges: To ensure the necessary expansion gaps along the walls.
- Wood glue: Optional for bonding parquet floors.
- Grout or silicone: Optional for flexible sealing around heating pipes or door transitions.
- Leveling compound: To even out any irregularities in the subfloor.
Tools
- Utility knife: For cutting vinyl flooring and opening floor packages.
- Tapping block and hammer or rubber mallet: For gently fitting the planks together without damaging the click connections.
- Pull bar: To perfectly install the last planks near the walls.
- Measuring tape: For accurately measuring room dimensions and plank lengths.
- Pencil and square: For precise marking of cuts on the planks.
Practical Devices
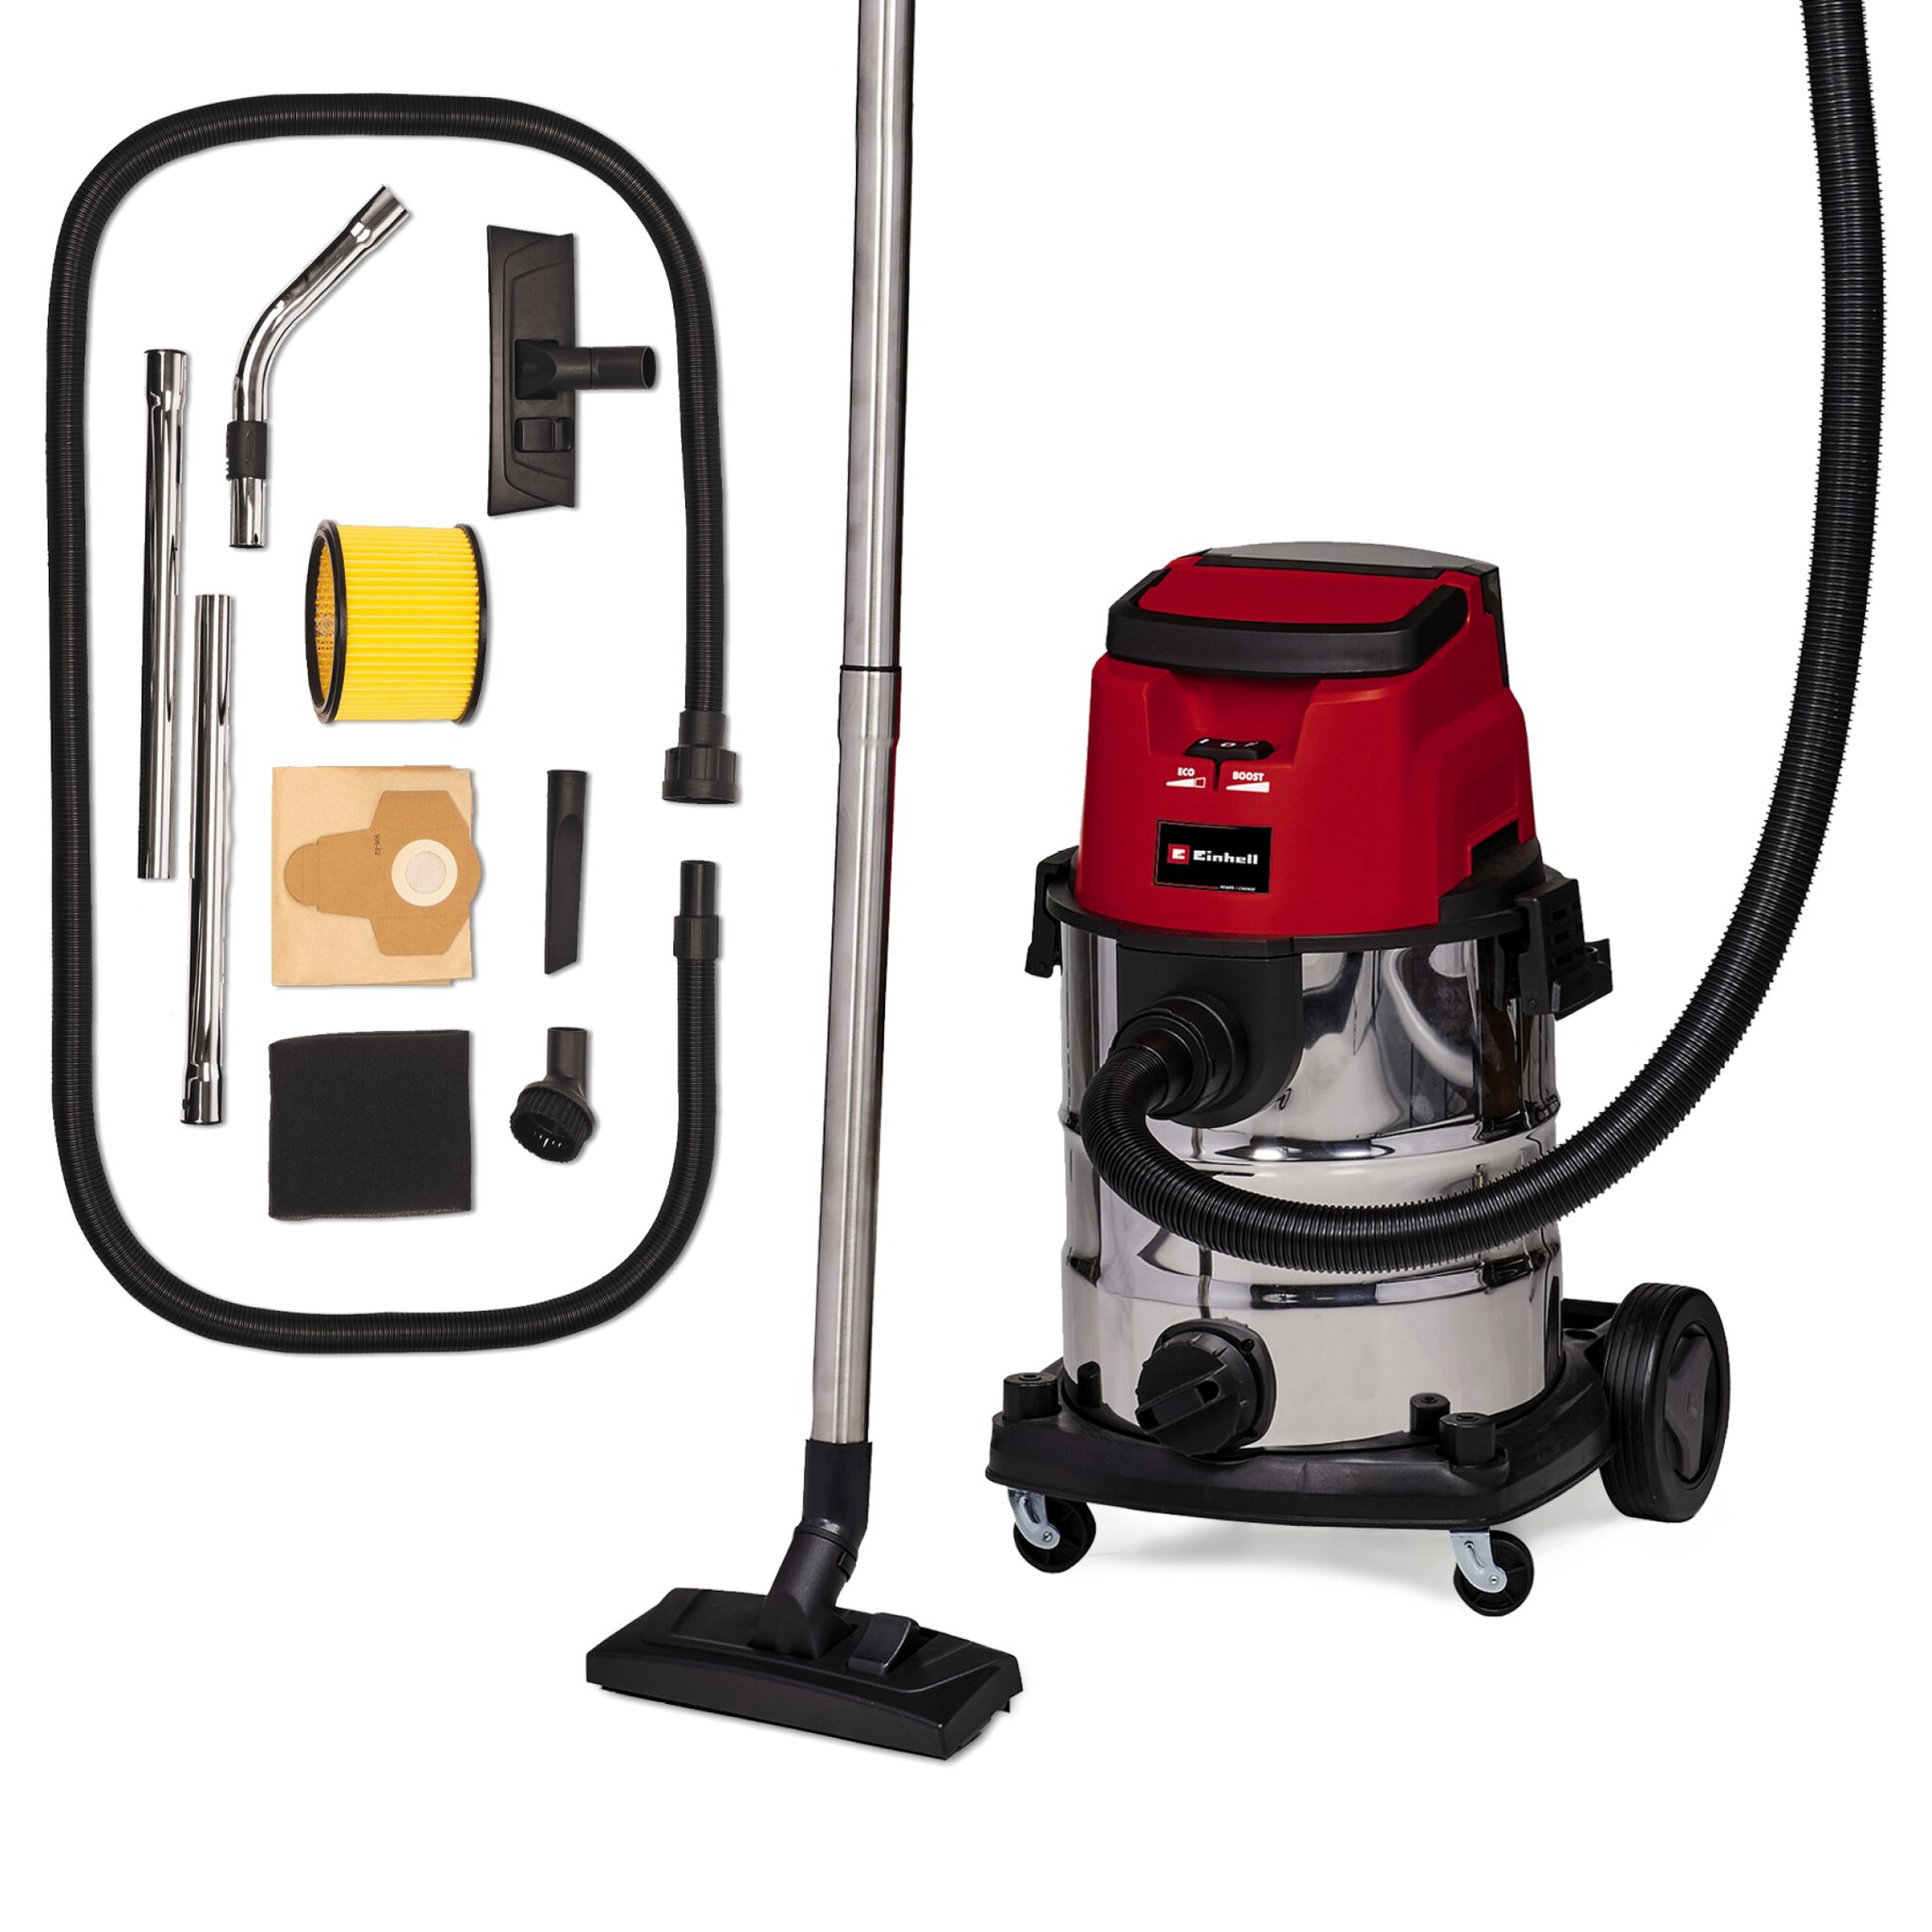
- Vacuum cleaner or broom: For thoroughly cleaning the subfloor before installation. The Einhell cordless sweeper TE-FS 18 Li or our wet-dry vacuums can be very helpful here.
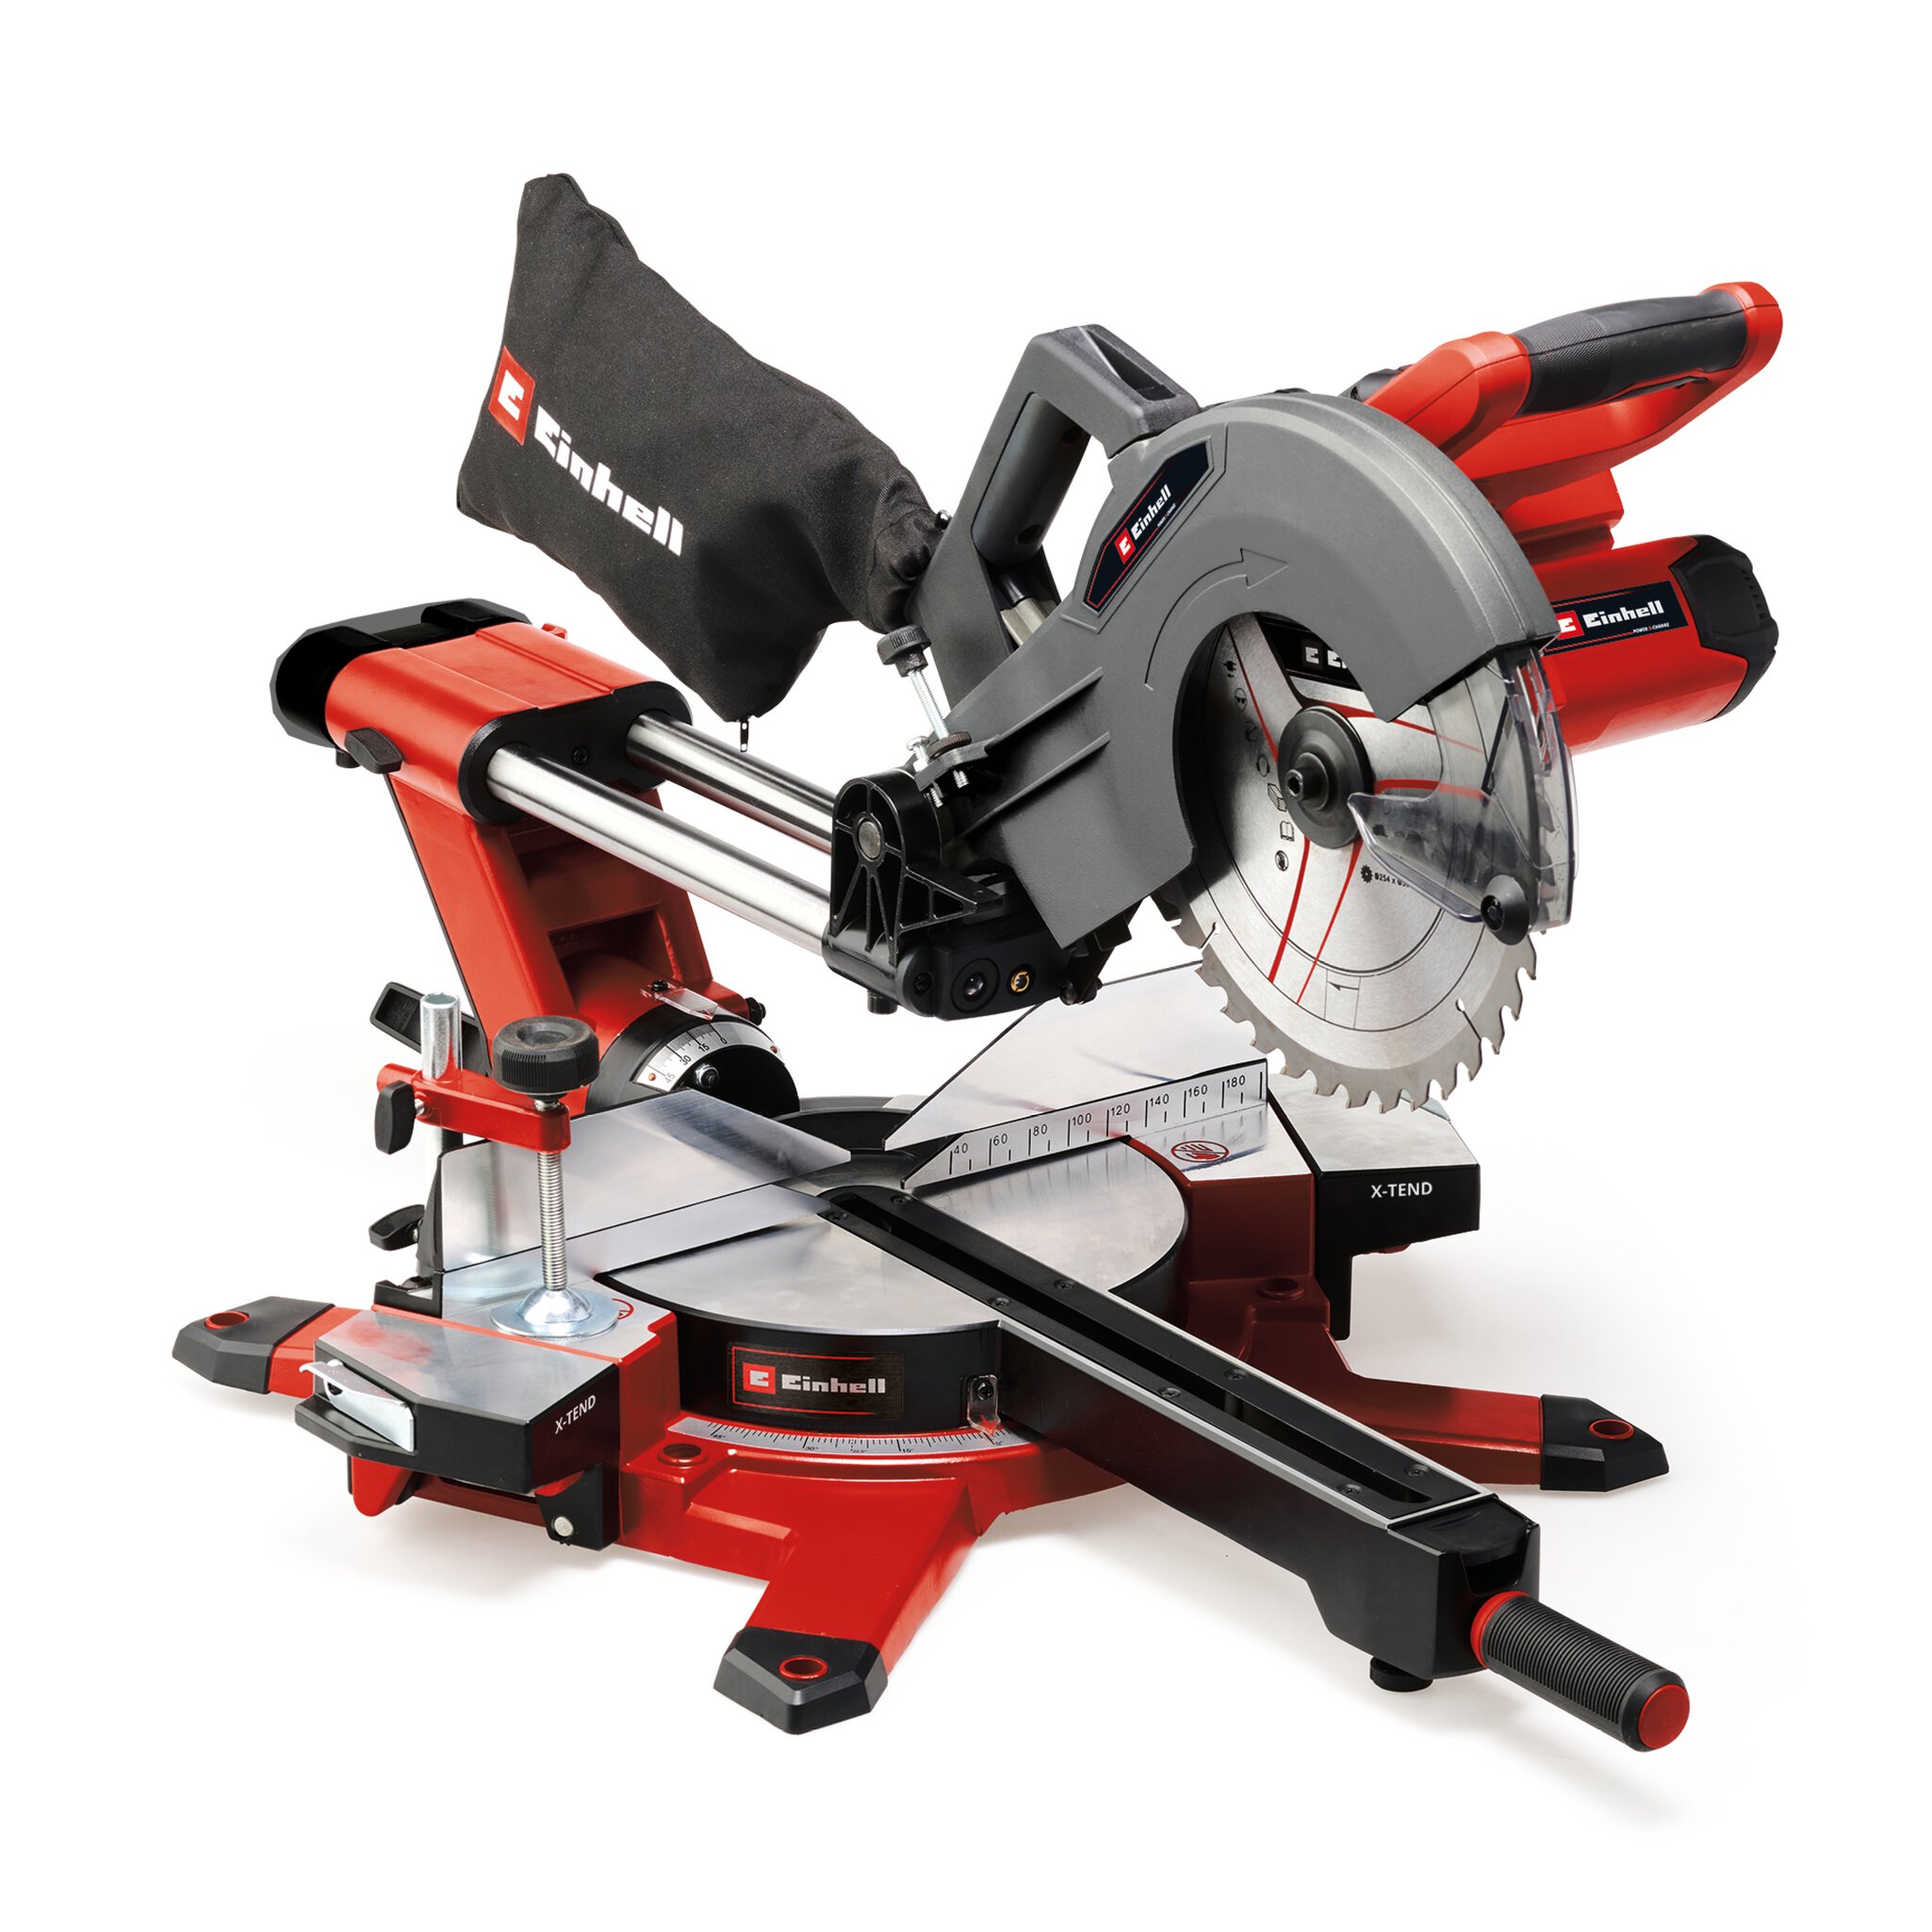
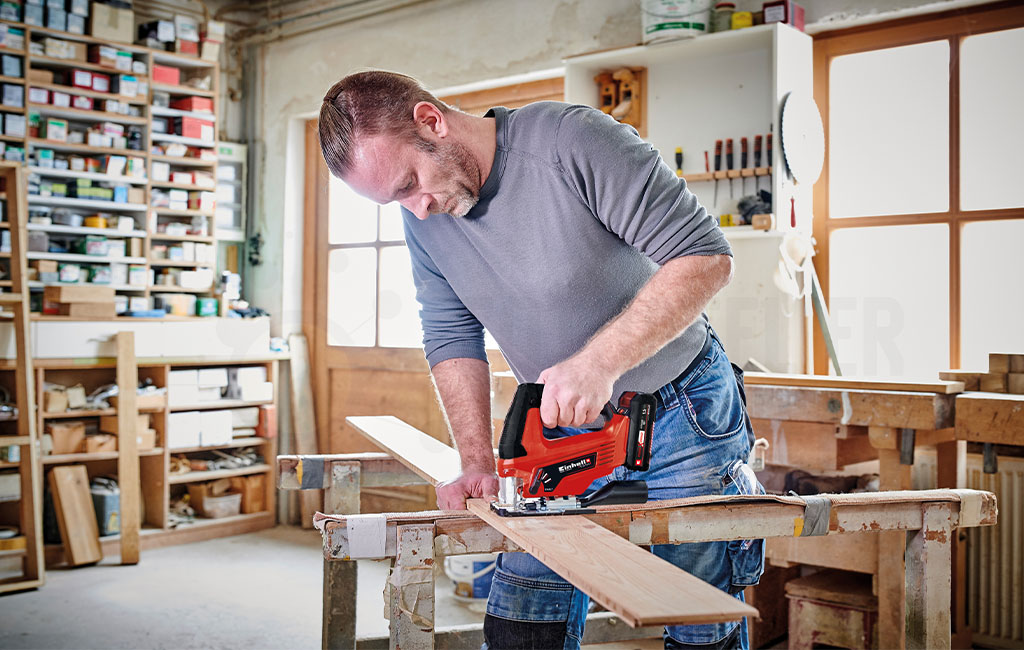
- Sliding miter saw or jigsaw: For precise trimming of planks and fitting them around door frames or corners. The Einhell sliding mitre saws are perfect for straight and accurate longitudinal and miter cuts, thanks to their angle and parallel guides. Our jigsaws can also handle finer cuts.
- Multitool: For precise cutouts, such as around ventilation ducts or other obstacles. With the Einhell multitools, plunge cuts into the planks are no problem either.
- Drill driver: For drilling holes for heating pipes or fastening baseboards.
- Nailer or caulking gun: For attaching or gluing the baseboards to the walls. The Einhell cordless nailer FIXETTO 18/50 N allows you to drive nails into the baseboards quickly in succession. If you prefer to glue the baseboards, the cordless sealing gun TE-SG 18/10 Li helps with even adhesive distribution.
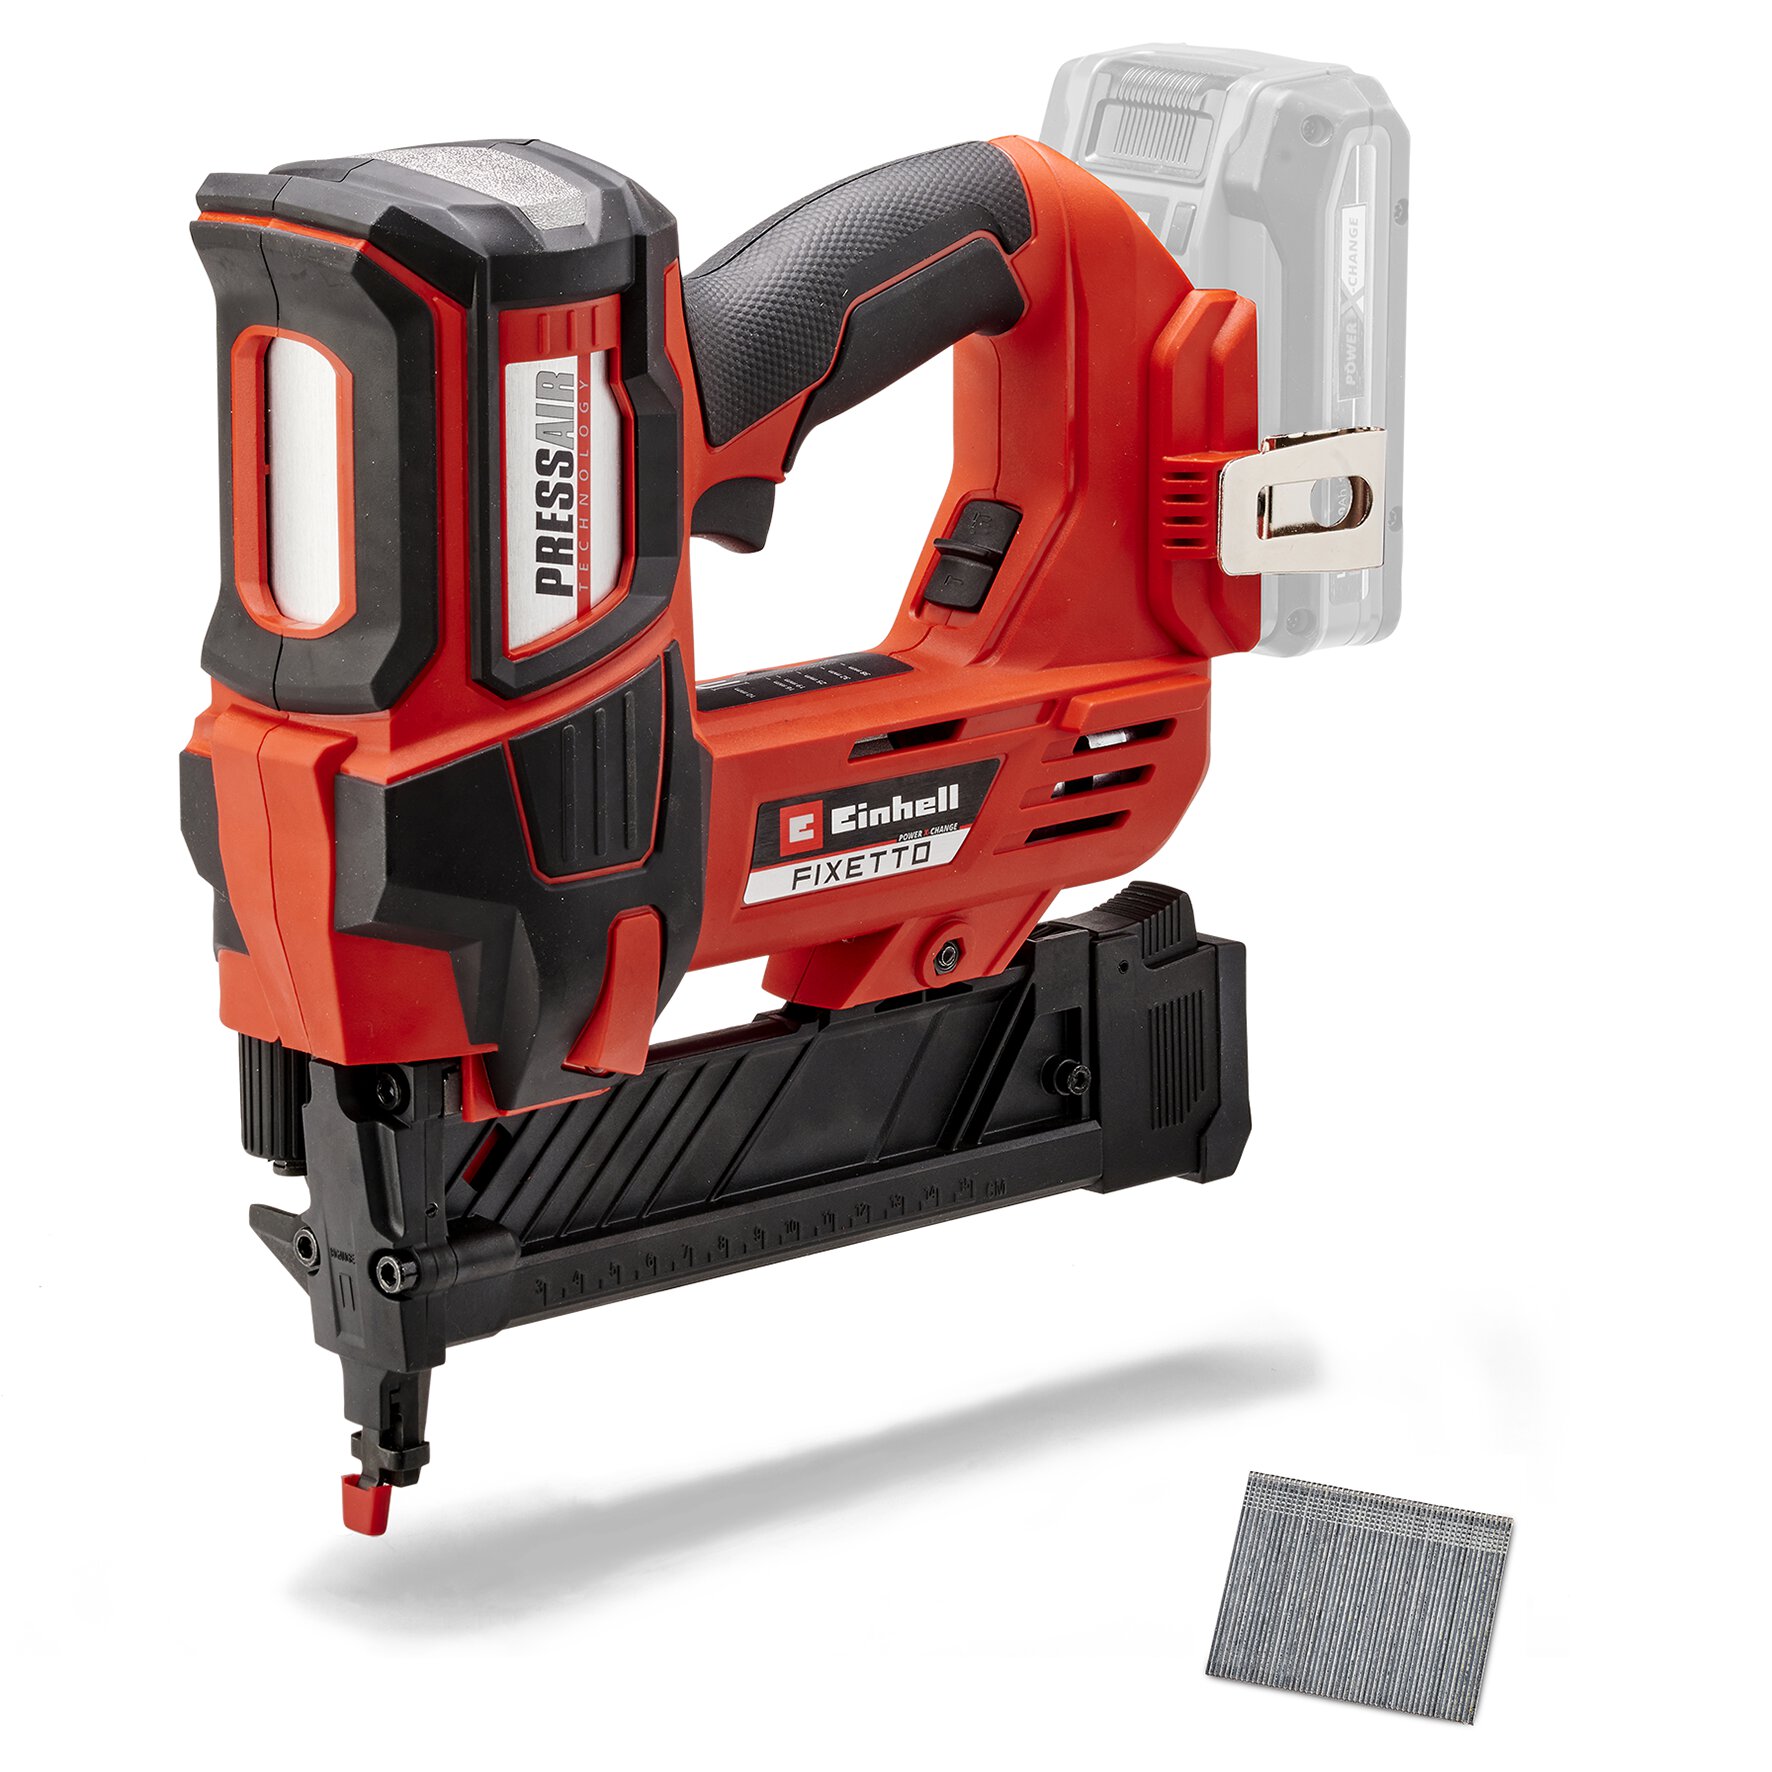
Cordless Nailer
FIXETTO 18/50 N
Go to article
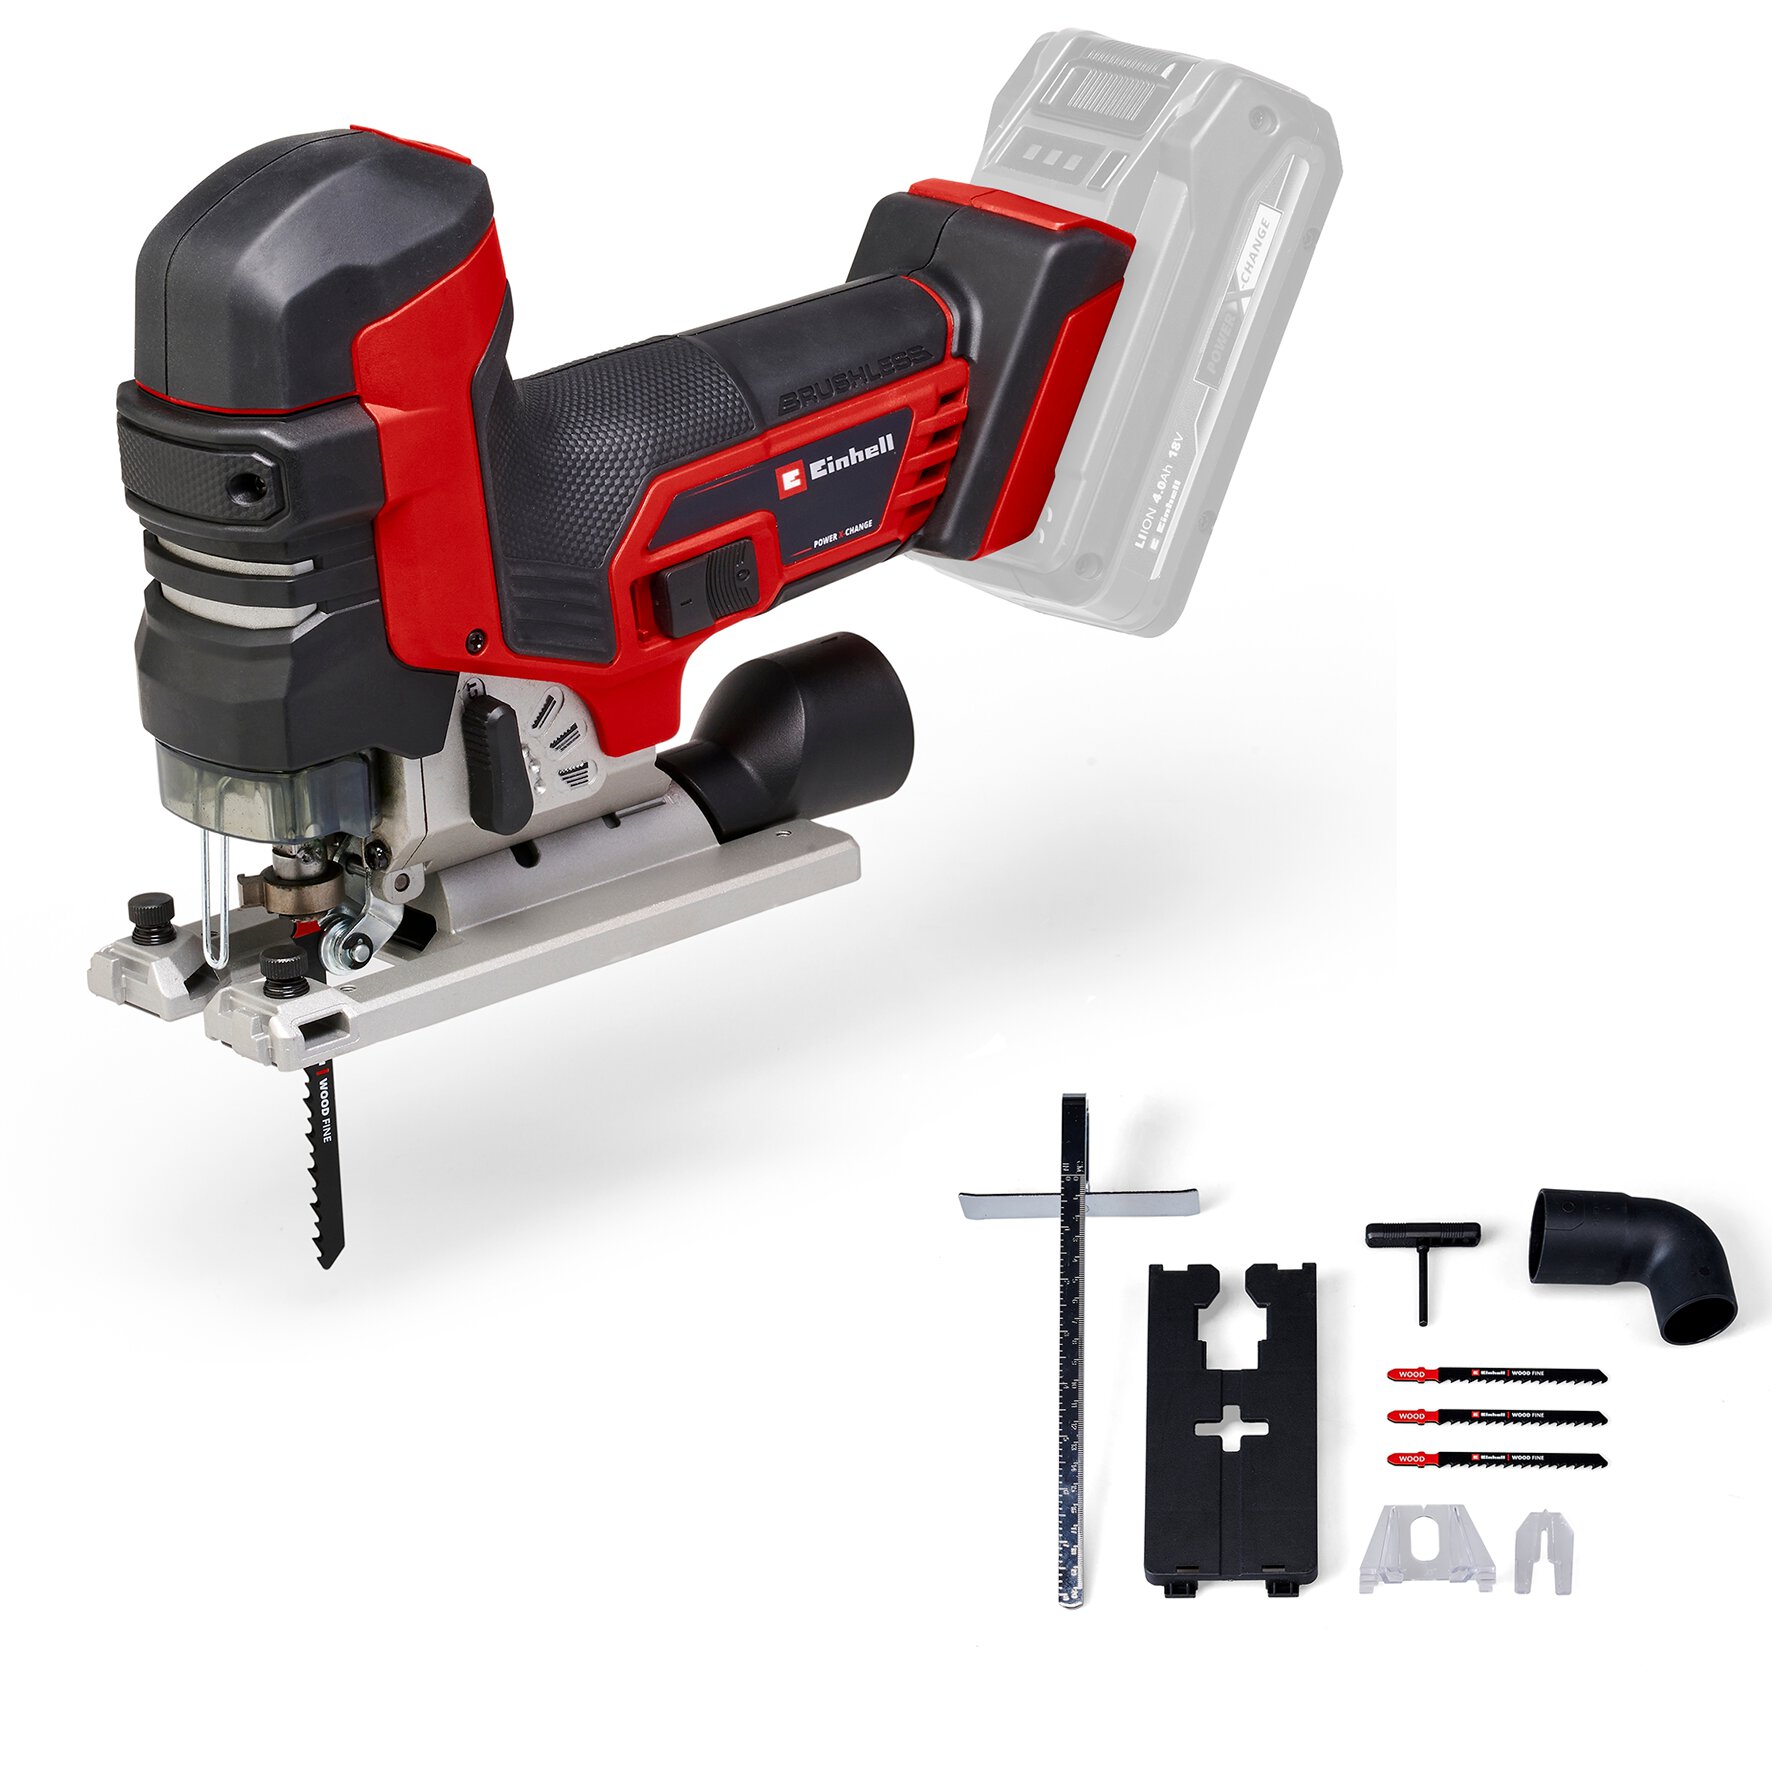
Cordless Jig Saw
TP-JST 18/135 Li BL - Solo
Go to article
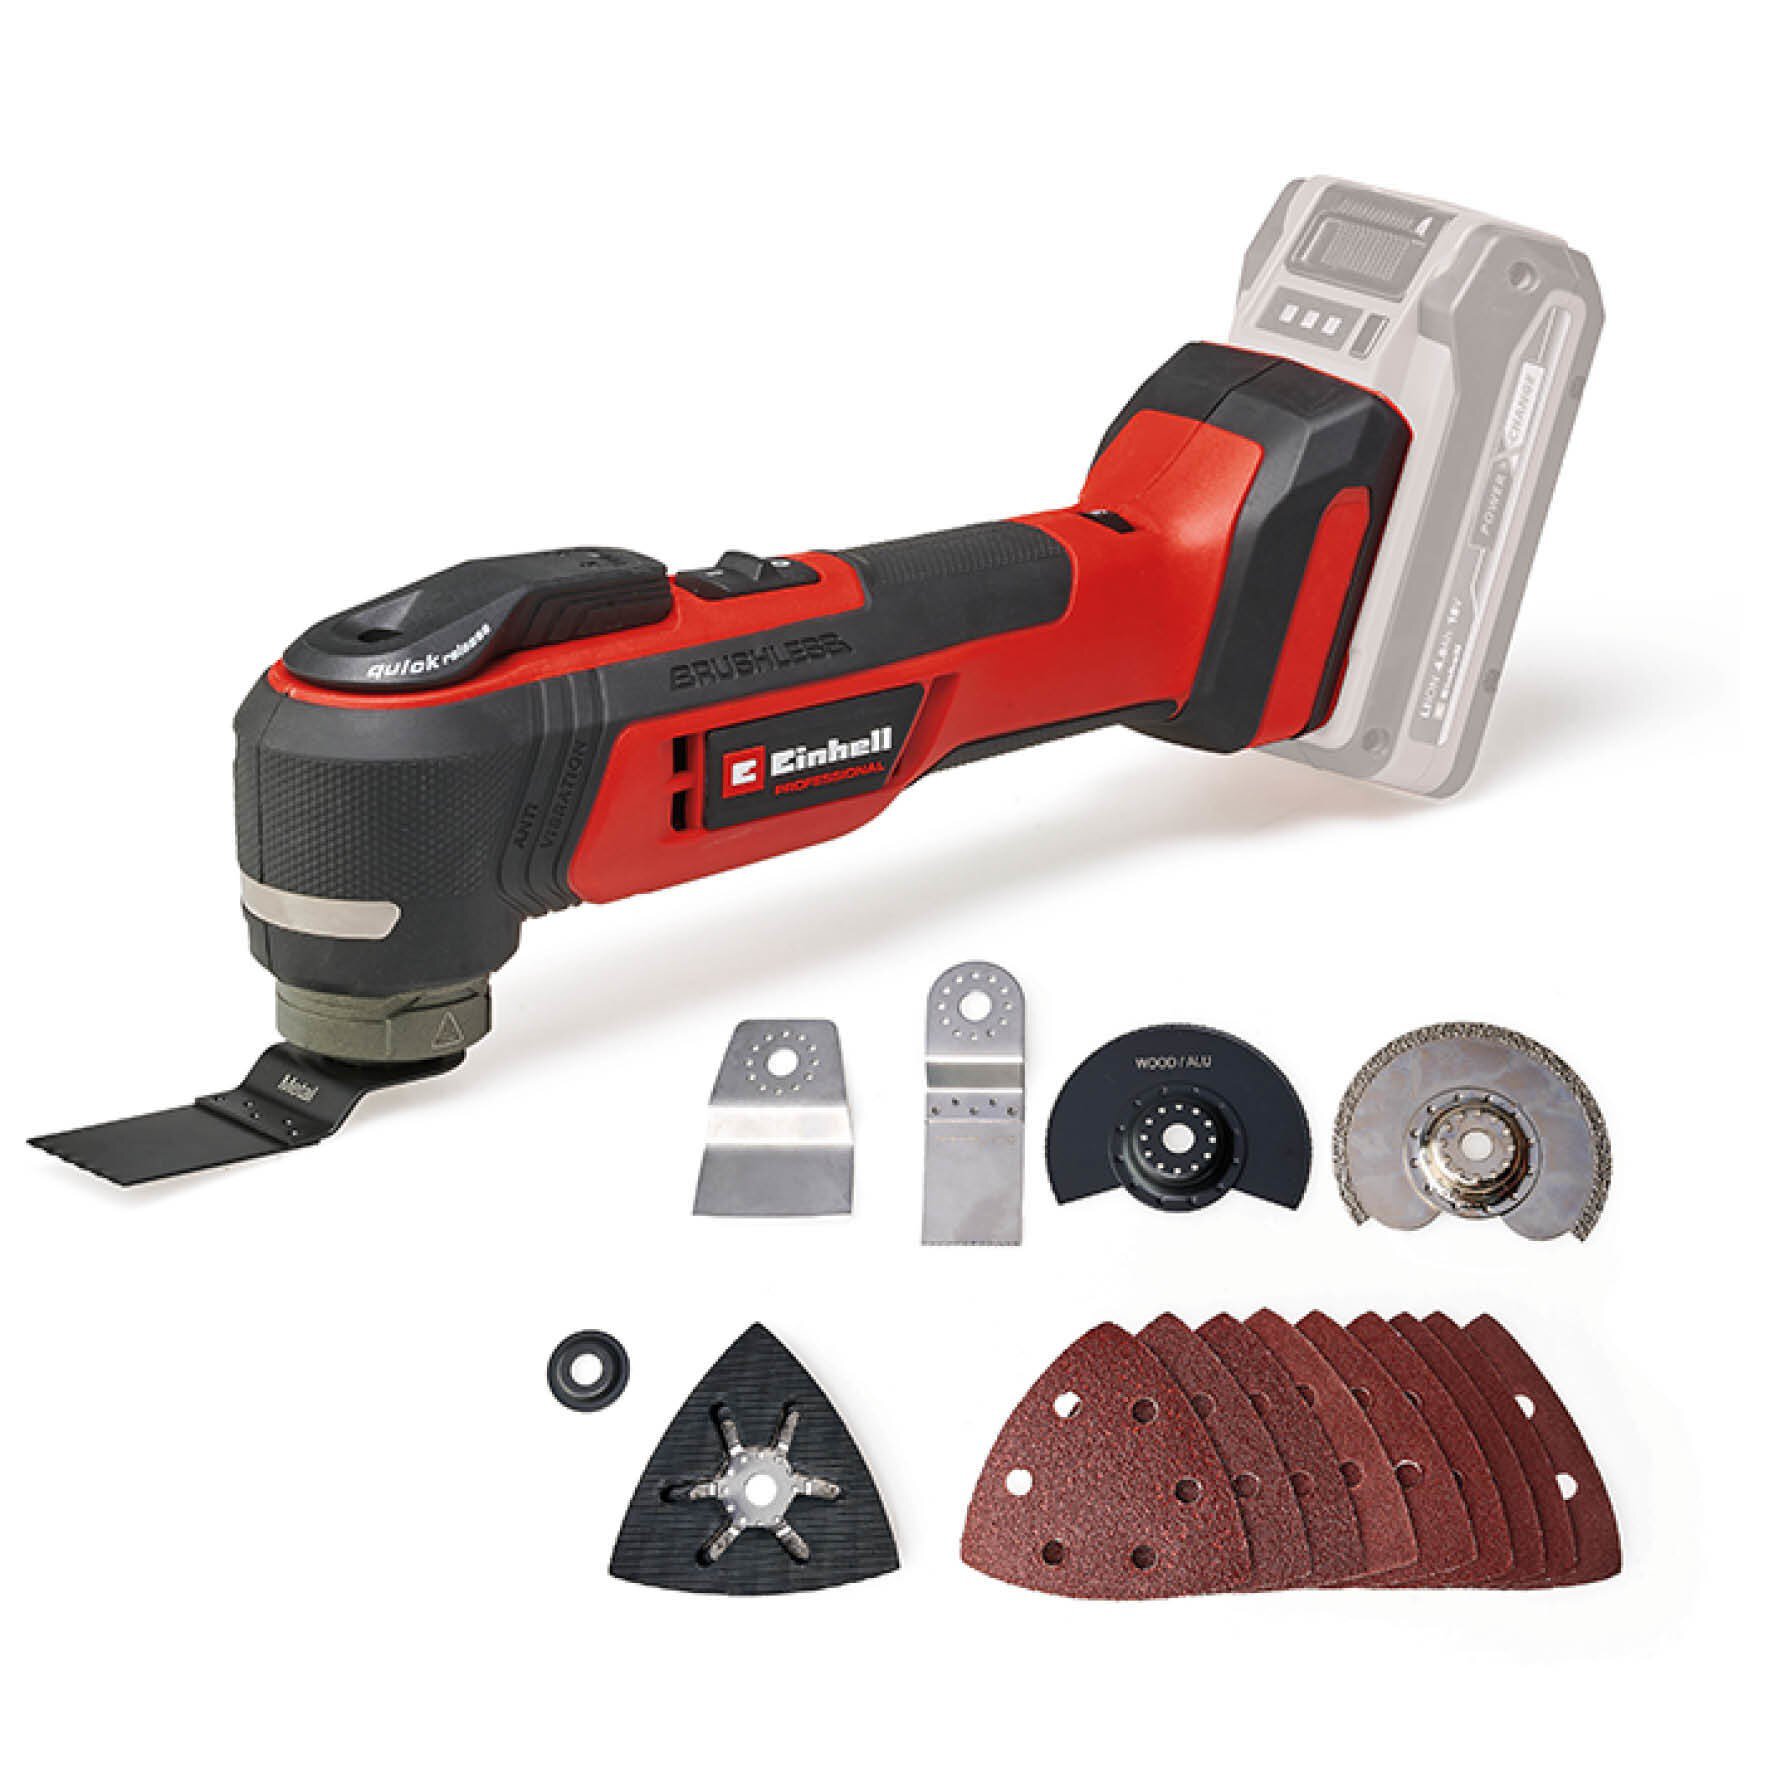
Cordless Multifunctional Tool
TP-MG 18 Li BL - Solo
Go to article

Cordl. Wet/Dry Vacuum Cleaner
TE-VC 36/30 Li S-Solo
Go to article
Cordl. Wet/Dry Vacuum Cleaner
TE-VC 36/25 Li S-Solo
Go to article

Cordless Sweeper
TE-FS 18 Li-Solo
Go to article
Cordless Sliding Mitre Saw
TE-SM 36/10 L Li-Solo
Go to article
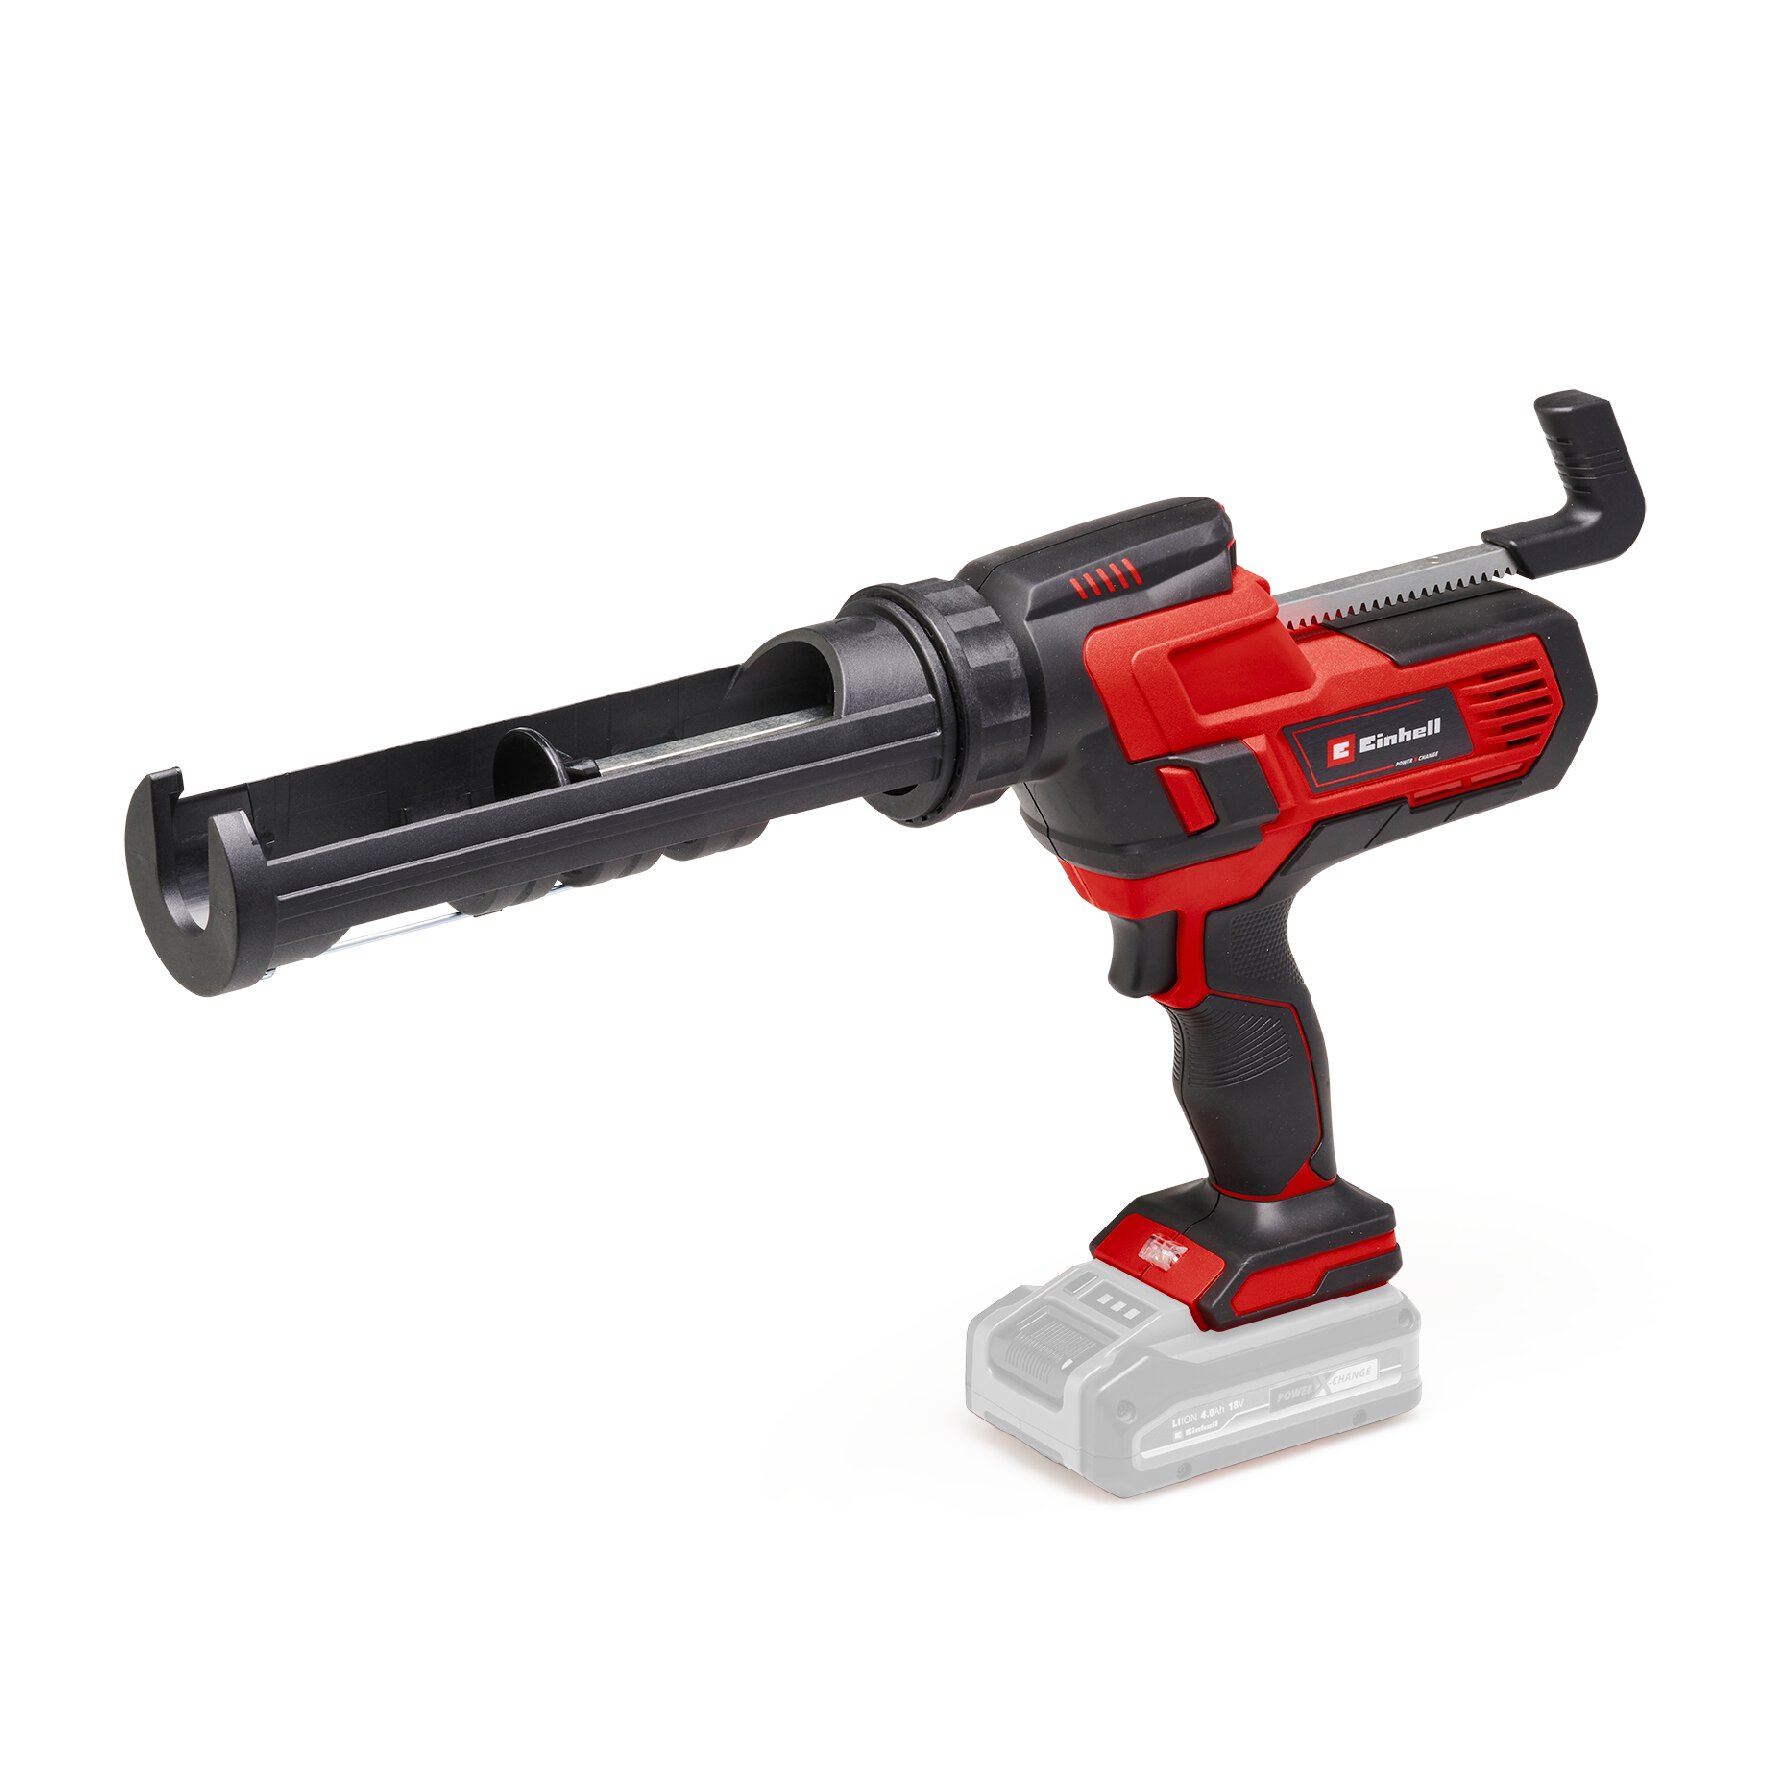
Cordless Sealing Gun
TE-SG 18/10 Li - Solo
Go to article
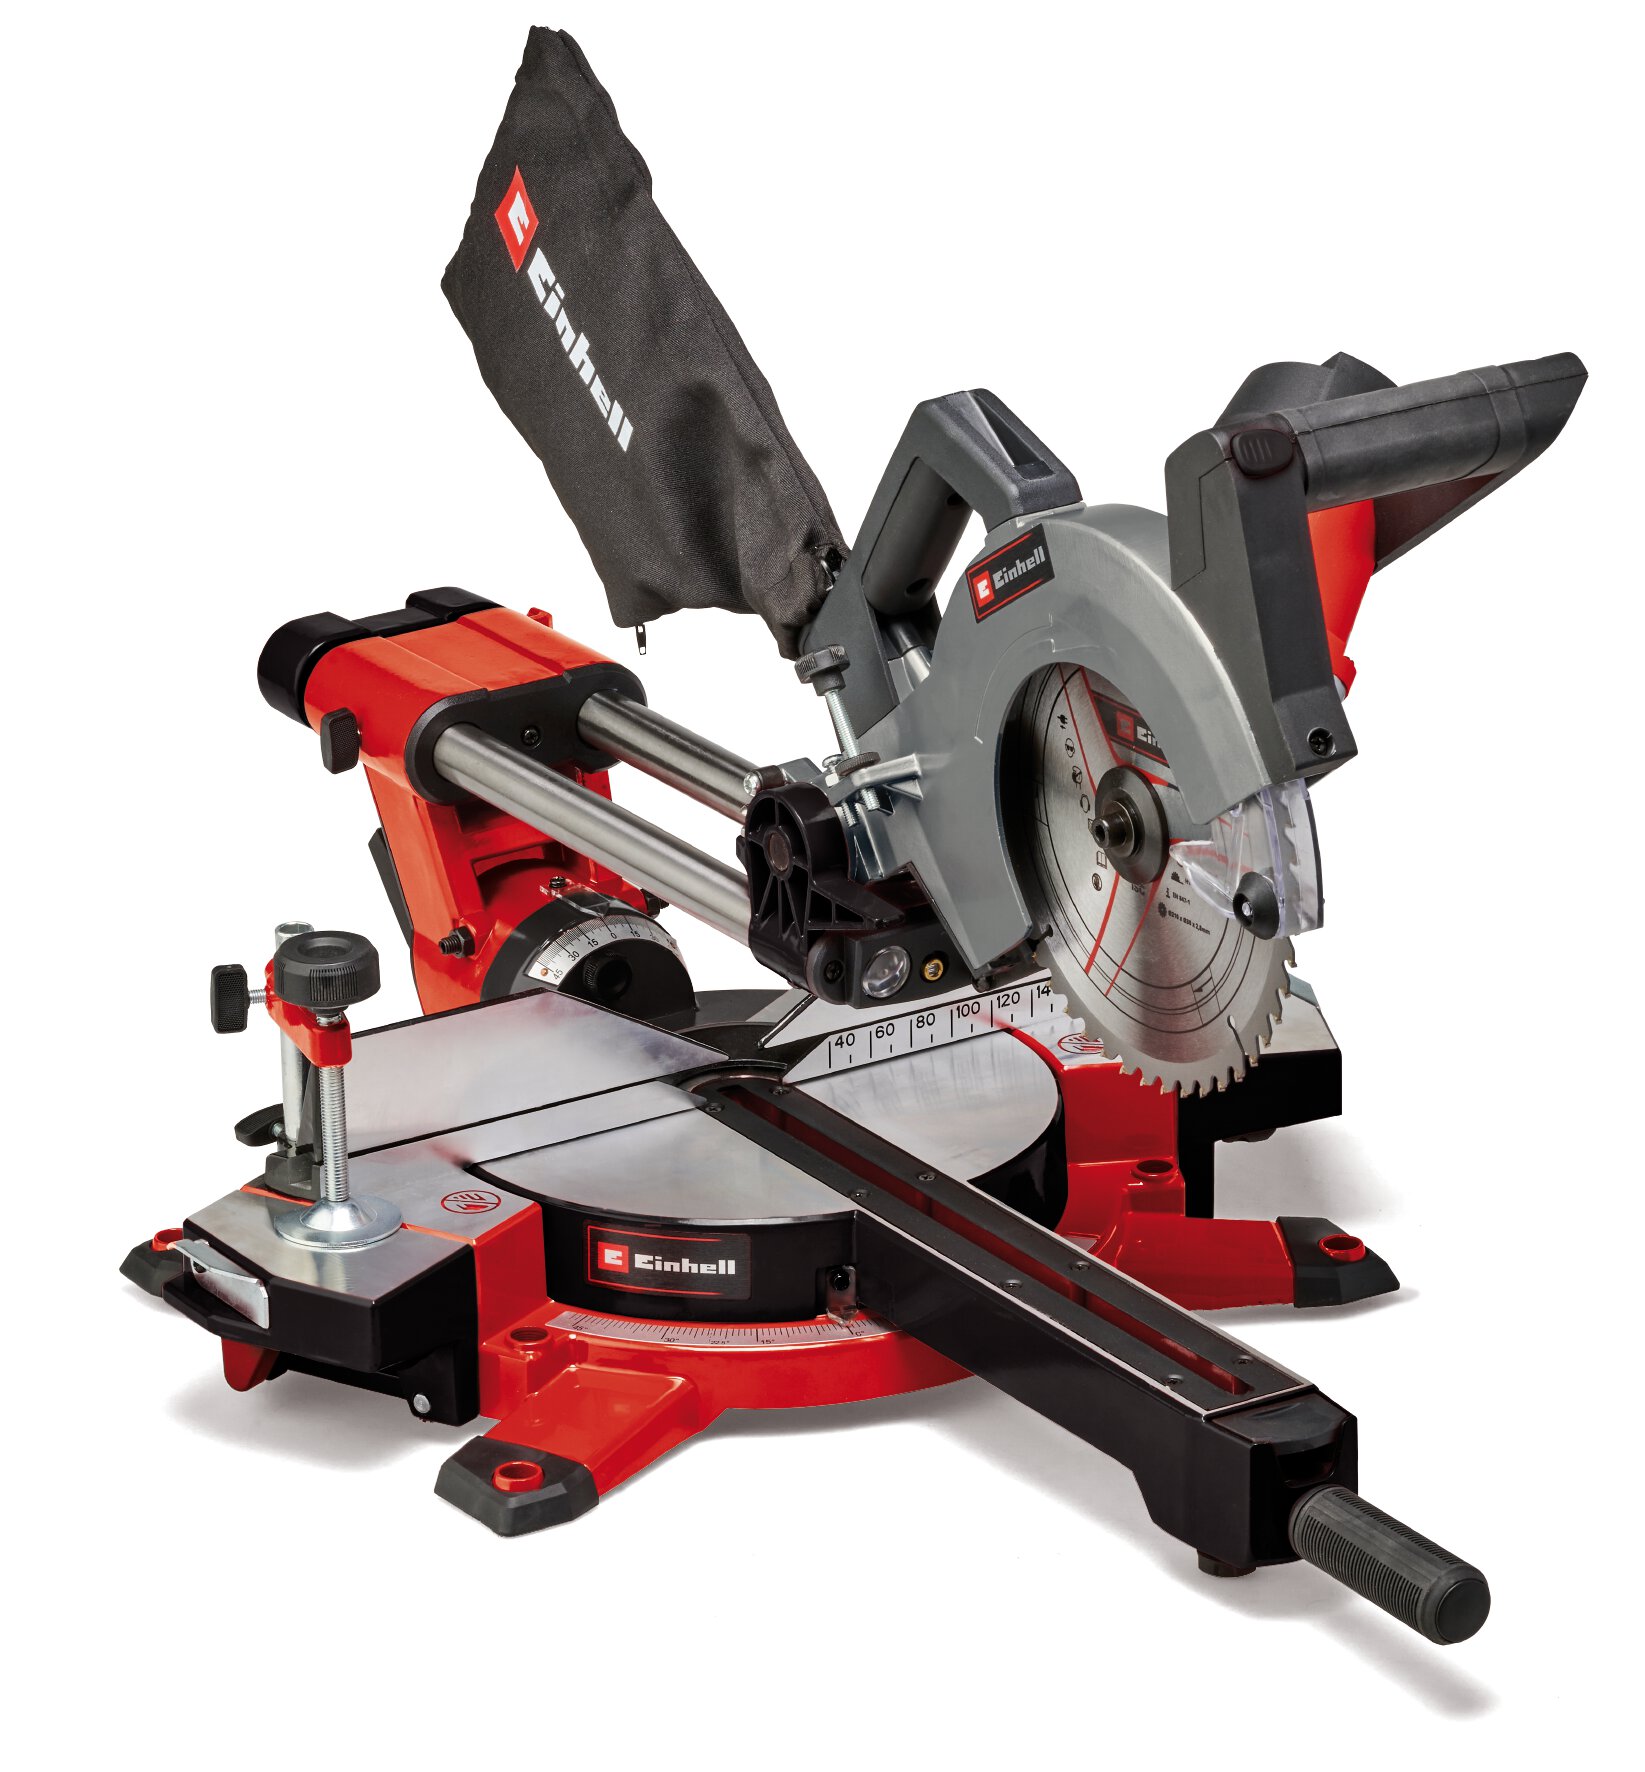
Sliding Mitre Saw
TE-SM 2131 Dual
Go to article
Floor Installation: Preparing the Subfloor
To ensure that your new flooring lasts a long time and can be installed neatly, careful preparation of the subfloor is crucial. The subfloor must be level, solid, and dry. Any uneven areas should be levelled with filler, and rough spots, such as old screed, should be sanded down if necessary. Loose sections of the subfloor must be stabilized or removed. It is especially important that the subfloor is dust-free. You can thoroughly sweep the floor using our cordless sweeper, for example. If you have sanded the subfloor beforehand, there might still be fine dust on the surface. This can be effectively removed using an Einhell wet-dry vacuum with dust class L, such as the TE-VC 2025 SACL or the TE-VC 2230 SACL.
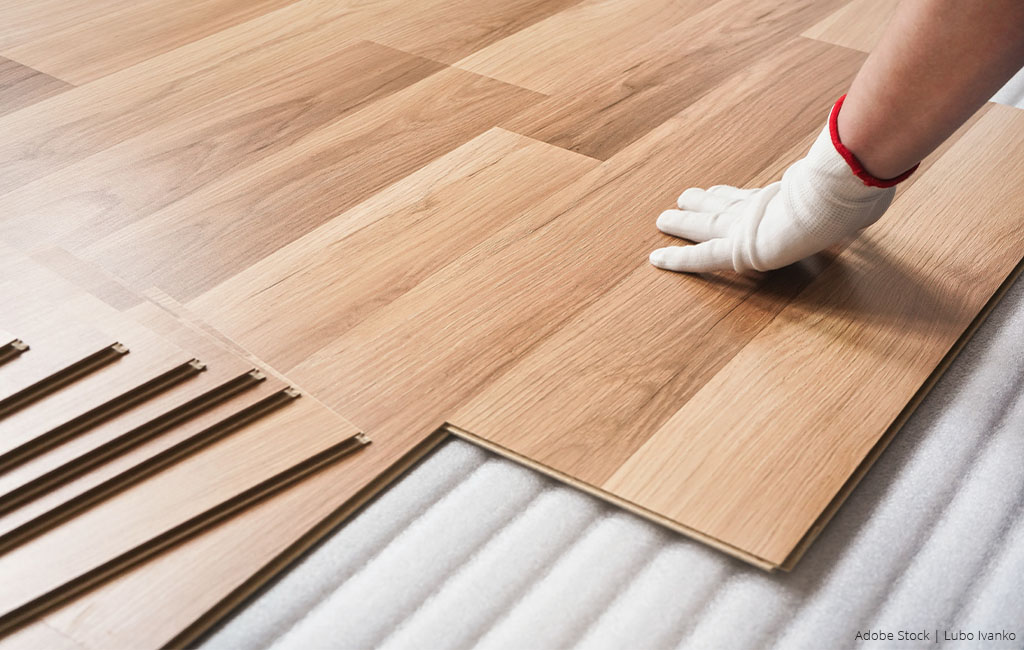
Don't Forget: Underlayment and Vapour Barrier
When installing laminate, vinyl, or parquet flooring, don't forget the underlayment and—depending on the subfloor—a vapour barrier. A vapour barrier (or moisture barrier) is especially necessary if you're laying the floor on a moisture-sensitive subfloor like concrete or screed. The barrier prevents rising moisture from damaging the floor. It should be laid out in a full-coverage and overlapping manner underneath the underlayment.
A separate underlayment is needed if it is not already integrated into the structure of the flooring planks. It reduces impact sound and provides a more comfortable walking experience. Underlayments are usually made from materials like foam, cork, or felt and should be laid out in a full-coverage manner before installing the planks if they are not already integrated into the flooring. When choosing your vapour barrier and underlayment, make sure they are compatible with each other. You can often find this information in the manufacturer's instructions.
How-to: Step-by-Step Guide to Installing Flooring
Have you decided on your new flooring and are ready to get started? In this section, we will guide you step by step on how to install laminate, vinyl, or parquet flooring. We will show you what to pay attention to—from preparing the subfloor, to the precise laying of the planks, and the final finishing touches. With our practical tips, you will master every step and achieve a professional result.
Determining the Laying Direction and Pattern
Before you start laying your floor, you should decide on the laying direction. A common rule is to lay the floor in the direction of the incoming light – this makes the joints less visible and the room appear larger and more harmonious. In narrow rooms, it's recommended to lay the planks across the length of the room to make it seem wider.
You can get creative when choosing the laying pattern. The most common patterns are:
- Straight lay: The planks are laid in parallel rows – a classic and simple pattern.
- Herringbone: An elegant pattern in which the planks are arranged in a zigzag design. This is especially popular with parquet and wood-like vinyl.
- Diagonal lay: The planks are laid at a 45-degree angle to the room, creating a striking effect, particularly in large spaces.
The right pattern and the appropriate laying direction have a significant impact on the room's appearance and the aesthetics of your floor. If you're unsure, it's a good idea to seek advice when selecting your floor at a specialized store. There, you can also get tips on specific laying patterns.
Gluing vs. Floating Floor Installation
When deciding whether to install your floor as a floating floor or to glue it down completely, several factors come into play.
- A floating installation means that the flooring is not permanently attached to the subfloor. Instead, the planks rest loosely on the underlayment or vapour barrier and are only connected to each other using a click-lock or tongue-and-groove system. This method is especially popular for laminate and vinyl because it's quick and easy to do. It also has the advantage that the floor can be easily removed or replaced without leaving adhesive residue.
- Full-surface gluing, on the other hand, is particularly suitable for parquet or vinyl in high-traffic areas. The floor is firmly bonded to the subfloor, providing extra stability and improving walking comfort. Gluing is ideal if the floor is intended to stay in place for a long time or if you have underfloor heating, as glued floors conduct heat more effectively. If you plan to place heavy items, such as entire kitchen units, on the floor, gluing is also recommended.
Both methods have their pros and cons—it ultimately depends on your room's requirements and how you intend to use the space.
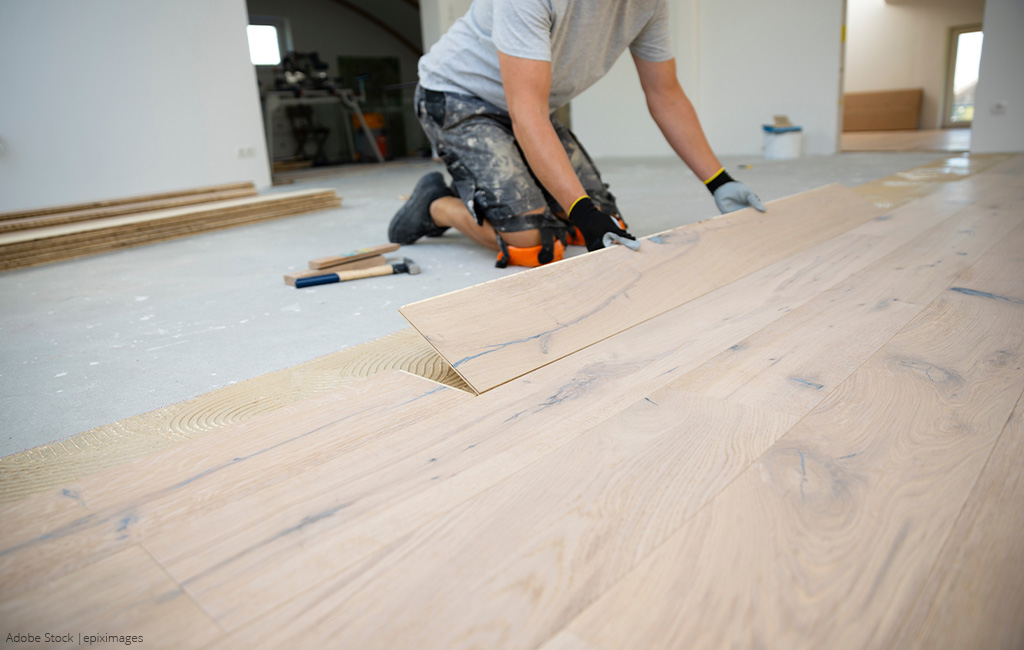
Laying the First Planks and Cutting Panels
The first row of planks sets the foundation for the entire floor, so extra care is essential here. Before you begin, the panels should acclimate in the room for at least 48 hours. This allows the material to adapt to the room climate, preventing unwanted deformations later on.
Make sure that the first plank is laid perfectly straight, as even slight deviations can affect the entire floor later. Use spacers to maintain an expansion gap of about 10 to 15 mm from the wall. This gap is necessary to allow the floor to expand and contract with changes in temperature and humidity without buckling. Don’t worry: these expansion gaps will be hidden under the baseboards later.
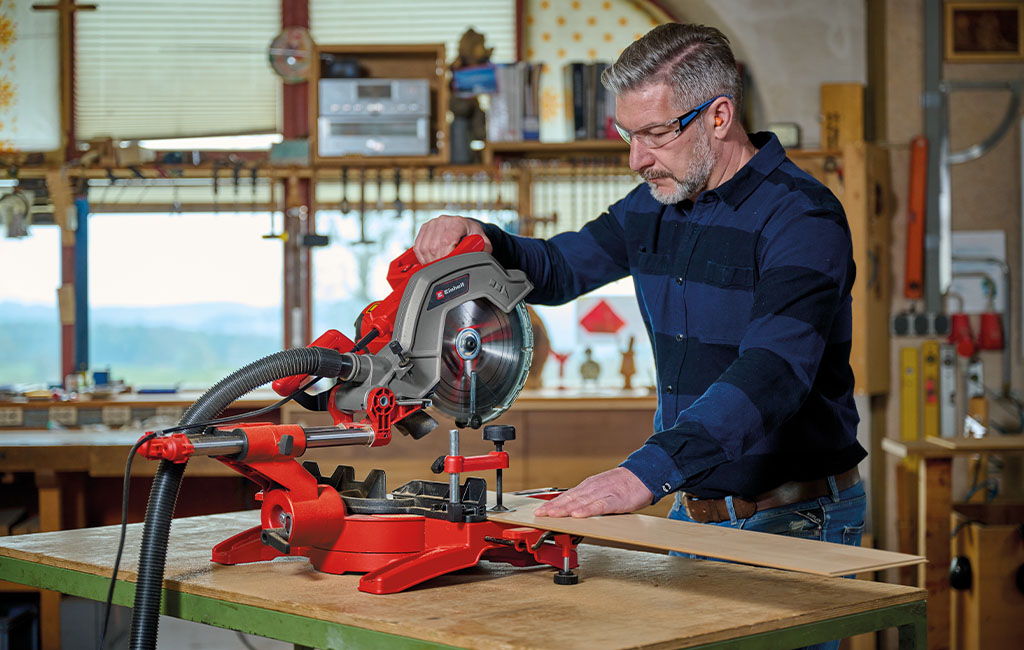
For cutting the panels to the right length, use a sliding mitre saw or jigsaw. Start at one wall, making sure the groove faces the wall and the tongue faces the room. Angle the panels along the long side into the click connection. Then press the short sides together to lock the planks in place, creating a solid connection between the individual panels.
Another tip: Mix panels from different packages to even out colour variations and create a more cohesive overall look.
Cutting Out Spaces for Heating Pipes and Vents
To lay a floor neatly, you often need to make cutouts for heating pipes, ventilation outlets, or floor-integrated sockets. Here are some tips on how to handle these cutouts effectively:
- Larger cutouts: For larger openings, like ventilation outlets or sockets, a jigsaw or multitool is ideal. These tools allow you to make precise and clean cuts.
- Round cutouts: For round cutouts, such as for smaller heating pipes, a cordless screwdriver combined with a Forstner bit is recommended. This bit allows you to drill precise holes in the correct size.
- Proper placement and marking: First, measure the exact positions of the pipes or outlets and mark them on the planks. For round cutouts, use a compass or a round object as a template to mark the precise cutting point.
- Closing the cut behind the pipe: For heating pipes, you usually drill a hole and then cut a small wedge up to the plank to fit it around the pipe. This area can later be neatly covered with a rosette.
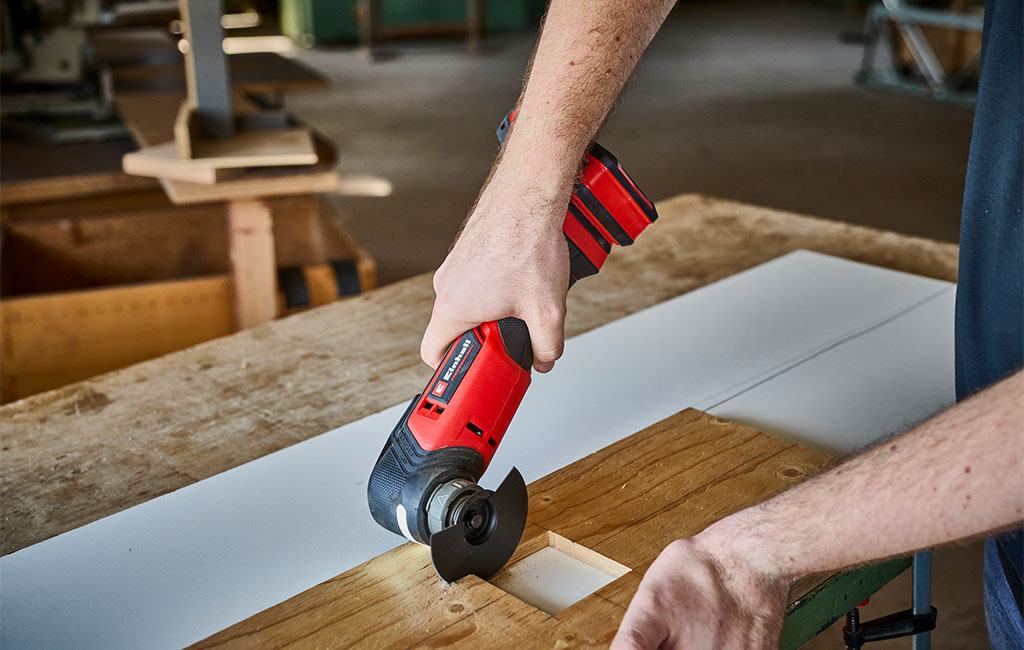
Whether for ventilation outlets, pipes, or sockets: Precise cutouts are a breeze for a multitool.
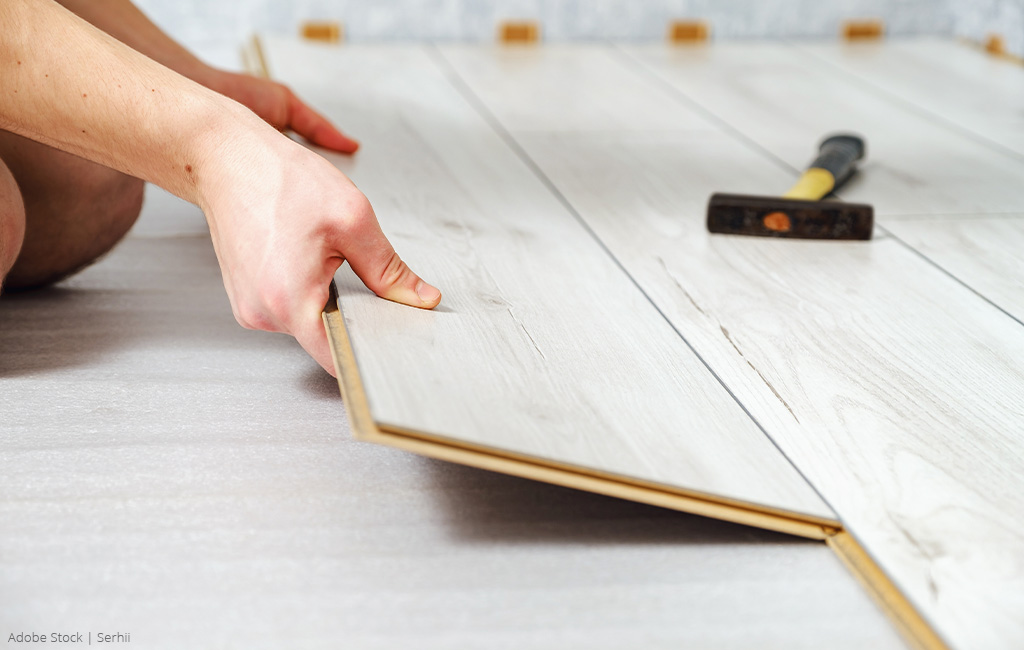
Sawing and Installing the Last Row
Just like with the first row, there are a few things to keep in mind when working on the last row of planks in the room. In most cases, the panels will need to be cut in width for the last row. Since planks are usually over 1 meter long, you will need a jigsaw, circular saw, or table saw for the job. A sliding miter saw wouldn’t be suitable for such a long cut.
Pay special attention to the fact that walls are not always perfectly straight. This means you shouldn’t just measure and cut your last plank parallel to the wall – it may need to be cut at a slight angle depending on the wall's alignment. Here’s a helpful tip for measuring: Lay your plank flush on the panel from the second-to-last row. Then, place another spare plank on top of it, with the tongue side flush against the wall. Draw a line along the edge of the top plank with a pencil. Cut the panel along this line, and it will fit perfectly in the last row. The expansion gap will be maintained because the tongue of the “helper plank” is factored in.
When installing the last row, things can get tight near the wall. To avoid pinching your fingers, you can use a pull bar. This tool will help you lever the last plank into place and lock it into the rest of the floor.
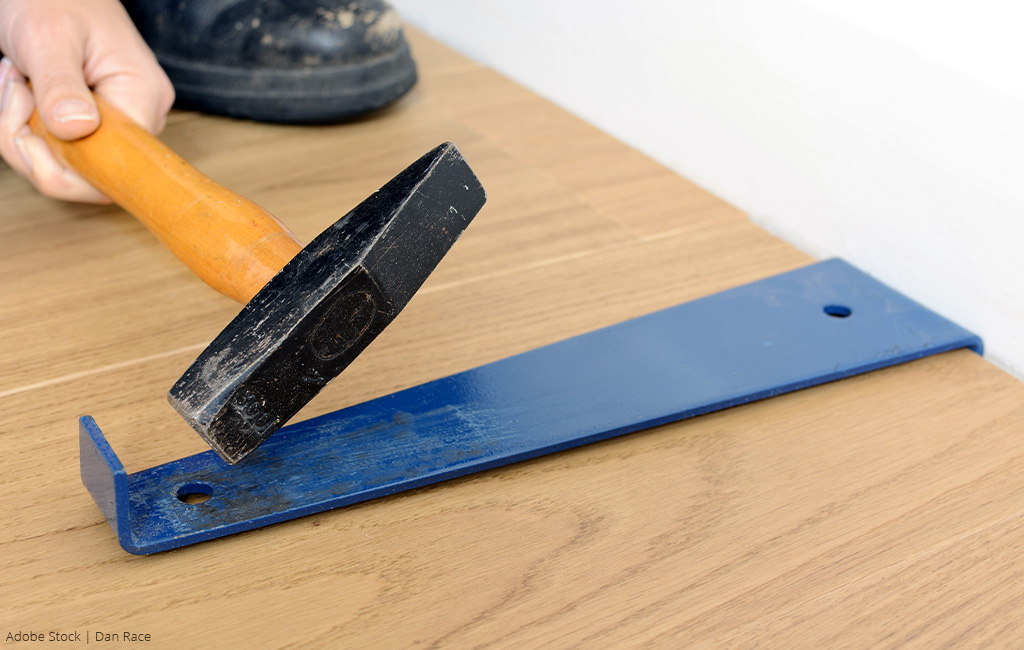
When installing the last row of planks near the wall, a pull bar is a very helpful tool.
End pieces, baseboards, and transition strips
To install a floor professionally, end pieces, baseboards, and transition strips are important elements that should not be overlooked.
Installing End Pieces
End pieces are used to neatly finish the floor in areas where there is no wall to serve as a boundary, such as at floor-to-ceiling windows or balcony doors. They cover the cut edge of the floor and create a seamless transition to other architectural elements. Make sure that the end piece is cut precisely so that it completely covers the expansion gap.
Installing Transition Strips
Transition strips are used at door thresholds or room transitions when two different types of flooring meet or when the floor in adjacent rooms needs to be separated by an expansion gap. These strips not only visually connect the two floors but also prevent tripping hazards by levelling any height differences between the adjoining floor coverings. When installing, it is important to ensure that the strip is securely anchored to the floor, for example, by screwing it in place or clipping it into pre-made holders.
Installing Baseboards
Baseboards provide the perfect finish along the walls. They cover the expansion gaps and protect the walls from impacts and dirt. There are several ways to attach baseboards:
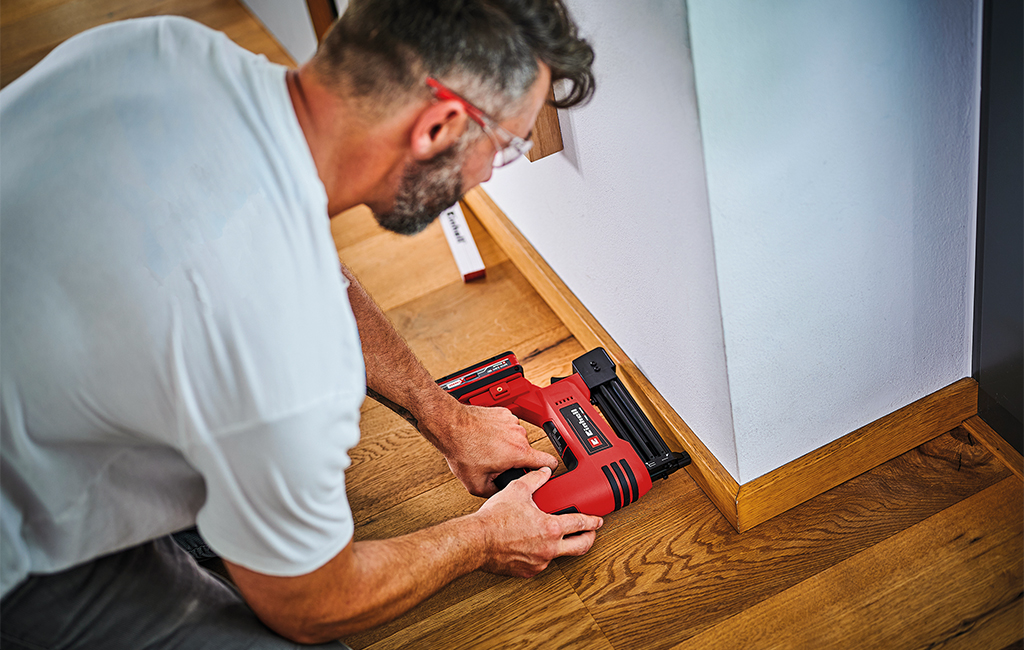
- Nailing or screwing: A traditional method where the baseboards are directly nailed or screwed to the wall. This provides a secure hold but leaves visible fasteners. For a quick and secure installation, the Einhell cordless nailer FIXETTO 18/50 N can be used to attach the baseboards.
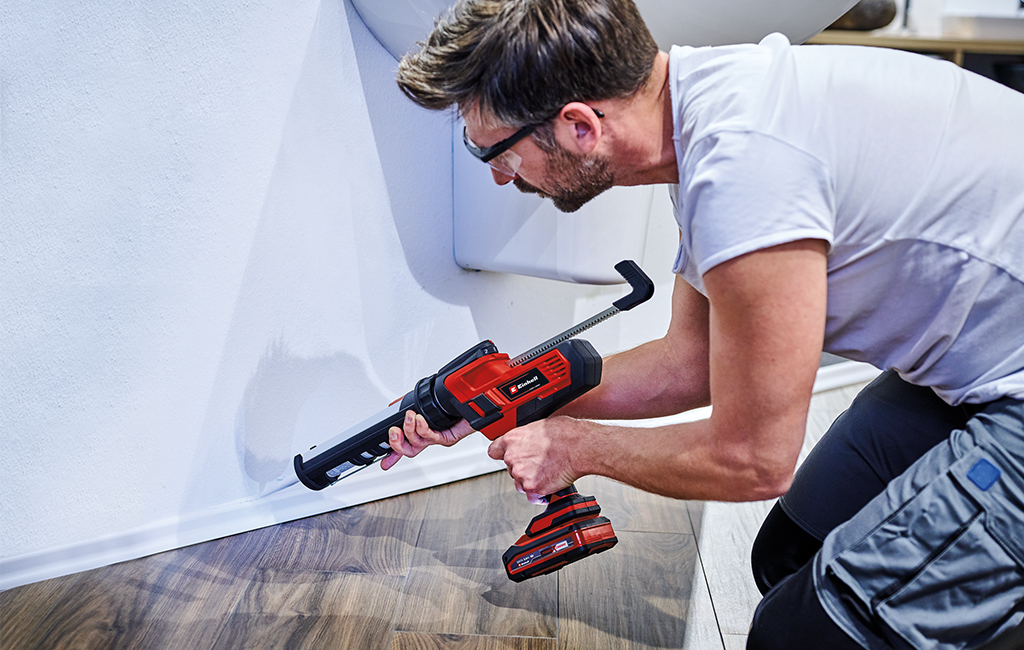
- Gluing: On smooth walls, the baseboards can be attached using construction adhesive. This method is clean and leaves no visible marks, but the baseboards are difficult to remove later. The cordless caulking gun TE-SG 18/10 Li is a great help for applying the adhesive evenly and quickly.
- Clip system: A flexible option where mounting clips are installed on the wall. The baseboards can be easily clicked in and out, which is particularly useful during renovations.
Baseboards not only serve an aesthetic purpose but also protect the wall and help conceal cables elegantly.
In this article you will learn all about:

Published on 16.10.2024
Marina Liefke is an Online Editor at Einhell, where she deals with virtually all texts related to tools, garden equipment, and accessories. She acquires the necessary know-how through practical product training and close collaboration with the Einhell product managers. Her favorite tool is the PRESSITO cordless compressor because when the air is running out, it pumps it right back in.